


Finding the right cheap video editing software can feel a bit like balancing creativity with reality. You want powerful tools, smooth performance, and room to grow – but you also want a price tag that doesn’t make your wallet flinch. The good news is that today’s market offers more affordable editing programs than ever before, without sacrificing the features that help your videos stand out. Whether you’re a beginner, a content creator, or someone polishing videos for your business, this guide will help you choose a budget-friendly editor that genuinely fits your goals.
In the sections ahead, we’ll walk through what matters most, what to avoid, and how to confidently compare your options. And if you ever feel stuck or want help polishing your final project, the professional team at Inside Editors is always available to elevate your footage into something truly memorable.
Before Choosing a Budget Editor, Understand What “Cheap” Really Means
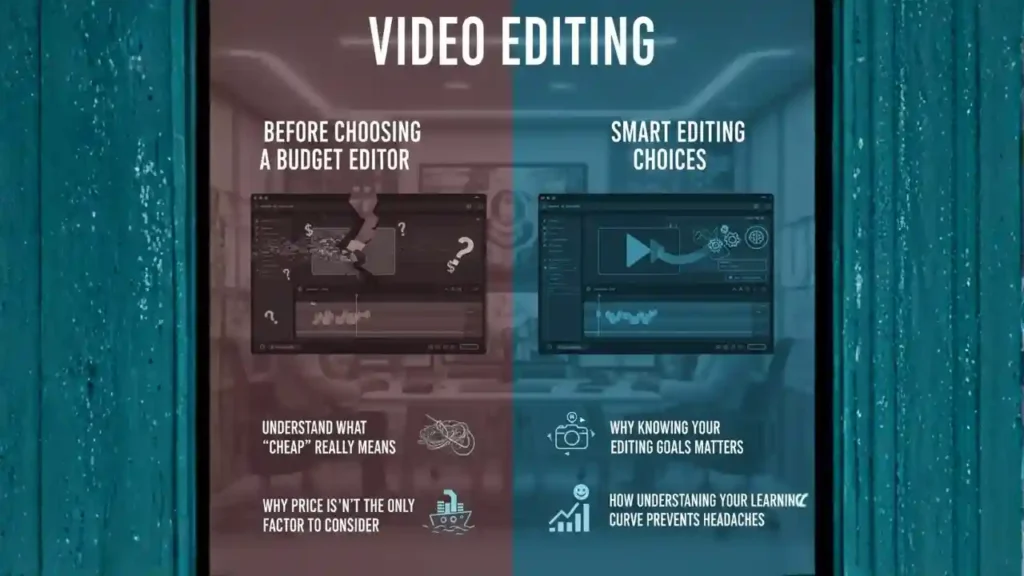
Why Price Isn’t the Only Factor to Consider
When you’re searching for cheap video editing software, the number on the price tag is often the first thing you look at. But as any editor will tell you, low cost doesn’t always mean low quality – and high cost doesn’t always guarantee great results. Sometimes a “free” program costs more time and frustration than it’s worth. Other times, a $20-per-year tool gives you everything you need for professional-looking edits.
That’s why it helps to think of price as part of a bigger picture. A good budget editor should save you time rather than waste it. It should provide a clean workflow and a reliable set of tools so you’re not constantly fighting the interface. When you consider the hours spent editing, the most “affordable” tool is often the one that makes your work easier – not the one that’s simply the cheapest.
Why Knowing Your Editing Goals Matters
Before downloading anything, take a moment to reflect on your goals. Are you making quick social-media videos? Editing family clips? Producing content for a YouTube audience? Different editors excel at different tasks, and knowing your purpose helps you avoid tools that don’t fit the job. For example, TikTok creators may want built-in effects and mobile editing, while online course creators might benefit from strong audio correction and clean transitions.
Once you identify what you want to create, it becomes much easier to find software that aligns with your workflow rather than working against it.
How Understanding Your Learning Curve Prevents Headaches
Not all editors are built the same. Some offer drag-and-drop simplicity with a shallow learning curve. Others resemble professional studios, filled with advanced features that beginners may find overwhelming. When choosing cheap video editing software, think about how much time you’re willing to invest in learning the tool. A slightly more intuitive editor may be worth a few extra dollars a month if it helps you produce better videos faster – something every creator eventually appreciates.
By being clear on your expectations, skills, and goals, you’ll approach the software search with confidence, making the next steps much easier.
The Key Editing Tools That Make Your Videos Stand Out
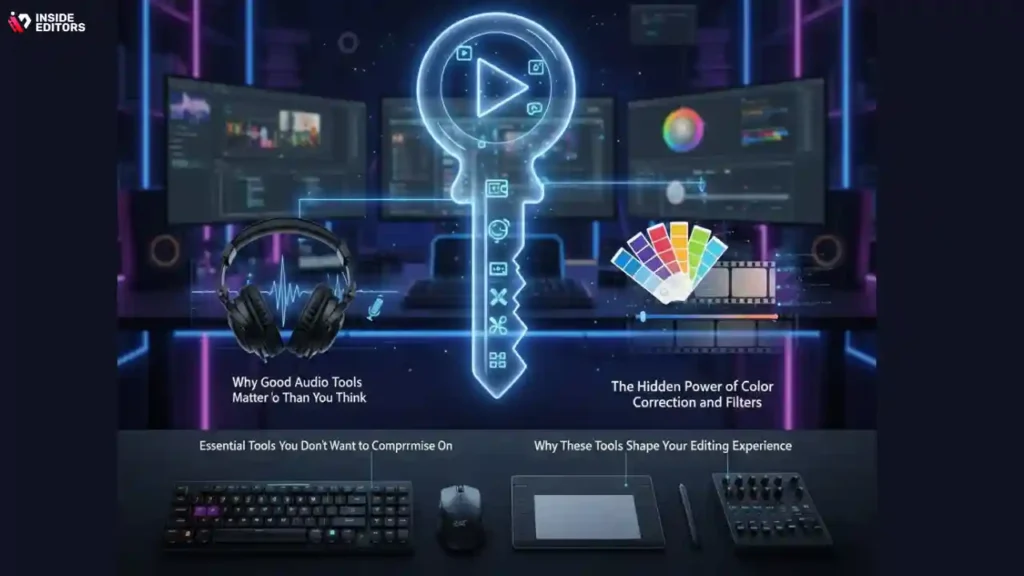
Essential Tools You Don’t Want to Compromise On
Even the most affordable editors should provide a set of core features that allow you to create clean, polished videos. These include trimming, splitting, audio control, transitions, and basic effects. Without these fundamentals, you’re left with a tool that limits your creativity instead of supporting it. Cheap video editing software shouldn’t feel cheap – it should feel capable.
A strong editor will also allow for multiple layers of video and audio, enabling you to combine clips, add music, insert overlays, and build scenes that feel professional. If you ever want your videos to look cinematic or well-structured, multi-track editing is a must.
Why Good Audio Tools Matter More Than You Think
Ask any experienced editor, and they’ll tell you: audio can make or break a video. Poor sound quality can ruin even the most beautifully shot footage. Look for budget editors that offer noise reduction, voice enhancement, equalization, and the ability to fine-tune audio levels. These tools eliminate distractions and help your storytelling shine.
If you record voiceovers frequently – for YouTube, courses, or social media – audio tools become even more important. Some editors automate background noise removal or voice clarity improvements, saving hours of manual corrections.
The Hidden Power of Color Correction and Filters
Color grading is where videos start to look truly polished, but it’s often a feature people assume is reserved for expensive editors. Thankfully, many budget-friendly programs now include impressive color correction tools. These allow you to adjust brightness, contrast, saturation, shadows, and highlights – all crucial for making footage look cohesive.
As you explore your options, make sure color tools are part of the package. They’re game-changing for storytelling and viewer engagement.
Why These Tools Shape Your Editing Experience
When your editor includes the right tools, everything becomes easier – and more enjoyable. You spend less time fighting limitations and more time experimenting creatively. Understanding these features also prepares you for comparing software in the next section, where we explore specific differences between budget editors and what they offer.
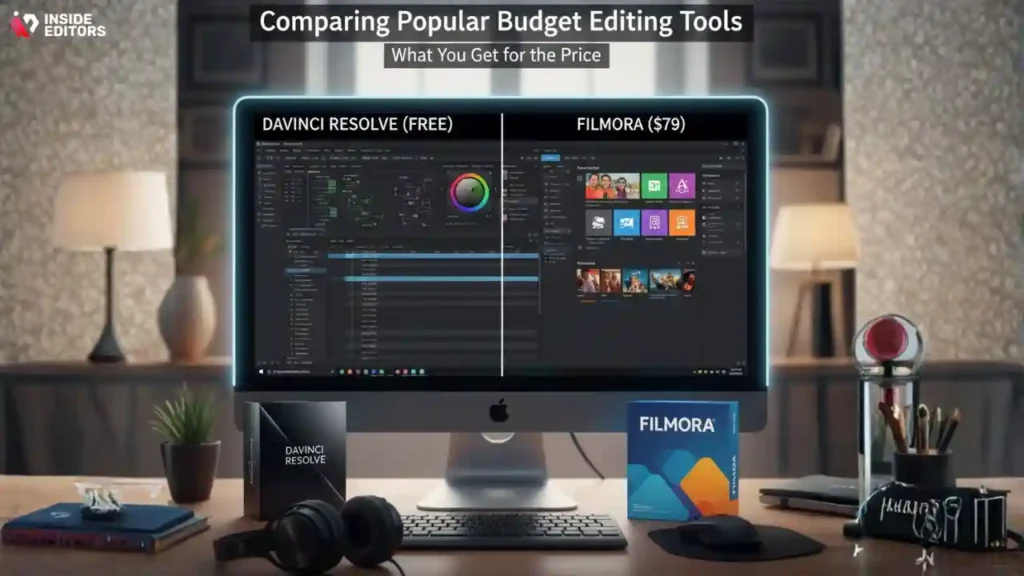
Comparing Popular Budget Editing Tools: What You Get for the Price
What to Expect From Free Editors
Free video editors are a great way to start, especially if you’re experimenting or learning the basics. Tools like iMovie, Shotcut, or DaVinci Resolve offer surprisingly powerful features without charging anything upfront. However, free software can come with trade-offs: steeper learning curves, fewer templates, slower performance, or limited export options.
Still, if you’re editing simple projects or exploring filmmaking as a hobby, these editors can be more than enough. They give you room to grow before committing to something paid.
How Low-Cost Editors Balance Simplicity and Power
Paid-but-affordable tools – typically in the $20 to $80 range per year – offer smoother workflows and fewer restrictions. Software in this category, such as Filmora, Movavi, or Adobe Premiere Elements, provides effects, templates, advanced audio editing, and intuitive interfaces that help beginners create polished videos quickly.
These editors often include customer support, regular updates, and simplified tools powered by intelligent automation. If you value speed and ease of use, this category offers some of the best value on the market.
A Table Comparing Popular Budget Editors
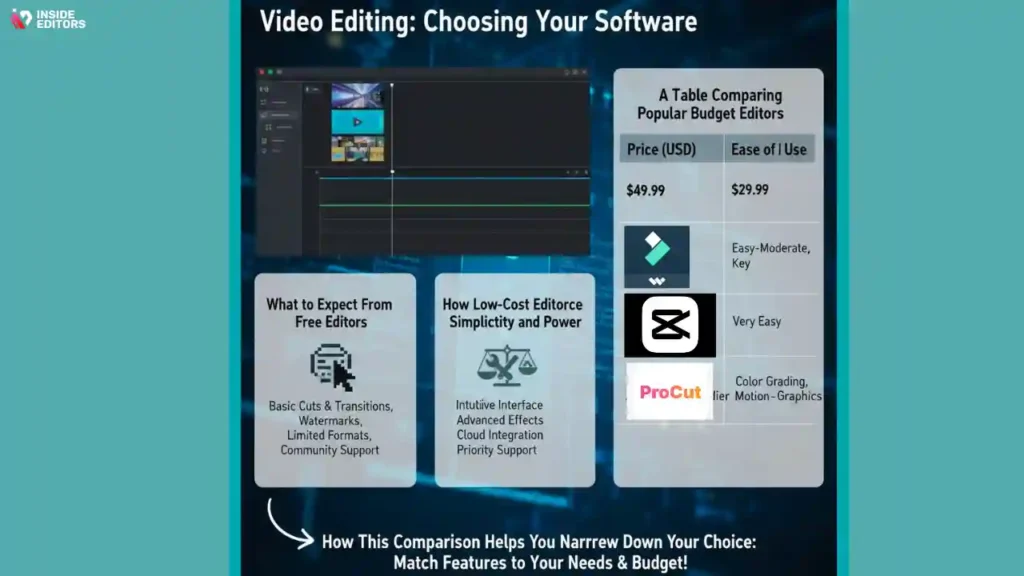
Below is a simple breakdown comparing the most common inexpensive options:
| Software | Price Range | Ease of Use | Best For | Notable Strength |
| iMovie | Free | Very easy | Mac/iOS beginners | Clean interface, great for quick edits |
| Shotcut | Free | Moderate | Windows/Mac/Linux users | Flexible, open-source |
| DaVinci Resolve | Free / Paid upgrade | Harder | Advanced editors | Professional color grading |
| Filmora | Low cost | Easy | Content creators | Effects and templates |
| Movavi Video Editor | Low cost | Very easy | Beginners | Fast rendering and simple workflow |
| Adobe Premiere Elements | Low cost | Moderate | Hobbyists | Reliable tools without heavy complexity |
How This Comparison Helps You Narrow Down Your Choice
This overview isn’t about choosing a “winner,” but about helping you match a tool to your needs. If you want a powerful platform with no cost, DaVinci Resolve or Shotcut offers great value. If you want speed and convenience, Filmora or Movavi may fit better. Mac users who want something simple may prefer iMovie.
Your choice isn’t about finding the “best” editor in the world – it’s about finding the one that matches your goals, budget, and comfort level. With this foundation, you’re ready to explore deeper considerations in the next section.
The Real Cost of “Cheap” Software: Avoiding Hidden Frustrations
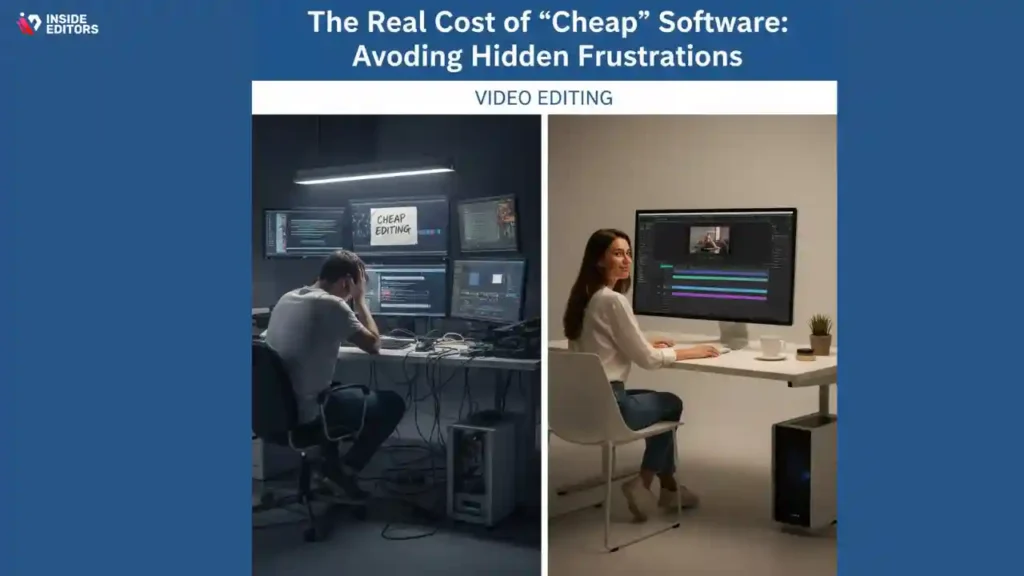
When Cheap Software Slows Down Your Workflow
Sometimes the problem with budget software isn’t the cost – it’s the limitations. Slow rendering times, freezing during edits, limited export formats, or missing features can quietly steal your time. If you’re creating videos regularly, these delays add up. A $0 editor that wastes five hours each week quickly becomes more “expensive” in the long run than a $49-per-year program that works smoothly.
Why Hidden Restrictions Can Surprise You
Many cheap editors look perfect at first glance, only to reveal hidden drawbacks later. Watermarks, limited transitions, locked features, or capped export resolution can force you into upgrading unexpectedly. That’s why it’s important to understand what’s included in the free or low-cost version before investing your time into learning the platform.
Some editors also restrict commercial use unless you purchase a license – something that matters if you’re creating videos for clients or your business. Reading the fine print may sound boring, but it protects you from headaches later.
How Technical Limitations Affect Your Creativity
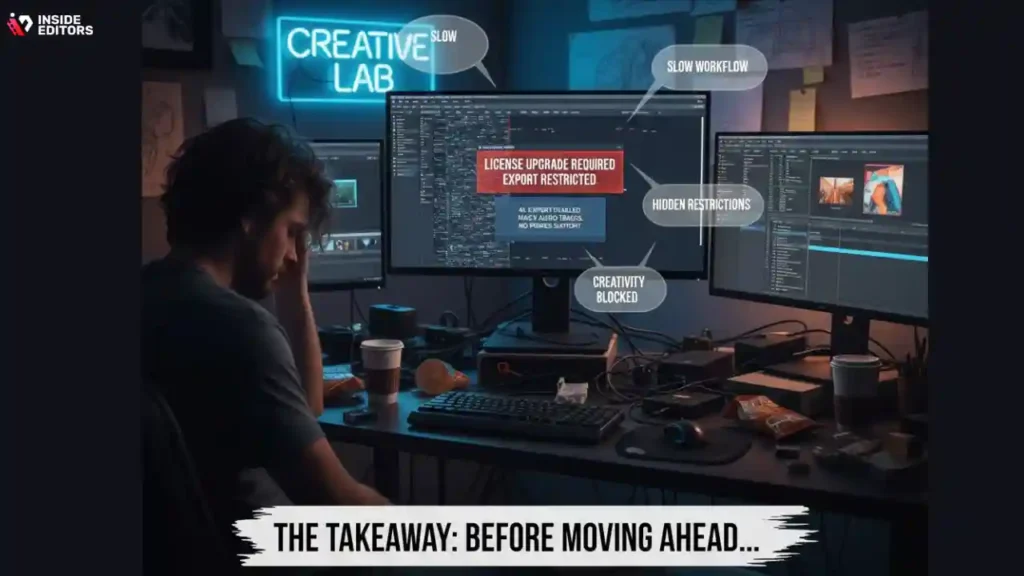
Imagine wanting to add a simple split-screen effect, only to discover the feature is locked behind a paid tier. Or wanting to color grade your footage but finding no tools available. Creative limitations like these can disrupt your flow and even discourage you from improving your skills.
When choosing cheap video editing software, look beyond the basics. Pay attention to what the editor allows you to do as you grow. The right tool shouldn’t slow you down – it should open doors.
The Takeaway Before Moving Ahead
Understanding the downsides helps you make a smarter investment. Next, we’ll explore how to match your editor to your workflow, your device, and the types of videos you want to create.
Cheap vs. Premium: Understanding What You’re Really Paying For
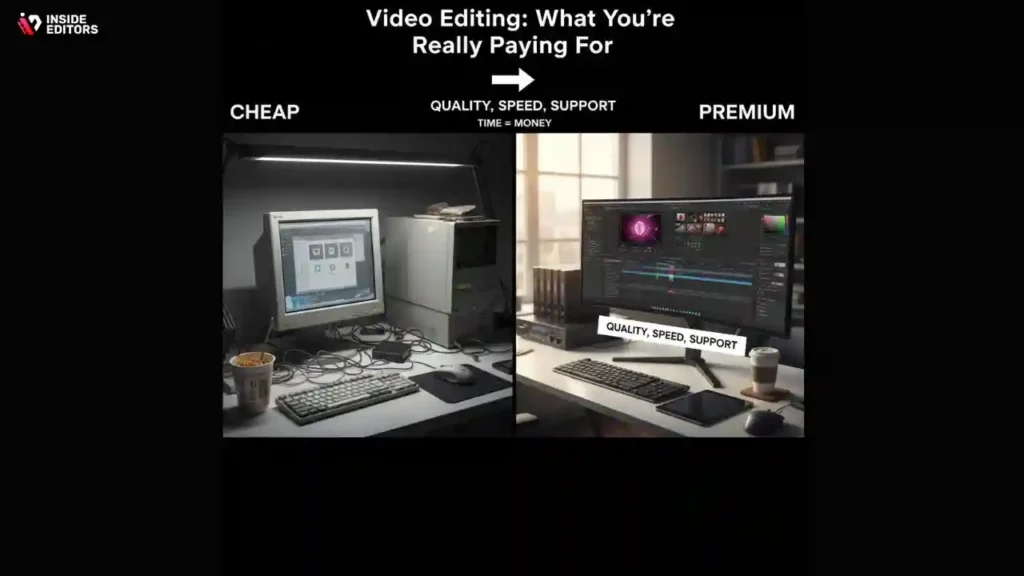
Why Cheap Tools Offer More Value Than Ever
The past decade has transformed the video editing industry. Today, even low-cost and free tools offer features that once required expensive professional software. AI-driven color correction, auto-captioning, noise reduction, and smart templates now appear in editors that cost less than a new phone case.
This means you don’t have to overspend to get real results. Many budget-friendly editors handle everyday tasks beautifully. As long as you know your goals and workflow, “cheap” can absolutely deliver professional-level outcomes.
When Premium Tools Become Worth the Investment
There are cases where premium software is the smarter long-term investment. If you’re producing commercial videos, working with clients, or handling multi-camera footage, higher-end tools like Adobe Premiere Pro or Final Cut Pro offer deeper control, more stability, and seamless integration with other creative tools.
But these programs require more powerful devices and take longer to learn. Unless you truly need their advanced features, budget editors can fully support most creative projects – from YouTube content to business promos.
A Comparison Table: Cheap vs. Premium Editors
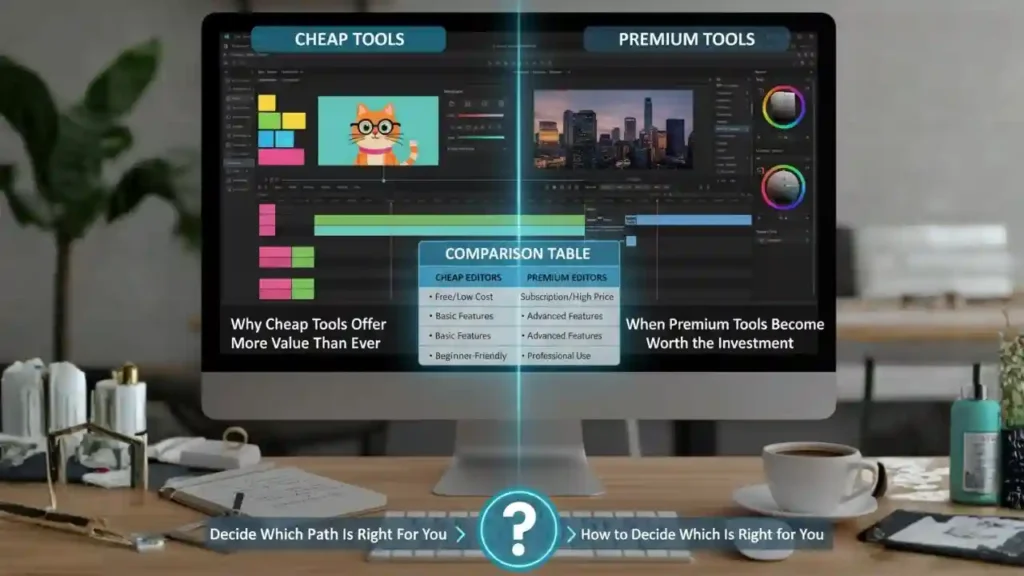
Here’s a snapshot of differences between budget-friendly and premium software:
| Category | Cheap Editors | Premium Editors |
| Cost | $0–$80/year | $120–$300/year |
| Ease of Use | Simple, beginner-friendly | More complex, steep learning curve |
| Performance | Good for basic to moderate projects | Excellent for heavy or multi-layer editing |
| Features | Solid essentials and templates | Advanced color grading, multi-cam, detailed effects |
| Device Requirements | Light to moderate | High-performance computers recommended |
| Best For | Beginners, content creators | Professionals and commercial editors |
How to Decide Which Path Is Right for You
Ask yourself: Am I editing for fun, for my brand, or for clients? Do I need advanced features, or do I just want clean, polished videos quickly?
If your goal is strong, consistent content – especially for social media or small business marketing – cheap video editing software is more than enough. If you’re pursuing professional videography or want full creative control, premium editors might be worth considering later.
Now, let’s explore one of the most overlooked parts of choosing the right tool: considering the type of content you create.
How Your Content Type Influences the Best Software Choice
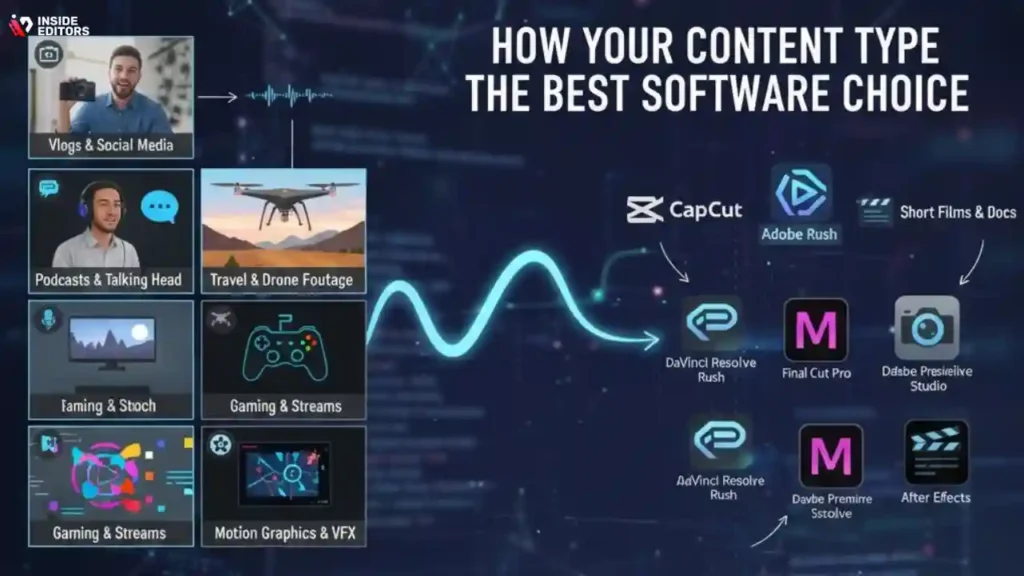
Short-Form vs. Long-Form Editing Requirements
Short-form videos – like Reels, TikToks, and Shorts – reward fast editing tools with built-in templates and trendy effects. Editors like Filmora, CapCut, and VN specialize in this style, allowing you to create punchy edits with minimal effort.
Long-form videos – such as tutorials, online courses, and documentaries – benefit from timeline control, clean transitions, and strong audio editing. Programs like Movavi, DaVinci Resolve, or Adobe Premiere Elements offer more structure for storytelling.
Matching your editor to your primary content type ensures your workflow feels smooth rather than forced.
Editing for Business, Online Courses, or Marketing
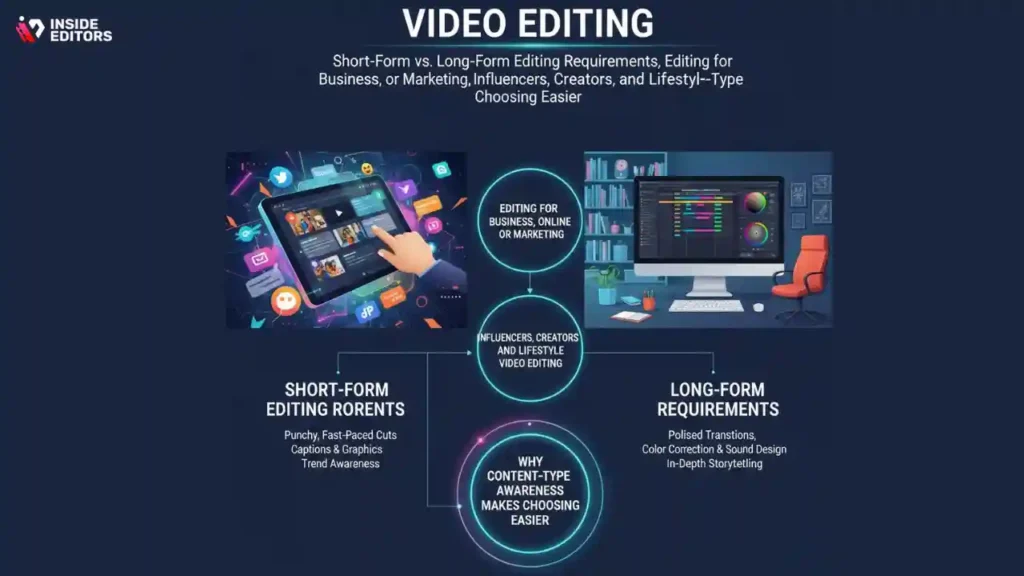
If you’re creating videos for your business or educational content, reliability and clarity matter more than flashy effects. Look for editors that offer:
- Clean transitions
- Audio enhancements
- Screen recording options
- Text overlays
These features help you produce professional, trustworthy videos that support your brand.
If you create course content or product demos, Inside Editors also offers dedicated online course video editing services that help polish your lessons and keep students engaged.
Influencers, Creators, and Lifestyle Video Editing
Lifestyle content often relies on smooth pacing, color grading, and stylish effects. If you’re creating makeup videos, travel recaps, or sports highlights, look for tools with strong filters and motion graphics. Editors like Filmora or Movavi make it easy to add personality and energy to your videos.
Inside Editors also provides specialized services such as sports video editing, lifestyle video editing, and makeup video editing, perfect for creators who want consistent, high-quality results without spending hours in the editing room.
Why Content-Type Awareness Makes Choosing Easier
Understanding the style and structure of your content helps you skip the wrong tools entirely. Instead, you focus only on editors designed for your creative world – which makes the final decision much easier and more confident.
Bringing It All Together: Choosing the Best Cheap Video Editing Software
A Quick Recap of What You’ve Learned
By now, you’ve explored every angle of choosing the right budget-friendly editor. You’ve learned:
- What features matter most
- How goals and workflow influence your choice
- The strengths and weaknesses of popular options
- How your device, content type, and editing style shape your decision
- Why updates, support, and reliability matter
- When cheap tools outperform premium ones
You now have the clarity needed to make a confident choice – one that supports your creativity, respects your budget, and helps you produce videos you’re proud to share.
The Confidence You Gain With the Right Tool
When your software fits your needs, editing stops feeling like a chore. You spend less time struggling with limitations and more time crafting stories your audience remembers. That’s what good editing software – cheap or premium – is meant to do: give you creative freedom.
And if you ever outgrow your tools or want a polished, professional finish, Inside Editors is here to help.
When You Want Results That Go Beyond Software

Even with the best cheap video editing software, there are moments when having a professional editor makes all the difference. Whether you’re creating a commercial, building a brand, or simply want your videos to shine, expert editing transforms your raw footage into a compelling story.
At Inside Editors, our team specializes in turning everyday clips into high-quality, engaging videos-smoothly, affordably, and with a personal touch. From social-media content to home videos, sports highlights, GoPro adventures, and full online courses, we’re here to help you bring your vision to life.
Explore Inside Editors’ Video Editing Services.
Conclusion: You’re Ready to Choose with Confidence
Choosing cheap video editing software doesn’t have to be confusing or overwhelming. With the right guidance – and now you have it – you can evaluate tools like a pro. Trust your goals, trust your workflow, and choose software that makes editing enjoyable.
And whenever you want to elevate your video quality, streamline your content creation, or hand off the heavy lifting, Inside Editors is here to support your creative journey.
You’re now equipped with everything you need to start editing smarter, faster, and with total confidence. Enjoy the process – your best videos are ahead of you.
FAQs About Choosing Cheap Video Editing Software
1. Is cheap video editing software good enough for professional-looking videos?
Yes – many affordable editors offer the core tools needed to create polished videos, including trimming, color grading, audio cleanup, and templates. The main trade-off is fewer advanced features compared to premium tools. If your projects are simple to moderate, cheap video editing software delivers excellent value. For complex or commercial work, a pro editor may still be worthwhile.
2. How much does cheap video editing software usually cost?
Most budget editors fall between $0 and $80 per year, depending on features. Free versions often include basic tools, while paid tiers add extras like advanced effects or higher export quality. Check what’s included – some tools limit resolutions, watermarks, or commercial use. Always compare price against your actual workflow needs.
3. What features should I prioritize in inexpensive editing tools?
Focus on essentials like timeline editing, color correction, audio controls, and export options. Make sure the software supports the formats you use and runs smoothly on your device. For creators posting often, look for templates, auto-captioning, and one-click effects. Choosing based on workflow prevents paying for features you won’t use.
4. What are the main drawbacks of cheap video editors?
Limitations usually include fewer advanced effects, slower rendering, or occasional feature locks behind upgrades. Some free tools add watermarks or restrict export resolution. Cheap video editing software may also lack strong color-grading or audio repair capabilities. Still, for everyday content, these drawbacks rarely affect final quality.
5. Is DIY editing better than hiring a professional editor?
DIY editing is great for quick videos or creators learning the basics, but it can be time-consuming. A professional editor brings consistency, creative polish, and specialized techniques that improve storytelling and pacing. Pros also manage color grading, audio cleanup, and revisions. If quality or time is critical, expert editing usually wins.
6. How long does it take to finish a video using affordable software?
Simple videos may take 30–90 minutes, while longer projects can require several hours depending on experience and footage complexity. Software performance, device speed, and editing style all influence total time. Some tools include automation features that shorten workflows significantly. For urgent deadlines, pro editors often offer rush options.
7. Do budget editors offer revision tools or version history?
Many include features like undo history, auto-save, and project duplication. Free versions may limit how many versions you can store or how much cloud space you have. Paid tiers usually provide more editing flexibility. If revision control matters, check this before choosing a tool.
8. Who owns the video after editing with cheap software?
You typically own your content, but some free editors restrict commercial use or require attribution for certain assets. Check the licensing terms for stock music, effects, and templates. Once exported, the video file is yours to use across platforms. Paid versions usually remove most usage restrictions.
9. Is my data private when using cheap video editing software?
Most reputable editors use secure cloud storage or local-only workflows. However, free tools sometimes collect usage data or limit privacy settings. Avoid uploading sensitive footage to unknown cloud platforms. Always review the privacy policy, especially when using mobile apps.
10. How do I choose the best cheap video editing software for my needs?
Start by defining your editing goals – short-form, long-form, business, or hobby content. Compare system requirements, essential features, and export options. Use free trials to test workflow and performance. The best option is the one that fits your device, content style, and budget without slowing your process.


