

Great video editing isn’t about having the most complicated software or the most expensive camera. It’s about knowing how to shape your footage into a clean, clear, and compelling story that feels professional. Whether you’re a beginner or trying to level up your workflow for YouTube, TikTok, Instagram Reels, or long-form content, the following video editing tips will help you edit faster, make smarter decisions, and produce work that stands out.
This guide walks you through everything-from the fundamentals to professional-level techniques-written as if you’re sitting with an experienced editor who’s showing you what actually matters.
Why Starting With a Clear Plan Makes Editing So Much Easier

Before you even drag your first clip onto the timeline, it helps to know what story you’re trying to tell. A plan doesn’t have to be complicated. Even a simple outline can shape your whole edit and save hours of trial and error.
How a Simple Outline Speeds Up Your Workflow
When you know your intro, main message, and ending, you make fewer unnecessary choices. Your timeline becomes a clean sequence of intentional decisions, not a collection of random experiments.
This also improves pacing. Instead of forcing clips to fit, you choose the ones that naturally support your message. The editing becomes smoother and more intuitive because you’re following a structure-not guessing.
Why Organized Footage Improves Creativity
Creativity thrives in a clean workspace. Labeling your clips (“b-roll – street”, “interview – take 3”) might feel tedious, but it saves huge amounts of time later. Instead of hunting for the right clip, you’re selecting with confidence. That clarity lets you focus more on creative timing, color, transitions, and story.
Essential Techniques Every Editor Should Know
No matter which software you use-Premiere Pro, DaVinci Resolve, Final Cut Pro, CapCut, or VN-certain principles apply everywhere.
Cut for Story, Not for Flash

Many beginners overuse transitions because they look interesting. But great editing draws attention to the story, not the effects. Keep transitions simple unless you’re intentionally creating a high-energy style.
Clean cuts feel more professional than transitions stacked everywhere.
Match Your Footage for Smooth Pacing
When pacing feels right, the viewer stays engaged without even noticing the edit. You can guide the viewer’s emotion by deciding how long each shot lasts. Quick pacing builds excitement. Slow pacing creates space, calm, or reflection.
Use B-Roll as Story Glue
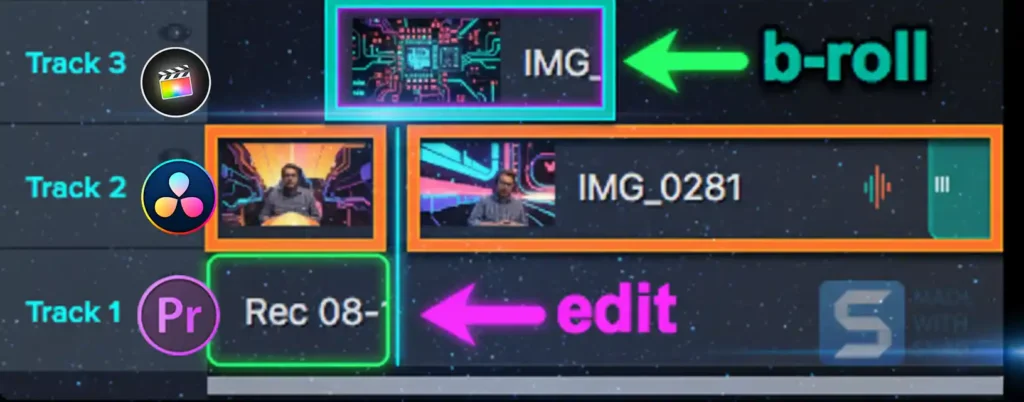
B-roll fills gaps, covers jump cuts, and creates emotional flow. Use it to show context (hands working, scenery, reactions) instead of just hiding errors. When done right, b-roll deepens storytelling instead of just patching over mistakes.
Best Video Editing Software For Professional Video Editing
Adobe Premiere Pro – 3 Short Tips
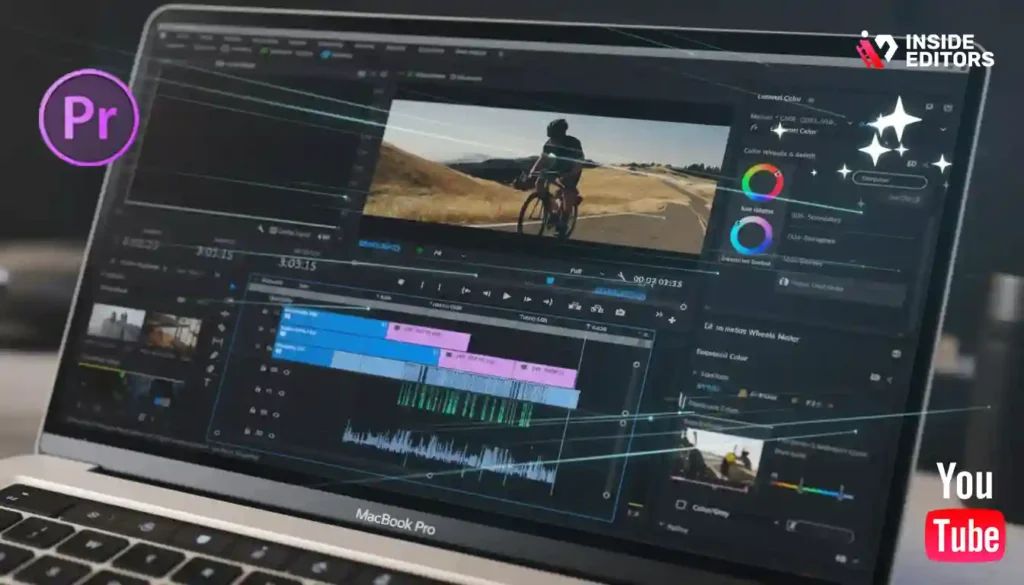
1. Master Ripple Edit Tools
Use Ripple Trim and Rolling Edit to tighten pacing fast-cut seconds off your timeline without manually shifting every clip.
2. Use Adjustment Layers for Color & Effects
Apply Lumetri Color or effects on an adjustment layer instead of individual clips to keep your workflow clean and consistent.
3. Create Proxies for Smooth Editing
Premiere struggles with heavy 4K/6K files; use automatic proxy creation to keep playback smooth and your workflow responsive.
DaVinci Resolve – 3 Short Tips
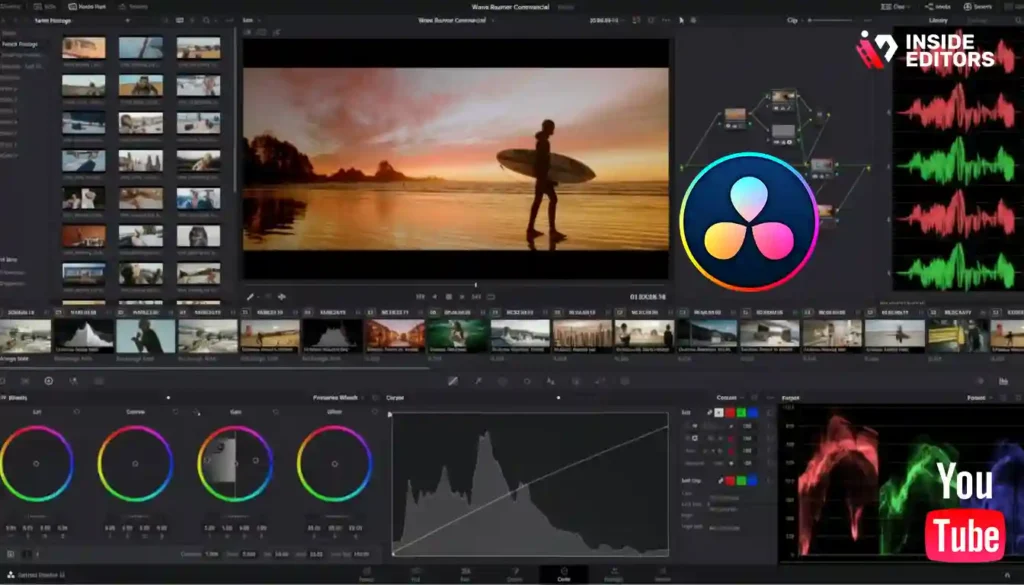
1. Use the Color Page for True Professional Grading
Resolve’s node-based color workflow gives you cinematic control-use separate nodes for exposure, white balance, and creative grade.
2. Leverage the Cut Page for Fast Edits
The Cut Page is optimized for quick assembly, ideal for social videos or rough cuts before you refine on the Edit Page.
3. Clean Audio With Fairlight Tools
Use Noise Reduction, EQ Match, and Dialogue Leveler in Fairlight for polished audio without plugins.
Final Cut Pro – 3 Short Tips
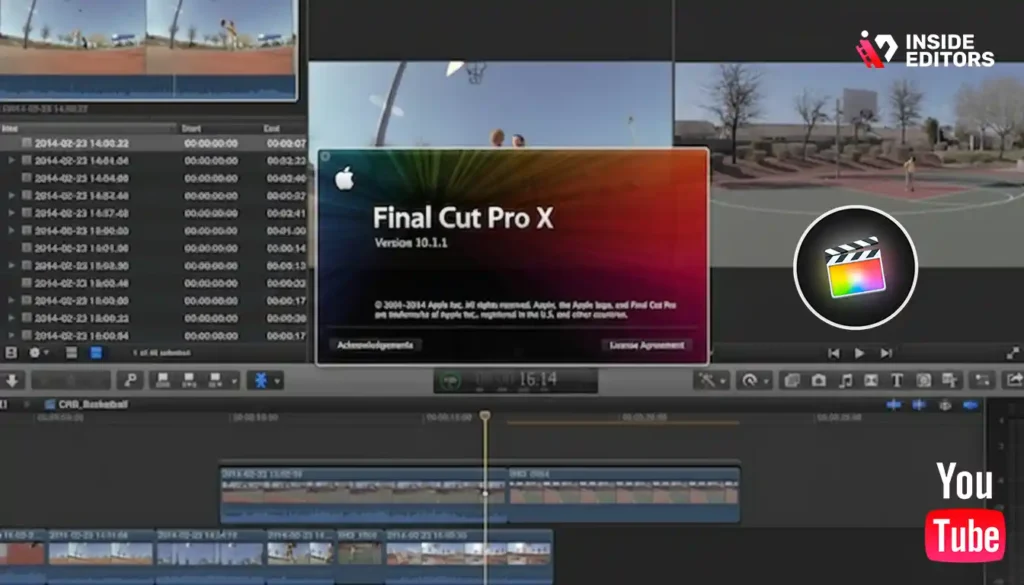
1. Take Advantage of Magnetic Timeline
The magnetic timeline keeps everything automatically aligned-great for fast editing and preventing sync errors.
2. Use Compound Clips for Complex Sequences
Group multiple clips into a compound clip to reduce clutter and simplify multi-layer edits.
3. Background Rendering Speeds Up Workflow
Final Cut’s background rendering helps smooth playback and reduces export load-especially useful for effects-heavy timelines.
Comparison Table: Premiere Pro vs DaVinci Resolve vs Final Cut Pro
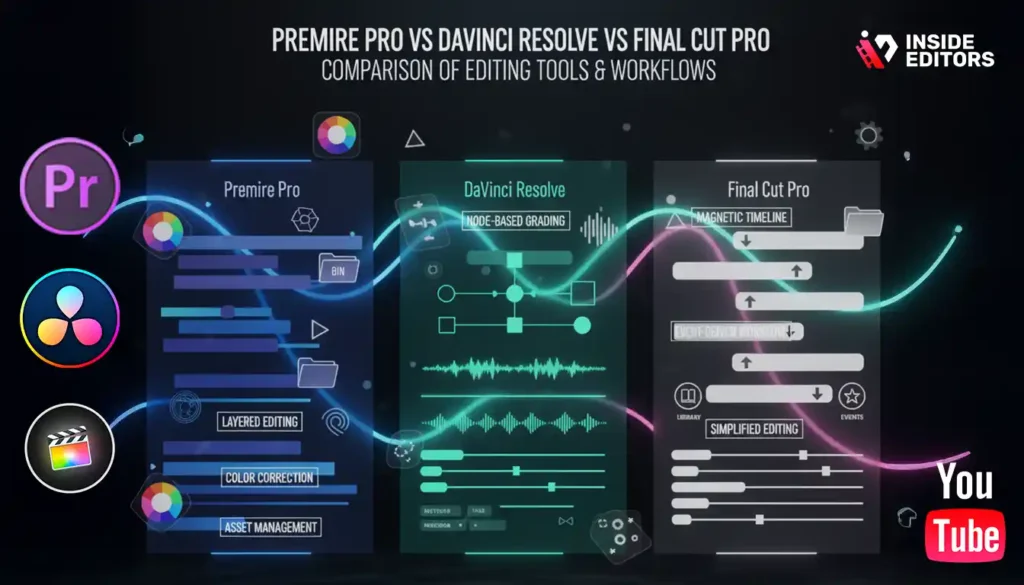
| Feature / Tip Category | Adobe Premiere Pro | DaVinci Resolve | Final Cut Pro |
| Best For | Versatile editing & motion graphics | Professional color grading & audio | Fast workflows & Mac-optimized editing |
| Workflow Speed | Moderate (depends on hardware) | Fast in Cut Page, heavy in Color Page | Very fast (magnetic timeline + background render) |
| Color Grading | Strong with Lumetri | Industry-leading node-based system | Good but less advanced |
| Audio Tools | Basic to intermediate | Fairlight = professional-grade audio | Simple, user-friendly tools |
| Learning Curve | Medium | Medium-High | Easiest for beginners |
| Proxy Editing | Excellent | Excellent | Good (automated on Mac) |
| Organizational Tools | Classic bins, labels | Bins + power-user metadata | Libraries, events, keyword ranges |
| Platform | Windows + Mac | Windows + Mac + Linux | Mac only |
| Pricing | Subscription | Free version + Studio upgrade | One-time purchase |
How to Improve Your Video’s Professional Look Immediately
Professional videos don’t necessarily use expensive gear-they use intentional choices. Three areas matter the most: light, color, and stabilization.
Color Correction vs. Color Grading
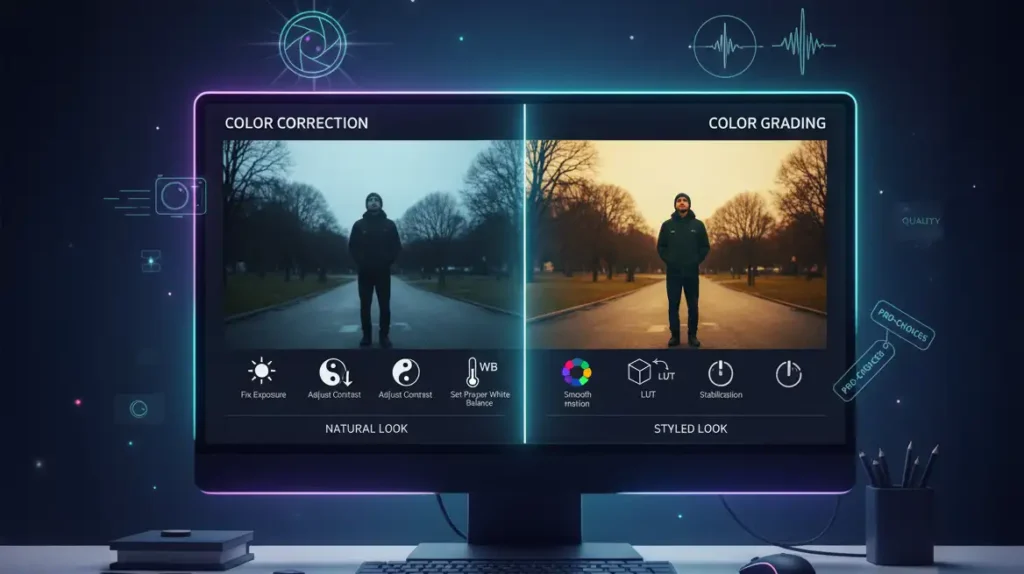
Before adding a “look,” always correct your footage:
- Fix exposure
- Adjust contrast
- Set proper white balance
Only then should you grade using LUTs or manual adjustments.
Good correction makes footage look natural. Good grading gives it style.
Light Consistency Matters More Than Effects
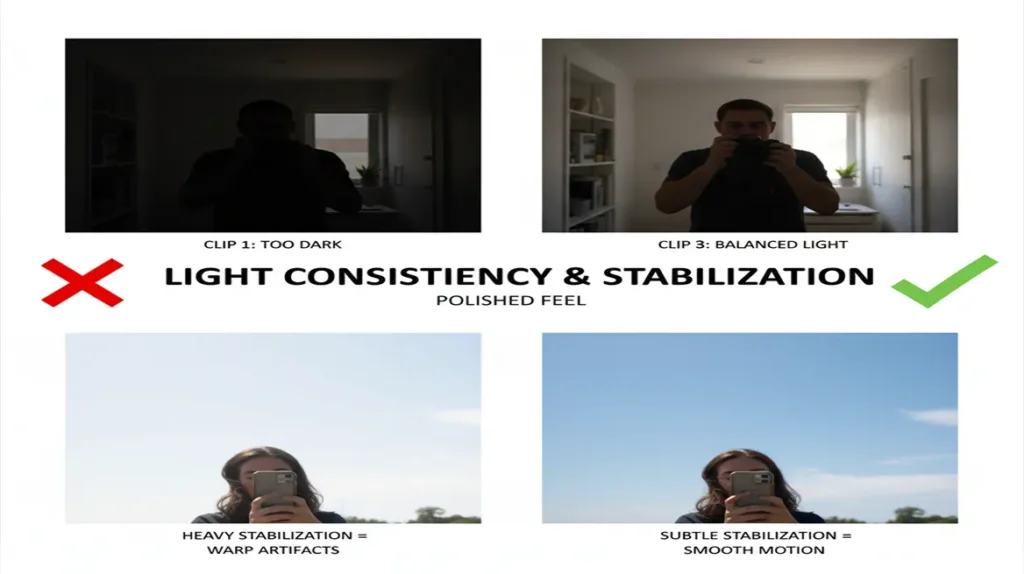
Even brightness between shots makes videos feel cohesive. If one clip is too dark and the next is overexposed, the viewer feels disoriented. A few minutes adjusting highlights and shadows create a polished feel.
Use Stabilization Sparingly
Warp stabilization can help-but too much creates wobbling artifacts. Light, subtle stabilization is more professional than heavy correction.
Comparison: Beginner vs. Intermediate vs. Pro Editing Workflows
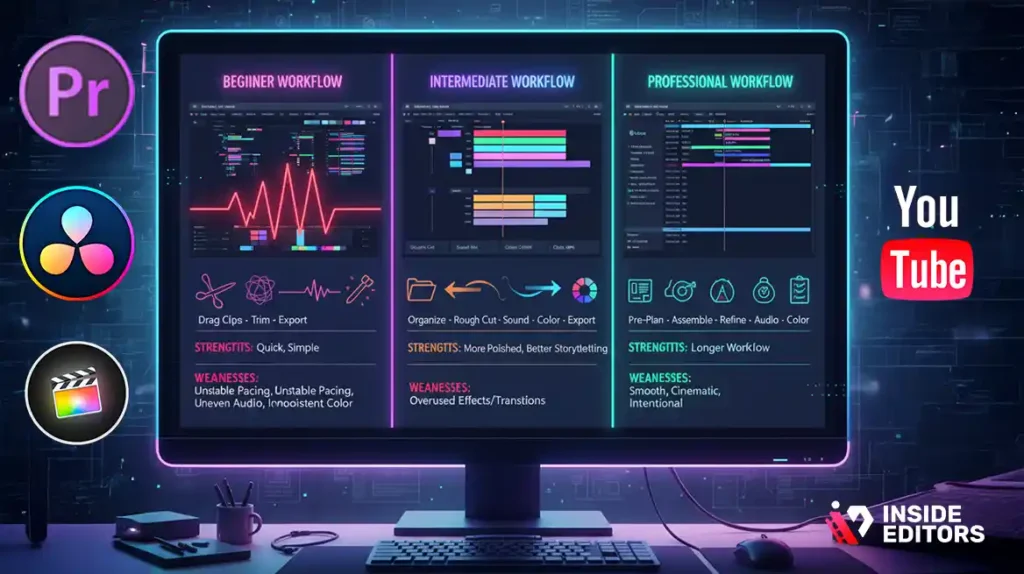
| Editing Level | Typical Workflow | Strengths | Common Weaknesses |
| Beginner | Drag clips – trim – export | Quick, simple, intuitive | Unstable pacing, uneven audio, inconsistent color |
| Intermediate | Organize – rough cut – sound – color – export | More polished, better storytelling | Sometimes overuses effects or transitions |
| Professional | Pre-plan – assemble – refine pacing – mix audio – color grade – quality control | Smooth, cinematic, clean, intentional | Longer workflow requiring discipline |
Use this table to understand where your current process fits-and where you can improve.
Audio: The Secret Ingredient of Professional Editing
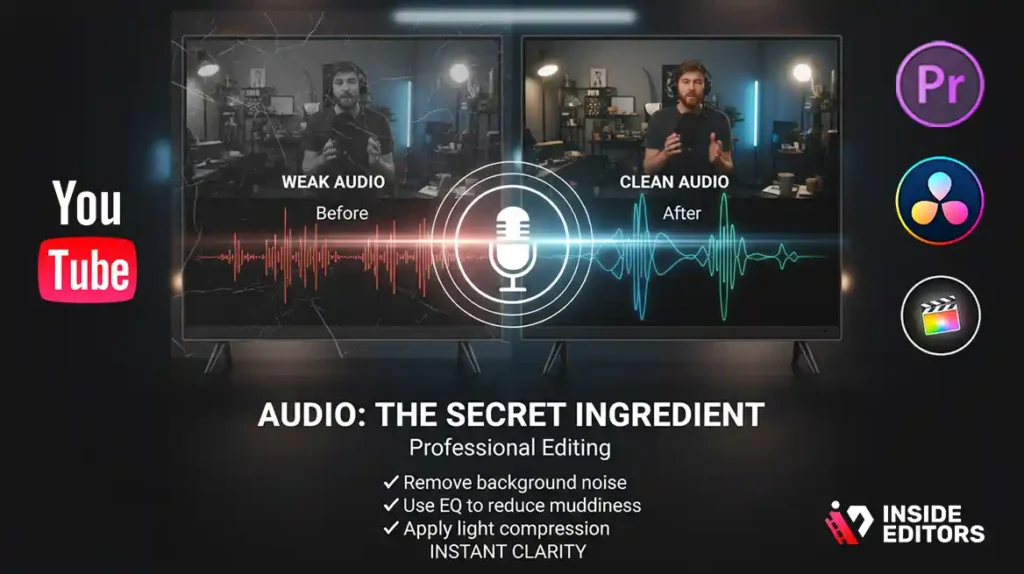
You can have stunning visuals, but if the audio is weak, viewers will leave. Clean sound instantly elevates the quality of your entire video.
How to Clean Up Dialogue Quickly
- Remove background noise
- Use EQ to reduce muddiness
- Apply light compression to even out volume
This restores clarity and brings your voice to the forefront.
Add Room Tone to Smooth Cuts
Room tone (gentle background atmosphere) hides jump cuts and makes your dialogue sound natural. It’s one of the most underrated techniques used by professional editors.
Balance Music With Speech
Music should support the message-not overpower it. Lower music during dialogue and increase it during transitions or action moments.
Workflow Tips to Edit Faster-and With Less Stress
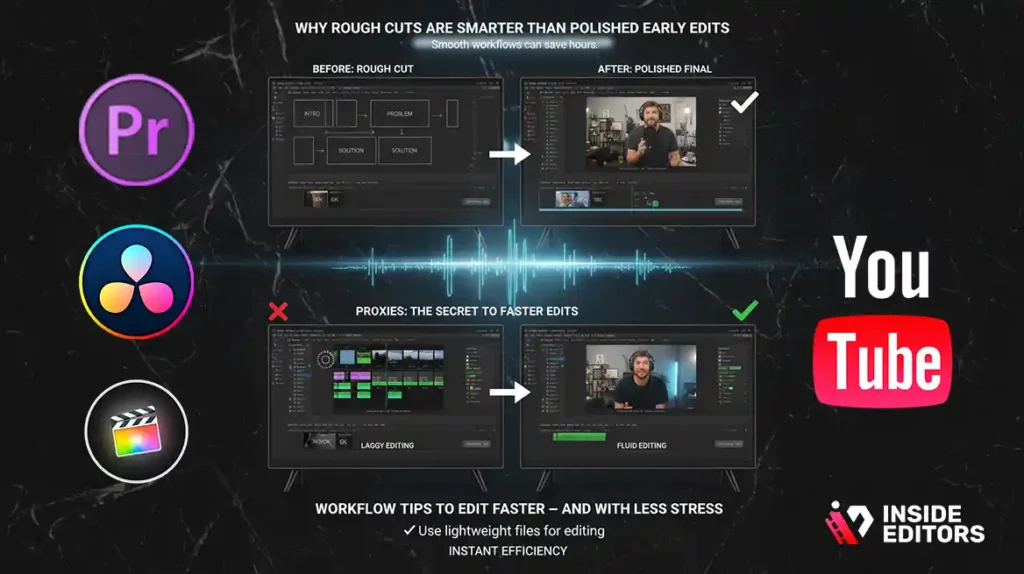
Smooth workflows can save hours.
Why Rough Cuts Are Smarter Than Polished Early Edits
The rough-cut-first method lets you focus on structure before perfection. Once the story feels right, you can refine transitions, add motion graphics, fix audio, and color grade.
This prevents overthinking early in the process.
Proxies: The Secret to Faster Edits
If your computer struggles with 4K or 6K footage, use proxies. They’re lightweight versions of your video, making your editing software run smoother. When you export, your full-resolution files relink automatically.
Beginner Mistakes That Hold Back Great Videos
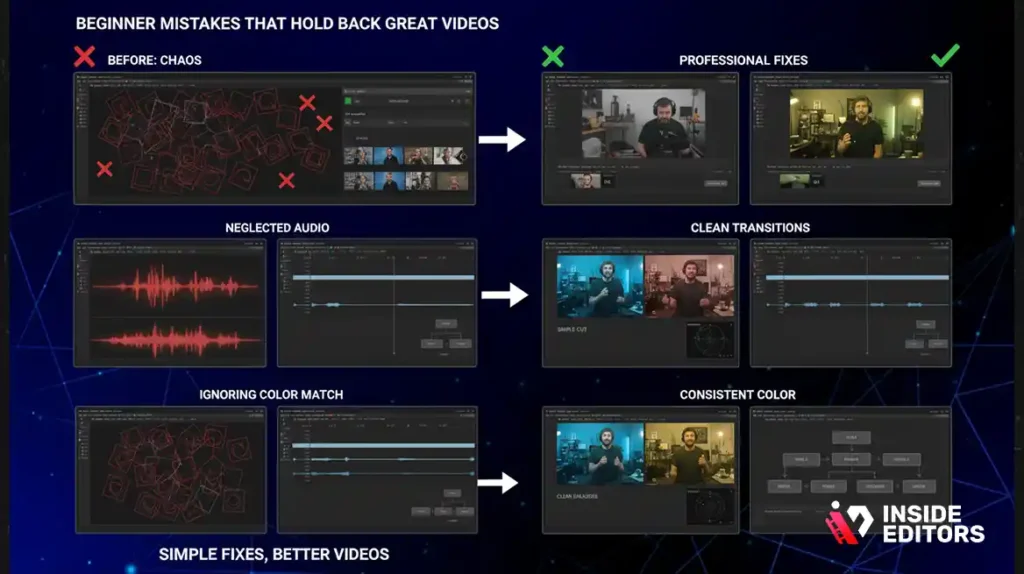
Even confident beginners fall into predictable traps-but the fixes are simple.
Mistake 1: Using Too Many Transitions
Avoid spinning, zooming, and flashy effects unless the style demands it. Most professional editors rely on straight cuts, dissolves, and fades.
Mistake 2: Neglecting Audio Quality
Muffled voices or uneven volume distract viewers. Spend a few minutes normalizing sound and removing noise.
Mistake 3: Ignoring Color Matching
Even subtle color mismatches make videos feel messy. Use scopes (waveform, vectorscope) to maintain consistency.
Mistake 4: Editing Without a Structure
Random edits create confusing videos. Story first, timeline second.
Quick, Beginner-Friendly Tips You Can Apply Today
These simple habits will instantly improve your video editing:
Use Templates Wisely
Motion graphics templates (titles, lower thirds, transitions) are great learning tools. They help beginners understand timing, typography, and clean design.
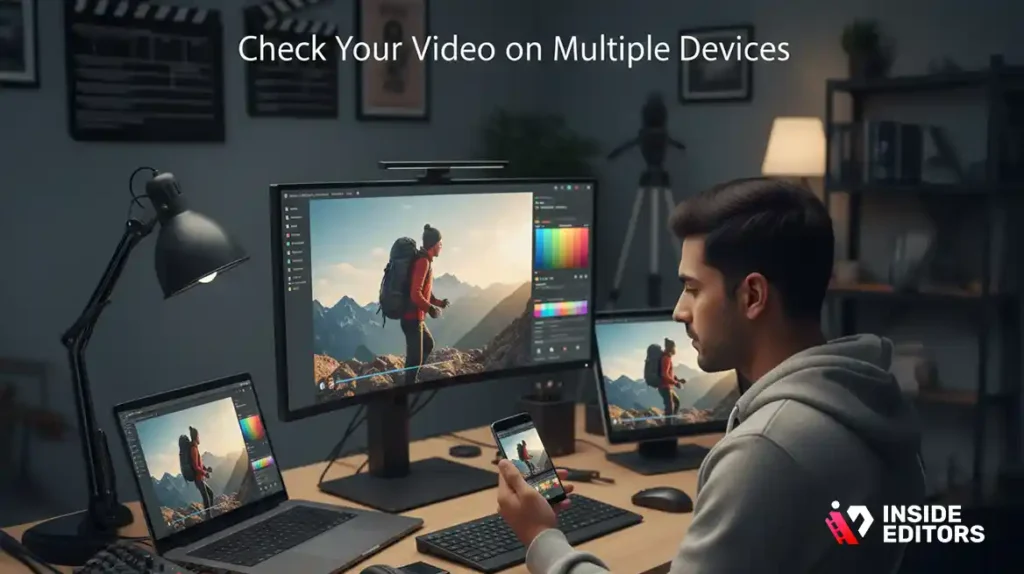
Check Your Video on Multiple Devices
Something bright on your monitor may look dull on a phone. Preview on at least two screens before exporting.
Edit With “Viewer Perspective” in Mind
Ask: If I were watching this for the first time, would this make sense?
This small shift improves pacing, clarity, and engagement.
When Getting Professional Editing Support Makes Sense
Sometimes you want more than a clean edit-you want storytelling, polished sound, consistent branding, motion graphics, or advanced color work. This is where partnering with professional editors helps.
Inside Editors offers specialized video editing services for every genre: product videos, reactions, travel films, fitness content, comparisons, business content, and more. If you ever feel like your footage isn’t matching your vision, experienced editors can bring the cinematic polish you’re aiming for-without losing your voice.Explore Inside Editors’ Video Editing Services.
Final Thoughts: Your Path to Better Video Editing
Editing is a craft. You get better with every project, every timeline, every export. Start with basic structure, focus on clear storytelling, and slowly build your skills in sound, color, and pacing. With consistent practice, you’ll see your videos becoming smoother, cleaner, and more confident.
And when you’re ready to elevate your content even further, professional editors can help turn your footage into compelling stories that resonate with viewers.
Great videos aren’t made by accident-they’re made by intention. And now, you have all the tools to begin creating your best work.
FAQs Top Video Editing Tips for You
1: How can I trust a video editor with my footage and revisions?
Trust starts with transparent policies: check portfolios, read reviews, and confirm revision limits and turnaround times before you pay. Reputable editors outline revision rounds (often 1–3) and keep original footage private unless you agree to sharing. For extra security, ask for an NDA and sample edit to verify quality before sending full assets. These steps protect your content and set expectations.
2: What quality guarantees should I expect from professional video editing services?
Quality guarantees usually include versioned revisions, color-corrected footage, and properly mixed audio delivered in platform-ready formats. Ask for samples showing consistent delivery and request grade/baseline checks before finalizing. Keep in mind higher-quality results often require more time or higher-tier packages; discuss priorities (speed vs. polish) up front to ensure the service meets your standards.
3: How do DIY tools compare to hiring pro editors?
DIY tools are great for quick, low-cost edits and learning core video editing tips, but they often lack advanced color grading, sound design, and bespoke storytelling that pros provide. Hiring a pro typically saves time and yields stronger brand consistency-especially for long-form or commercial work. If budget is limited, combine DIY for simple posts and pro services for flagship videos.
4: What pricing ranges should I expect and what’s typically included?
Basic trims and cuts for short social clips often start around $30–$150 per video, mid-tier edits (multi-cam, basic color, audio) commonly fall in the $150–$500 range, and fully produced brand or long-form edits can run $500+. Prices usually include a set number of revisions, export formats, and basic graphics; extras like custom motion graphics or rush delivery are commonly add-ons.
5: What are typical turnaround times and rush options?
Standard turnaround often ranges from 48 hours for short clips to 5–14 business days for complex edits; exact timelines depend on footage length, complexity, and current workload. Many services offer rush delivery (24–48 hours) for an extra fee-expect a 20–100% surcharge depending on urgency. Plan buffers into launch schedules to avoid costly rush charges.
6: Who owns the final files and what about licensing?
Ownership is usually transferred to you on delivery for final exported files, but confirm whether raw project files or stock assets are included-stock music/licenses often have restrictions or require additional fees. Ask for written terms that grant you usage rights (commercial or otherwise) and clarify whether the editor retains any reusable assets or templates to avoid surprises.
7: How do editors protect my privacy and data?
Professional studios typically use secure file-transfer tools (SFTP, private cloud links) and can sign NDAs on request; confirm their retention policy for raw footage and exports. Ask how long files are stored and whether backups are encrypted. These practices ensure that privacy and ownership align with your legal and brand requirements.
8: What’s an easy step-by-step process to work with an editor?
Start by sharing a brief: objective, target length, platform, reference videos, and a shot list; include hard assets and brand guidelines. The editor provides an estimate and timeline, you approve, then send files via secure link; expect a rough cut, a revision round, and a final delivery. Clear briefs and timely feedback shorten turnaround and improve results.


