


Vlogging has moved from a niche hobby to a powerful mainstream communication medium. Whether you are building a personal brand, marketing a business, or simply sharing your life, the quality of your video content determines your success. Raw footage is just the starting point; the real magic happens in post-production. Mastering vlog video editing is the single most critical skill for any successful creator. It transforms hours of footage into a tight, engaging narrative that keeps viewers watching. This comprehensive guide breaks down the complex process of professional vlog video editing into five essential, actionable steps, ensuring your content stands out in a crowded digital landscape.
Step 1: Preparation and Organization – The Foundation of Efficient Editing
Before you open your editing software, you must establish a solid workflow. Many creators underestimate the importance of preparation, leading to frustrating, disorganized editing sessions. Efficient vlog video editing begins long before the first cut.
Structuring Your Project Files
A standardized folder structure saves immense time, especially as your content library grows. Think of your project folder as your digital workspace. Everything related to that specific video should live there.
A typical structure includes folders for:
- Raw Footage: The original, unedited files straight from the camera. Never edit these directly.
- Audio: Separate voiceovers, music tracks, and sound effects.
- Graphics: Lower thirds, intro/outro animations, logos, and text overlays.
- Exports: Where the final rendered video file will be saved.
- Project Files: The actual save files from your editing software (e.g.,
.prproj,.drp).
Consistency is key. Naming conventions should be clear and descriptive (e.g., Date_Topic_ShotType). This meticulous organization allows you to quickly locate any asset, drastically speeding up the overall vlog video editing timeline.
Ingesting and Reviewing Footage
Once organized, the next step is ingesting the footage into your editing software and reviewing everything. This process is often called “logging.” Don’t just skim; watch every clip. Identify the best takes, mark specific moments, and discard unusable footage (blurry, silent, or accidental recordings).
“Editing is not about cutting out the bad parts; it’s about selecting the best parts and arranging them in the most compelling order.” – Walter Murch, Film Editor
This initial review allows you to build a mental map of the story you have available. You can then create a rough assembly-a sequence of all the usable clips placed in chronological or narrative order-before starting the detailed cutting process.
Step 2: The Rough Cut – Building the Narrative Arc
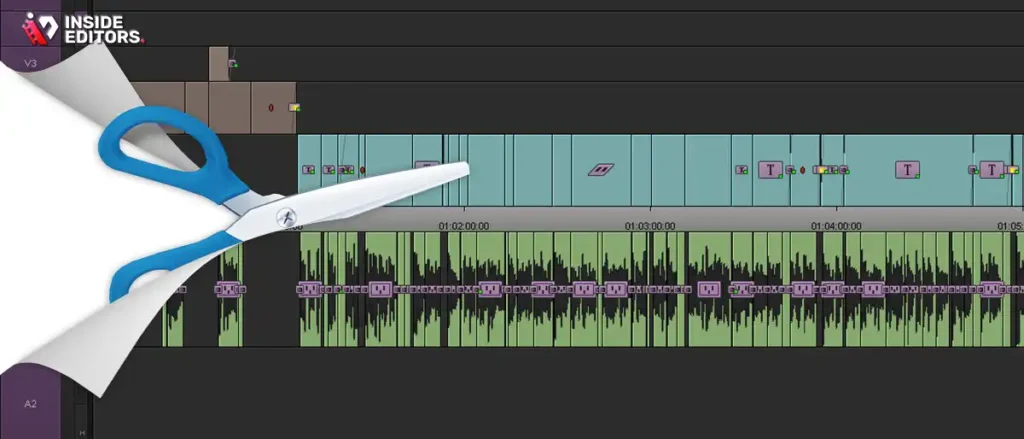
The rough cut is where the story takes shape. It is the first iteration of your video, focusing solely on narrative flow and timing, ignoring polish, effects, or color correction for now.
Focusing on Story Flow and Pacing
Vlogs thrive on authenticity, but they still require a compelling structure. Every video needs a hook (the first 15-30 seconds), a body (the main content), and a call to action/conclusion. During the rough cut, your primary goal is to remove all unnecessary pauses, stumbles, and redundant information.
If a shot doesn’t advance the story or provide necessary context, it must go. Pacing is crucial in vlog video editing. A fast pace keeps viewers engaged, while strategically placed slow moments can emphasize emotional weight or important details. Use jump cuts effectively to eliminate dead air and maintain energy.
The Power of the Jump Cut
Jump cuts-where the camera angle or position changes slightly between two consecutive frames-are standard in vlogging. They are essential tools for maintaining momentum.
Pros and Cons of Jump Cuts
| Feature | Pros | Cons |
|---|---|---|
| Pacing | Dramatically speeds up the pace and energy. | Can appear jarring or unprofessional if overused. |
| Efficiency | Easily removes stumbles, pauses, and filler words. | Requires careful attention to visual continuity. |
| Engagement | Maintains viewer attention by constantly changing the visual. | May distract viewers from the core message. |
To make jump cuts smoother, try using the “rule of thirds” to reposition your subject slightly in the frame after the cut, or incorporate B-roll footage to cover the transition.
Step 3: Audio Mastery – The Unsung Hero of Vlog Video Editing
Viewers will tolerate slightly imperfect video quality, but they will immediately click away from poor audio. Sound quality is arguably the most important element in professional-grade vlog video editing.
Cleaning Up Dialogue and Voiceovers
Start by normalizing the volume. Your dialogue should consistently hit a target loudness level (often around -12 LUFS for YouTube). Use compression to balance the loud and soft parts of your speech.
Next, tackle noise reduction. Most editing software offers tools to remove persistent background noises like hums, air conditioning, or distant traffic. Be careful not to over-process, as this can make the audio sound tinny or artificial.
Incorporating Music and Sound Effects
Music sets the mood and enhances the emotional tone of your vlog. Choose music that complements the content without overpowering the dialogue. Music beds should be mixed significantly lower than the voiceover-often 20-30dB below the peak dialogue level.
Sound effects (SFX) are powerful tools for emphasizing actions, transitions, or comedic moments. A simple whoosh effect on a graphic transition or a subtle click when demonstrating a product can significantly increase production value.
“If the sound is bad, people think the whole thing is bad. If the sound is great, they don’t notice it, which is the goal.” – Anonymous Sound Designer
Remember to use royalty-free music and SFX to avoid copyright issues, which can lead to demonetization or removal of your content.
Step 4: Visual Polish – Graphics, Color, and Effects
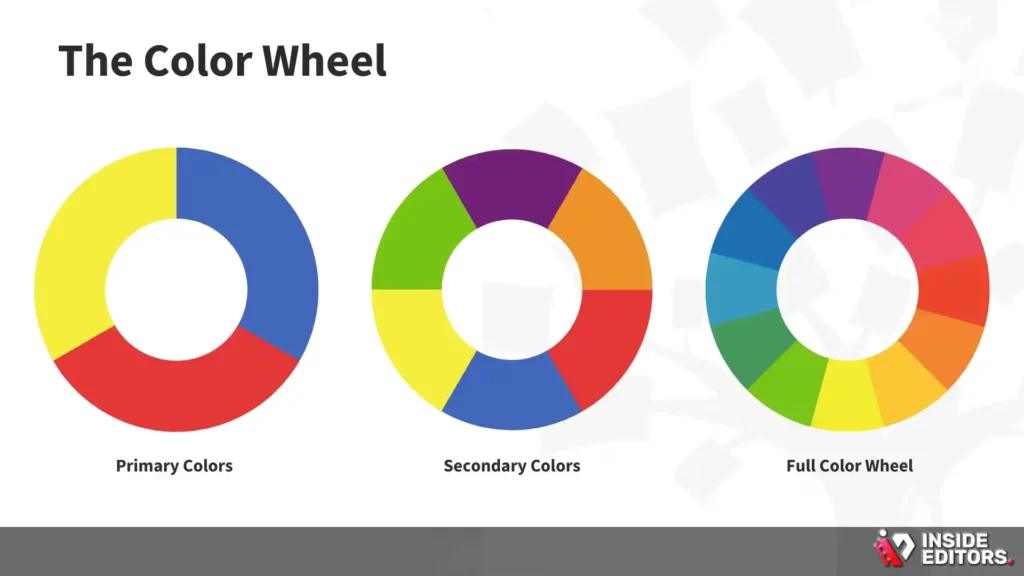
With the story locked and the audio perfected, you now move into the visual refinement stage. This step elevates your vlog from amateur footage to polished content.
Integrating Graphics and Text Overlays
Graphics-such as lower thirds, titles, and on-screen text-help reinforce key information and maintain brand consistency.
- Lower Thirds: Use these to introduce people or highlight important terms.
- Titles: Ensure your opening title sequence is brief (under 5 seconds) and visually striking.
- Subtitles/Captions: Adding captions directly to the video improves accessibility and viewer retention, especially for those watching without sound.
Maintain a consistent brand style across all graphics, using the same fonts, colors, and logo placement in every episode. This consistency builds recognition and trust.
Mastering Color Correction and Grading
Color correction fixes technical issues, ensuring the whites are white and the blacks are black. It adjusts exposure and white balance to make the footage look natural and consistent across all clips.
Color grading, however, is the creative application of color to evoke a mood or style. For vlog video editing, a bright, slightly saturated look is often preferred, suggesting energy and optimism. Use scope tools (like waveform and vectorscope) in your software to monitor color levels and prevent over-saturation or crushing shadows.
Essential Editing Software Comparison
Choosing the right tool is vital for efficient vlog video editing. The best software depends on your budget, operating system, and skill level.
| Software | Best For | Key Features | Pricing Model |
|---|---|---|---|
| DaVinci Resolve | Professional results, color grading. | Industry-leading color tools, excellent free version. | Free / Studio ($295 one-time) |
| Adobe Premiere Pro | Industry standard, integration with Creative Cloud. | Robust features, extensive tutorials, complex projects. | Subscription (Monthly/Annual) |
| Final Cut Pro | Apple users, fast performance, intuitive interface. | Optimized for macOS, magnetic timeline. | One-time purchase ($299) |
| CapCut/VN | Mobile editing, short-form content. | User-friendly, template-based, quick turnaround. | Free (with Pro options) |
For serious creators, investing time in learning a robust program like DaVinci Resolve or Premiere Pro will pay dividends in the quality and speed of your vlog video editing.
Step 5: Final Review and Export – Delivering the Finished Product
You are nearing the finish line. The final step involves a rigorous quality check and optimizing the video for its intended platform.
The Critical Final Review Checklist
Never skip the final review. Watch the entire video one last time, preferably on a different device (like a phone or tablet) and with fresh eyes. Focus on these critical points:
- Audio Consistency: Is the volume uniform? Are there any sudden loud noises or muffled sections?
- Visual Continuity: Are the colors consistent between cuts? Are there any flashing frames or unintended visual glitches?
- Timing and Pacing: Does the video drag anywhere? Is the intro too long?
- Text Accuracy: Are all titles, captions, and lower thirds spelled correctly and positioned properly?
- Call to Action: Is the final call to action clear and compelling?
It’s often helpful to have a trusted peer watch the video. They can spot errors or awkward moments that you, as the editor, have become blind to.
Export Settings for Maximum Quality and Compatibility
Export settings depend entirely on the platform (YouTube, Instagram, TikTok, etc.). However, some universal standards apply to high-quality vlog video editing:
- Codec: H.264 (for broad compatibility) or H.265 (for smaller file size, higher quality).
- Resolution: 1080p (Full HD) or 4K (Ultra HD). Always export at the resolution you filmed.
- Frame Rate: Match the original footage (usually 24, 25, or 30 fps).
- Bitrate: Use a variable bitrate (VBR) for efficiency. For 1080p, aim for 10-15 Mbps; for 4K, aim for 35-45 Mbps.
Using the correct settings ensures your hard work translates into a crisp, smooth viewing experience once uploaded.
When to Outsource Your Vlog Video Editing
While mastering the five steps above is essential for any creator, the demands of consistent content creation can quickly overwhelm you. If you find yourself spending more time editing than filming, or if your editing skills are limiting your growth, it might be time to consider professional help.
Many successful creators reach a point where outsourcing their vlog video editing becomes a strategic necessity. This allows them to focus their energy on generating high-quality content, securing sponsorships, and engaging with their audience-the activities that directly drive channel growth.
The Inside Editors Advantage
Inside Editors specializes in providing professional video editing services tailored specifically for content creators, businesses, and marketers. We understand the unique demands of vlogging, from fast-paced jump cuts to consistent branding and audio quality.
Our service offers several distinct advantages:
- Expertise: Our professional editing team has 10+ years of experience in crafting engaging digital content. We know what works on YouTube and other platforms.
- Speed and Reliability: We offer a fast turnaround time (typically 24–72 hours), ensuring you never miss an upload deadline.
- Quality Assurance: We guarantee professional quality that builds trust with your audience, including expert color grading and audio enhancement in every video.
- Flexibility: We offer unlimited revisions until you are completely satisfied, ensuring the final product perfectly aligns with your vision and brand style.
- Affordable Scaling: With affordable pricing starting per video, we provide a scalable solution that grows with your channel.
By partnering with Inside Editors, you save valuable time and gain access to professional quality that elevates your brand. You can focus on creating the content you love, knowing that the complex and time-consuming vlog video editing process is handled by experts.
Advanced Tips for Next-Level Vlog Video Editing
Once you have mastered the fundamentals, you can integrate advanced techniques to make your vlogs truly distinctive.
Utilizing B-Roll Effectively
B-roll is supplementary footage used to illustrate what you are talking about, covering jump cuts and adding visual interest. Effective B-roll transforms a monologue into a dynamic visual experience.
Think about cinematic shots: close-ups of objects, wide shots of the environment, or slow-motion sequences. When you are talking about making coffee, show the steam rising from the mug. When discussing travel, show sweeping landscapes. This visual storytelling keeps the viewer captivated.
Injecting Personality Through Sound Design
Sound design goes beyond simple noise reduction. It involves adding layers of ambient sound to create a richer, more immersive environment. If you film indoors, adding a subtle, quiet room tone prevents the audio from feeling sterile. If you film outside, adding natural ambient sounds (birds, wind) grounds the viewer in the scene. This detail is a hallmark of high-quality vlog video editing.
Maintaining Consistency Across Series
If your vlog is a series (e.g., weekly reviews, travel episodes), viewers expect consistency. This includes:
- Intro/Outro: Use the same short bumper every time.
- Font and Color Palette: Never change your branded fonts or primary colors.
- Editing Style: Maintain the same pacing and jump-cut style.
Consistency builds loyalty. Viewers know exactly what they are getting when they click on your video, reinforcing your brand identity.
Conclusion: Elevating Your Content Through Precision Editing
Mastering vlog video editing is an ongoing journey, but by following these five essential steps-Preparation, Rough Cut, Audio Mastery, Visual Polish, and Final Review-you establish a professional foundation. High-quality editing is not just about making cuts; it’s about respecting your audience’s time and delivering a polished, compelling story every time.
The dedication you put into refining your vlog video editing workflow directly translates into higher viewer retention and faster channel growth. If the editing process begins to consume too much of your time, remember that professional solutions are available. Services like Inside Editors provide expert video editing services, allowing you to scale your content production without sacrificing quality. Focus on creating compelling narratives, and let the experts handle the technical polish. Your audience-and your channel-will thank you for it.
Frequently Asked Questions
What is the most critical step in vlog editing?
The most critical step in vlog video editing is mastering audio quality. Viewers will tolerate visual imperfections, but poor sound quality often causes immediate abandonment, making audio cleanup and mixing paramount for retention.
How long should a vlog intro be?
A vlog intro should be concise, ideally under 5 seconds. A quick, branded bumper or a strong visual hook in the first 15 seconds is essential to prevent viewers from clicking away before the main content begins.
What is B-roll and why is it important?
B-roll is supplementary footage used to illustrate dialogue or cover jump cuts. It is vital in vlog video editing for adding visual interest, maintaining pacing, and transforming a simple narrative into a dynamic viewing experience.
Should I use 1080p or 4K resolution?
Always export your vlog video editing project at the highest resolution you filmed, typically 1080p or 4K. 4K offers superior detail, but 1080p is sufficient for fast uploads and broad compatibility across devices.
What is the difference between color correction and grading?
Color correction fixes technical flaws like exposure and white balance. Color grading is the creative process of applying color palettes to evoke a specific mood or style, crucial for professional vlog video editing.
How do I make my jump cuts smoother?
To smooth jump cuts, incorporate B-roll footage to cover the transition, or slightly reposition the subject within the frame (using the rule of thirds) between cuts to maintain visual flow.
When should a creator outsource editing?
A creator should consider outsourcing their vlog video editing when the time spent editing prevents them from focusing on content creation, audience engagement, or securing sponsorships, allowing for scalable growth.


