
Adding a YouTube video to your Google Slides presentation can instantly make your content more engaging, memorable, and easier to understand. Whether you’re teaching a class, pitching a product, or creating a training module, the right video can help your audience connect with your message. The good news is that learning how to put a YouTube video in Google Slides is simple once you understand how Google’s tools are designed to work together. In this guide, we’ll walk through every method step-by-step, including screenshots, descriptions, best practices, and expert tips you won’t find in basic tutorials. By the end, you’ll know exactly how to choose, insert, and customize YouTube videos so they look intentional-not like last-minute add-ins.
Before we jump in, keep in mind that YouTube and Google Slides are constantly updating their interfaces. That’s why this guide focuses on both the “how” and the “why,” giving you the confidence to adapt even as menus and icons shift around. Let’s begin by looking at the core reason people embed videos in slides-and why doing it properly can elevate your entire presentation.
Why YouTube Videos Boost Presentation Flow

If you’ve ever tried to keep an audience focused using text-heavy slides, you know how quickly attention can drift. A well-placed YouTube video immediately breaks that pattern. Users today are accustomed to video-first content, especially in professional training, marketing, and education. When your presentation includes short, purposeful clips, you not only maintain attention but also improve information retention.
You can think of video as the anchor that resets your audience’s focus. Even a 15–30 second example clip can make your idea more concrete. For instance, educators often use real-world demonstrations from YouTube to reinforce concepts, while marketers embed product demos to help clients visualize usability. No matter the niche, a video encourages viewers to stay engaged and follow along with your narrative.
Embedded Videos Maintain Professionalism and Control
Some presenters still hyperlink out to YouTube instead of embedding the video directly into a slide. The problem? The moment your audience leaves the slide deck, you lose control. Now you’re relying on their browser, their tabs, their attention span, and their patience. Embedding eliminates these variables, creating a seamless viewing experience.
Embedding a video means it plays inside the slide, framed neatly within your design. It feels polished and intentional-qualities that matter when you’re pitching clients or conducting training for a business. If you edit content professionally, this seamless flow also helps convey trust. Clients viewing product demos or brand videos expect consistency and precision, which is exactly what embedding supports.
Videos Can Reduce the Need for Excessive Text
A single clip can replace entire paragraphs of explanation. That’s especially useful if your topic is visual by nature-like filming locations, product demonstrations, workout techniques, or travel footage. Reducing text doesn’t just make your presentation cleaner; it helps your message land faster. This is the style high-performing presenters and educators now follow: less reading, more showing.
Now that we’ve established why embedding matters, let’s break down the actual process. The next section will teach you the simplest method-adding a YouTube video directly from search within Google Slides.
Quickest Way to Add a YouTube Video in Google Slides
Google Slides includes a built-in search feature that connects directly to YouTube. This tool simplifies the process because it eliminates the need to leave your presentation and manually copy links. It’s ideal for general content searches, educational clips, or popular video types where the exact URL doesn’t matter.
When used correctly, this feature is almost instant. But there’s a catch-its search results aren’t always as complete as YouTube’s own platform. That means it’s best suited when you’re looking for widely known videos, not hidden or unlisted clips.
Step-by-Step Instructions (With Screenshot Descriptions)
To help you visualize each step clearly, here’s the full process with simple screenshot-style descriptions that match what users typically see.
Step 1: Open your slide
Open Google Slides and click the slide where you want the video to appear.
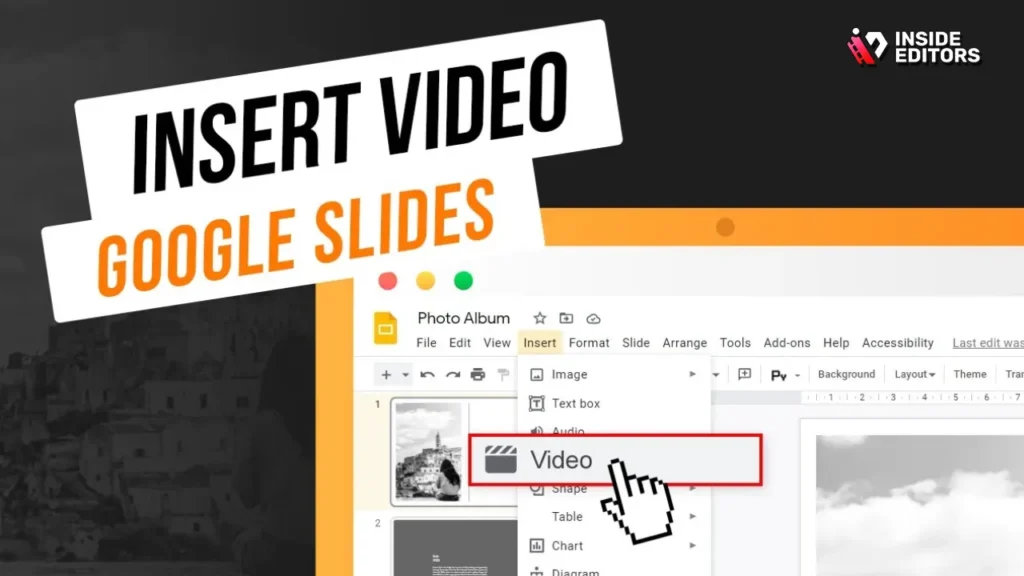
Step 2: Click “Insert” in the top menu
Look toward the upper-left corner of the screen and select “Insert.”
Step 3: Select “Video”
From the dropdown, click “Video.”
Step 4: Use the YouTube search bar
In the YouTube tab, type your search phrase.
Step 5: Choose your video
Click the thumbnail of the video you want to insert.
Step 6: Click “Select” to insert the video
Your selected video will now appear on your slide.
This method is ideal when you’re working quickly or when the exact clip doesn’t need to be predetermined. If you want more accuracy-especially if you’re embedding a link shared by a colleague or instructor-the next method is even more reliable.
How to Insert a YouTube Video Using a URL
Sometimes you know the exact YouTube video you want to use-maybe it’s a product demo, a company-produced tutorial, or a clip you uploaded yourself. In these situations, the URL method is the most dependable. Google’s internal search occasionally filters out certain videos, especially unlisted or niche content, so pasting the direct link ensures you get the exact one you want.
This approach is also helpful when working with teams. If someone sends you a video and expects you to embed it correctly on a specific slide, copying and pasting the URL reduces error and keeps your workflow efficient.
Step-by-Step Instructions (With Screenshot Descriptions)
Step 1: Find your YouTube link
Go to YouTube, open the video, and copy the URL from the address bar.
Step 2: Return to Google Slides
Click into the slide where the video will go.
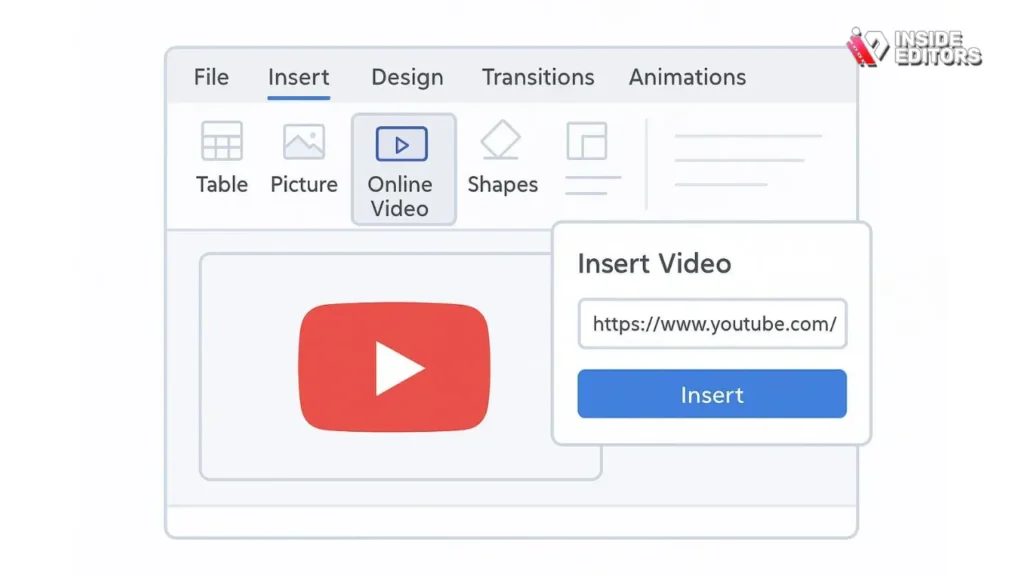
Step 3: Go to Insert – Video – “By URL”
When the Insert Video window pops up, click the “By URL” tab.
Step 4: Paste the link
Paste the URL into the field and wait a moment for the preview to load.
Step 5: Click “Select”
Once the video preview appears, click “Select” to embed it.
You now have full confidence that the correct clip has been inserted. This method is especially important for professional presentations where accuracy is part of your credibility-whether you’re teaching, pitching, or showcasing edited work.
Adding Videos from Google Drive
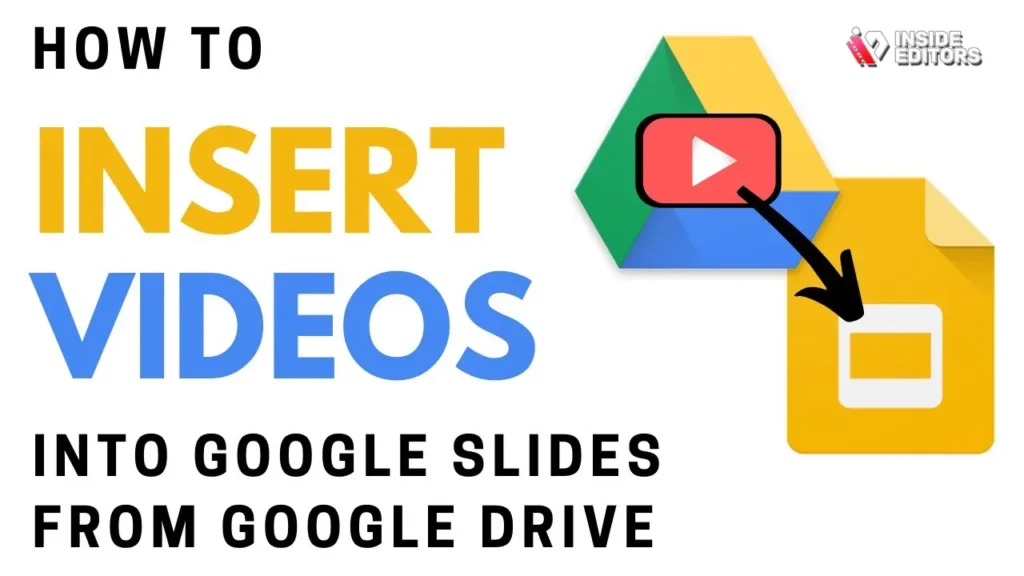
If your video isn’t on YouTube-or if it’s a private project you’ve edited or commissioned-Google Drive becomes the perfect alternative. For example, many businesses use Drive to store training videos, product demonstrations, or professionally edited content they don’t want public on YouTube.
Drive also allows you to upload any video you’ve created using an editor or a service like Inside Editors, which is especially helpful if your content includes branding, custom animations, or footage meant only for internal eyes. Embedding through Drive gives you full permissions control and ensures your video plays smoothly without relying on YouTube’s platform.
Step-by-Step Instructions (With Screenshot Descriptions)
Step 1: Upload your video to Google Drive
Open Drive, click “New,” then choose “File Upload” to upload your video file.
Step 2: Open your Google Slides presentation
Return to your slide deck and click on the slide where the video will appear.
Step 3: Insert – Video
Click Insert in the top menu, then select Video.
Step 4: Choose “Google Drive”
Switch to the Drive tab and browse your files.
Step 5: Select your uploaded video
Click the video you want, then hit “Select.”
This method is essential if your organization uses proprietary content or if you want to embed a professionally edited clip without exposing it publicly.
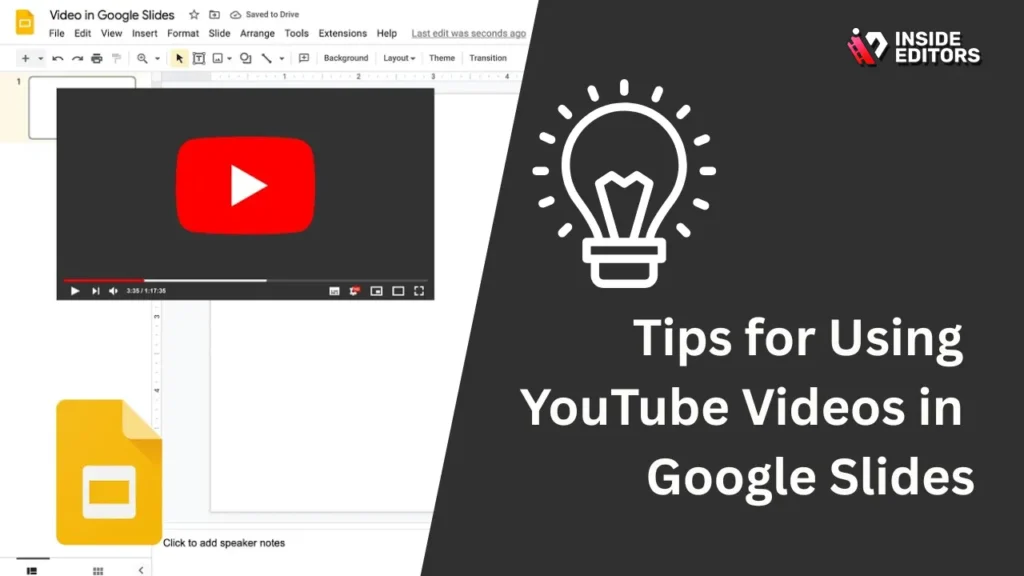
Tips for Using YouTube Videos in Google Slides
Now that you know how to embed YouTube videos in your Google Slides presentation, here are a few extra tips to make the most out of your embedded videos:
Use Videos to Illustrate Key Points
Instead of using videos as filler, choose videos that add value to your message. Whether you’re explaining a complex concept or telling a story, a well-placed video can clarify your point and make your presentation more memorable.
Keep Videos Short and Relevant
While YouTube offers countless videos on a wide variety of topics, it’s important to keep your presentations focused. Use short videos that are directly relevant to your content, and avoid playing lengthy videos that might distract from your message. You can even trim videos using editing tools to show just the most important segments.
Add Context to the Video
When embedding a video, provide context for your audience. Explain why the video is important and what you expect your audience to take away from it. This helps integrate the video into the flow of your presentation rather than just inserting it as an afterthought.
Conclusion add Videos in Google Slides

Adding a YouTube video to your Google Slides presentation is a simple yet powerful way to make your slides more engaging, interactive, and informative. With just a few clicks, you can enhance your message and keep your audience’s attention.
By following the steps outlined in this guide, you should be able to embed YouTube videos seamlessly into your slides, creating dynamic presentations that captivate your audience. And if you ever encounter issues with video playback, don’t forget to check our troubleshooting tips to ensure smooth delivery.
If you’re ready to take your presentations even further, professional editing services can help enhance your multimedia content for maximum impact. Explore Inside Editors’ video editing services to learn how we can assist you in turning your raw footage into a polished, compelling story that leaves a lasting impression.
Stay tuned for more expert tips on creating stunning presentations and videos!
FAQs – How to Put a YouTube Video in Google Slides
1. Can I trust that embedded YouTube videos will work in my slides?
Embedded YouTube videos generally play reliably, but they require an internet connection during the presentation. If a video is unlisted or removed, it won’t display. For sensitive or private content, using Google Drive or a locally hosted file ensures full control and avoids dependency on YouTube availability.
2. Should I embed videos myself or hire a professional editor?
Embedding YouTube videos is simple for most users, taking only a few clicks per slide. Professional editors can enhance videos with trimming, annotations, or branding, which improves flow and audience engagement. DIY is fine for basic clips, while pros add polish for presentations used in marketing, training, or pitches.
3. Does embedding a video cost anything?
Embedding YouTube videos in Google Slides is free. If you use professional editing services, pricing typically ranges from $50–$250 per video depending on length, complexity, and revisions. Google Drive hosting may incur storage costs if large files exceed free limits.
4. How long does it take to add a video to Google Slides?
Using Google Slides’ built-in search or URL method usually takes 1–2 minutes per video. If you include custom editing, adding branding, or trimming, expect 1–3 hours per video for professional-quality edits. Rush options may reduce turnaround but often increase cost.
5. Can I embed private or edited videos in my slides?
Yes. Google Drive allows you to embed private or custom-edited videos while maintaining control over permissions. Upload your clip, then insert it via the Drive tab in Google Slides. This ensures privacy and avoids accidental exposure on YouTube.
6. What’s the simplest way to add a YouTube video?
Open your slide, click Insert – Video – YouTube, search for the video, select it, and click Select. For precise videos, use By URL instead. Short videos under 2–3 minutes work best to maintain audience attention.


