

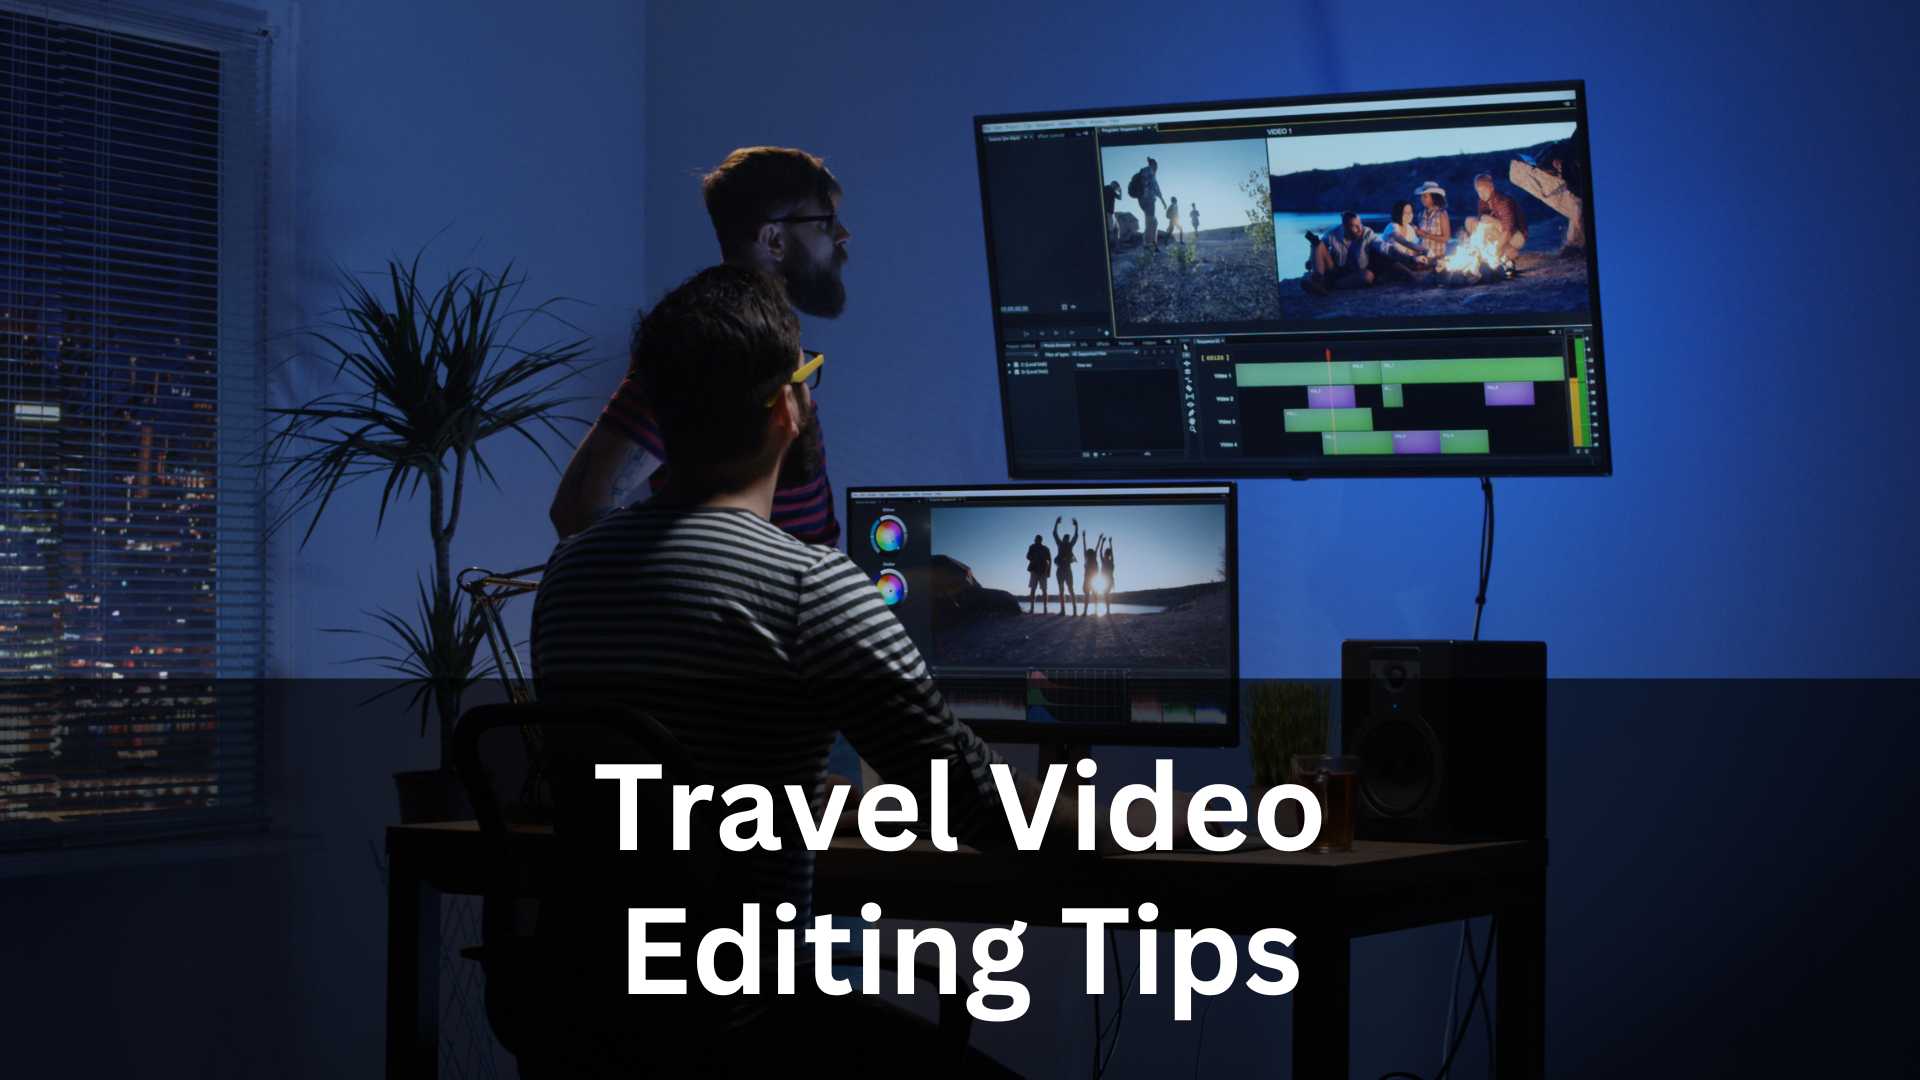
Welcome to Inside Editors! If you love capturing your journeys but feel a little overwhelmed when you sit down to edit your clips, you’re not alone. Many travelers come home with hours of shaky footage, random clips, and beautiful moments that don’t quite tell a story yet. That’s where Travel Video Editing Tips come in. With the right approach, you can turn raw travel footage into a smooth, emotional, and memorable video that people actually enjoy watching.
This guide is written for travelers, vloggers, beginners, and even intermediate editors who want clear guidance without complicated jargon. I’ll walk you through the mindset, workflow, and creative decisions behind professional-looking travel videos. These Travel Video Editing Tips focus on storytelling, pacing, color, sound, and emotion -everything that truly transforms your footage.
Understanding the Purpose of Your Travel Video
Before opening any editing software, the most important of all Travel Video Editing Tips is to understand why you’re editing the video in the first place. Are you creating a memory for yourself, a cinematic film for YouTube, or a short social media highlight? Your purpose shapes every editing decision you make.
A travel video isn’t just a collection of clips from a destination. It’s a story about how it felt to be there. Think about the emotions you want viewers to experience. Was the trip relaxing, adventurous, emotional, or chaotic? Once you’re clear on that feeling, editing becomes much easier because you know what to keep and what to remove.
When beginners struggle, it’s often because they try to include everything. One of the most practical Travel Video Editing Tips is learning to let go of footage that doesn’t serve your story, even if the clip looks nice on its own.
Organizing Raw Footage Before You Edit
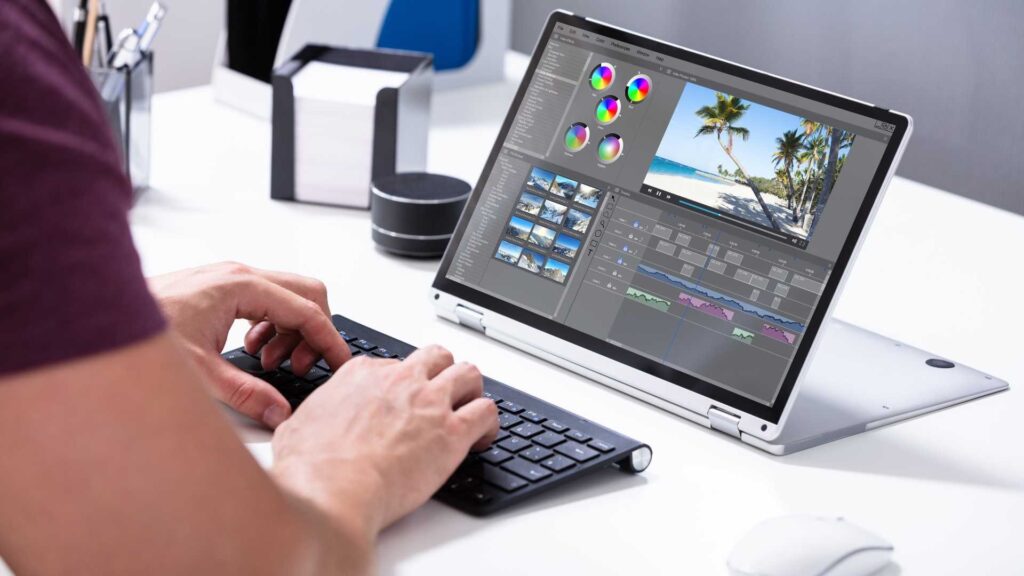
Editing becomes stressful when your files are messy. One of the most overlooked Travel Video Editing Tips is proper organization. Before you cut a single clip, take time to sort your footage into folders based on days, locations, or activities. This simple habit saves hours later.
Rename your clips if possible. Even basic labels like “Beach_Sunset” or “City_Walk_Night” help your brain move faster during editing. If you shot on multiple devices like a camera, phone, or drone, separate those folders too.
When your footage is organized, your creativity flows better. You’re no longer searching for clips -you’re shaping a story.
Choosing the Best Clips Without Overthinking
One of the hardest parts of travel editing is deciding what stays and what goes. Among all Travel Video Editing Tips, this one requires trust in your instincts. Watch all your footage once without editing. Just observe. Notice which clips immediately grab your attention and which ones feel repetitive or dull.
Strong travel clips usually have movement, emotion, or a clear subject. A short walking shot through a market often works better than a long static clip. Don’t be afraid to trim aggressively. A great travel video is engaging because it respects the viewer’s time.
Remember, shorter videos often feel more professional than long, unfocused ones. This mindset shift alone can dramatically improve your results.
Building a Story Instead of a Slideshow
A powerful travel video feels like a journey, not a slideshow. One of the most valuable Travel Video Editing Tips is to think in terms of beginning, middle, and end. Introduce the destination, show the experience, and then gently wrap it up.
Your opening matters more than you think. The first few seconds decide whether someone keeps watching. Start with a visually strong clip or an emotional moment. Then let the video flow naturally, as if the viewer is traveling alongside you.
Transitions don’t have to be flashy. Simple cuts often work best when the story itself is strong. Let your footage breathe, and allow moments to connect naturally.
Using Music to Set the Mood
Music is the emotional backbone of travel videos. One of the most impactful Travel Video Editing Tips is choosing the right soundtrack before finalizing your edits. Music influences pacing, emotion, and energy more than visuals alone.
A calm destination works well with soft, ambient music, while adventure clips shine with upbeat rhythms. Once you choose a track, edit your clips to match the music’s flow. Cuts that land on beats feel satisfying and professional, even to non-editors.
Avoid overpowering your video with loud music. Let it support the visuals rather than dominate them. When music and footage work together, your travel video feels intentional and immersive.
Improving Pacing for a Smooth Viewing Experience
Pacing separates amateur travel videos from polished ones. One of the smartest Travel Video Editing Tips is learning when to speed up and when to slow down. Not every moment needs equal screen time.
Action scenes benefit from quick cuts, while emotional or scenic shots feel better when held slightly longer. If a clip feels boring, it probably is. Trust that feeling and trim it. Your goal is to keep viewers engaged without overwhelming them.
Pacing also depends on the platform. A YouTube travel film allows more breathing room, while social media demands faster rhythm. Adjust your pacing based on where the video will live.
Basic Color Correction for Better Visual Impact
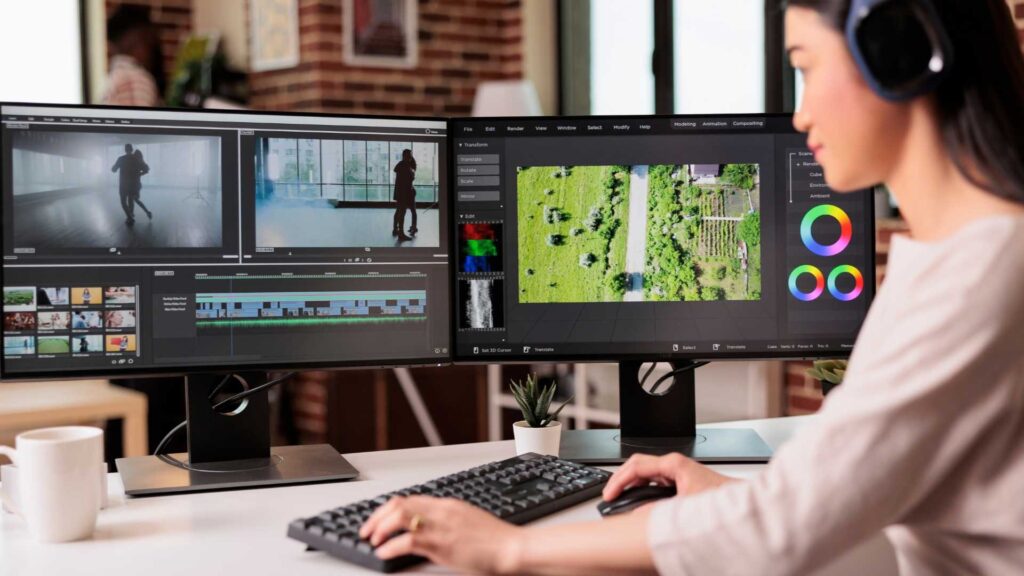
Color plays a huge role in how your travel video feels. One of the essential Travel Video Editing Tips is correcting your footage before stylizing it. Basic color correction involves adjusting exposure, contrast, and white balance so clips look natural and consistent.
Travel footage often comes from different lighting conditions. A beach scene, a night market, and a hotel room will all look different. Your job as an editor is to make them feel like part of the same journey.
Once corrected, subtle color grading can enhance mood. Warm tones feel inviting, while cooler tones feel calm or cinematic. Keep it natural. Overdoing color effects can distract rather than impress.
Making Simple Transitions Look Professional
You don’t need fancy transitions to create a professional look. One of the most reassuring Travel Video Editing Tips is that simple cuts often work best. Clean transitions keep viewers focused on the story, not the effects.
When you do use transitions, use them with purpose. A fade can signal the end of a day. A gentle cross-dissolve can soften emotional moments. Avoid overusing zooms, spins, or flashy animations unless they fit your style.
Consistency matters. When transitions feel intentional, your video feels cohesive and thoughtful.
Enhancing Audio for a More Immersive Experience
Great visuals can still feel empty without good audio. One of the most underestimated Travel Video Editing Tips is paying attention to sound. If you captured ambient audio like waves, footsteps, or city noise, use it subtly under your music.
Lower background noise, remove harsh sounds, and balance audio levels. Clean audio instantly raises the perceived quality of your video. Viewers may not consciously notice it, but they will feel the difference.
If you’re narrating or vlogging, clarity is essential. A clear voice builds trust and connection with your audience.
Saving Time With a Simple Editing Workflow
Editing becomes enjoyable when you follow a repeatable process. One of the smartest Travel Video Editing Tips is developing a personal workflow. Start by organizing clips, then rough cut, then music, then color, then final polish.
Avoid jumping back and forth between tasks. Finish one stage before moving to the next. This keeps your mind focused and prevents burnout.
With time, this workflow becomes second nature, and each travel video becomes easier to complete than the last.
Using Cinematic Techniques Without Overdoing Effects
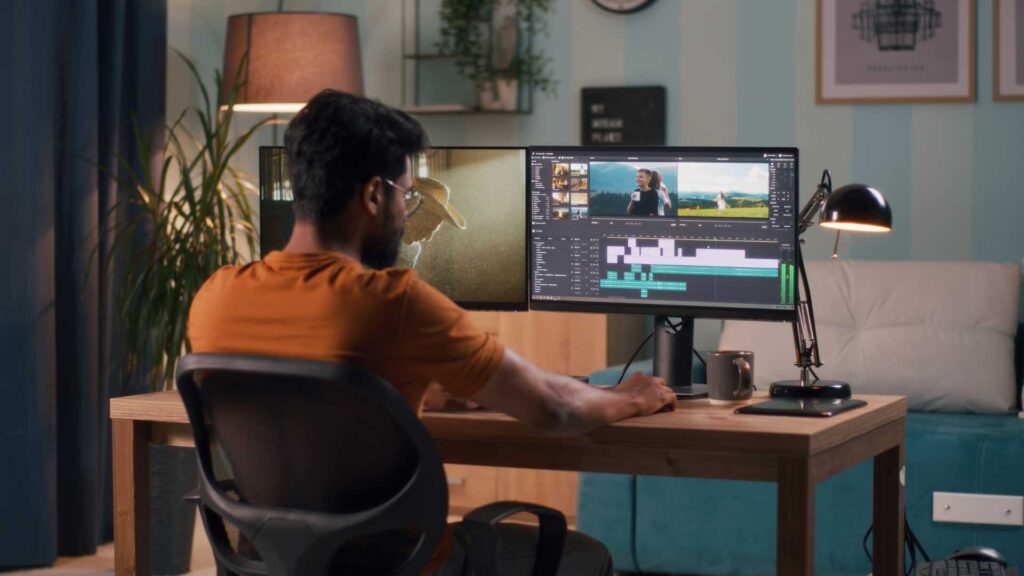
A cinematic travel video doesn’t mean adding heavy effects everywhere. One of the most important Travel Video Editing Tips is learning restraint. Cinematic style comes from intention, not complexity. Smooth camera movement, clean cuts, and thoughtful pacing matter far more than flashy filters.
Slow-motion works beautifully for emotional moments like walking through streets, sunsets, or candid interactions. Use it sparingly and only when it enhances the mood. Overusing slow motion can make your video feel artificial and slow.
Simple techniques like gentle zoom-ins or subtle crop animations can add life to static shots. These small details guide the viewer’s eye and make footage feel dynamic without screaming for attention.
Creating Emotional Flow Through Visual Rhythm
Great travel videos feel like a journey, not a random highlight reel. One of the deeper Travel Video Editing Tips is understanding visual rhythm. This means how your clips flow emotionally, not just visually.
Balance high-energy scenes with quiet moments. After a fast-paced city montage, slow things down with a peaceful landscape or a candid smile. This contrast keeps viewers emotionally engaged and prevents fatigue.
Your goal is to let the viewer feel the trip as you did. When emotions rise and fall naturally, your travel video becomes immersive and memorable.
Adding Text and Titles the Right Way
Text can enhance your story when used thoughtfully. One of the smartest Travel Video Editing Tips is keeping text minimal and purposeful. Simple titles like location names, dates, or short phrases work best.
Choose clean fonts that are easy to read. Avoid heavy animations unless they fit your brand or style. Text should support the visuals, not distract from them.
Position text carefully so it doesn’t cover important elements in the frame. When done right, text quietly adds clarity and structure to your video.
Matching Footage From Different Cameras
Many travelers shoot with multiple devices -phones, action cameras, drones, and mirrorless cameras. One of the most practical Travel Video Editing Tips is learning how to match footage so it feels consistent.
Start by adjusting exposure and white balance across clips. Then match contrast and saturation. You don’t need everything to look identical, but it should feel like it belongs in the same world.
This step is crucial for maintaining a professional look. Inconsistent colors instantly signal amateur editing, even if the shots themselves are beautiful.
Using Sound Design to Add Depth
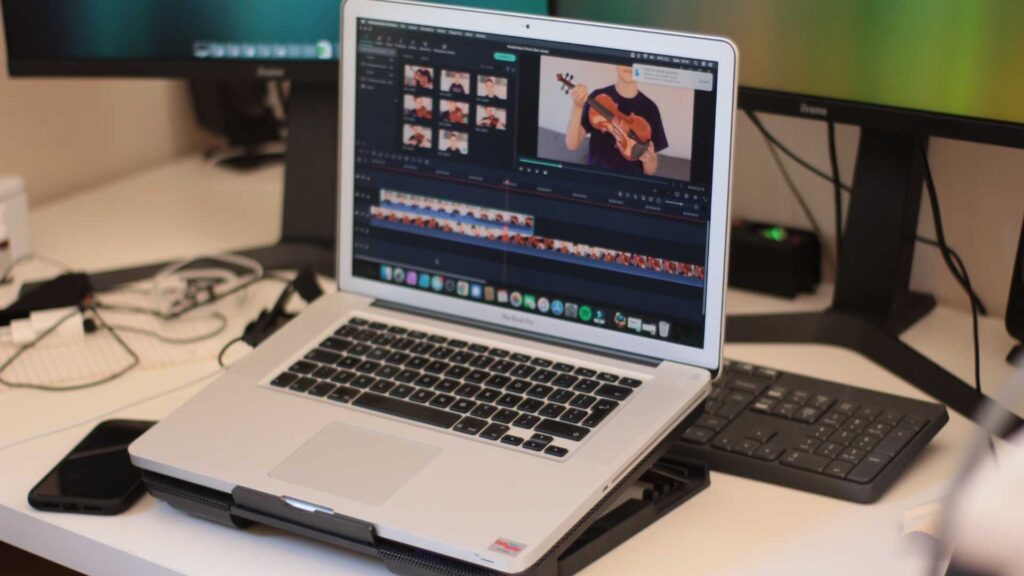
Sound design goes beyond music and dialogue. One of the more advanced Travel Video Editing Tips is layering subtle sound effects to enhance realism. Ambient sounds like wind, footsteps, crowd noise, or waves can bring scenes to life.
Use these sounds gently and keep volume levels low. The goal is immersion, not distraction. When sound design is done right, viewers feel present in the moment without realizing why.
This technique is especially powerful in cinematic travel films and documentary-style edits.
Knowing When to Cut and When to Let Moments Breathe
One of the hardest Travel Video Editing Tips to master is patience. Not every moment needs fast cuts. Sometimes holding a shot slightly longer creates emotional impact.
Scenic views, emotional reactions, or quiet moments benefit from breathing room. These pauses allow viewers to absorb the atmosphere and connect emotionally.
Learning this balance takes time, but once you develop it, your travel videos will feel more mature and intentional.
Exporting Settings That Preserve Quality
All your hard work can be ruined by poor export settings. One of the final but crucial Travel Video Editing Tips is exporting your video correctly for its platform.
For YouTube, higher bitrates and proper resolution ensure clarity. For social media, vertical or square formats may be needed. Always preview your video after export to catch any issues before publishing.
Quality exports show respect for your work and your audience.
Common Travel Video Editing Mistakes to Avoid
Even experienced editors fall into habits that weaken their videos. One of the most helpful Travel Video Editing Tips is learning from common mistakes. Overusing effects, choosing the wrong music, ignoring audio quality, or keeping too much footage are all frequent issues.
Another common mistake is editing without emotion. Technical perfection means nothing if the video feels empty. Always prioritize feeling over perfection.
Avoid comparing your early work to professional creators. Improvement comes with practice, not pressure.
When to Consider Professional Editing Help
Not every traveler has the time or desire to edit hours of footage. One of the most realistic Travel Video Editing Tips is knowing when to seek professional help. Outsourcing editing can save time, reduce stress, and dramatically improve quality.
Professional editors understand storytelling, pacing, color grading, and sound design at a deeper level. They can transform raw footage into a polished travel film while you focus on capturing moments.
This is especially helpful for content creators, businesses, or travelers who want consistent quality.
How Inside Editors Can Support Your Creative Journey
At Inside Editors, we understand how important visuals are in telling your story. While this article focuses on Travel Video Editing Tips, we also provide professional Image Editing Services to enhance your travel photos, social media content, and marketing visuals.
If you want your images to look clean, vibrant, and professional, our editing team can help refine colors, lighting, and details -saving you time while improving quality. Whether you’re a traveler, creator, or brand, strong visuals build trust and engagement.
You can learn more about our services by visiting Inside Editors, where creativity meets precision. We’re here to support your visual storytelling journey.
Final Thoughts on Travel Video Editing Tips
Travel video editing is not about perfection -it’s about connection. These Travel Video Editing Tips are meant to guide you, not restrict you. Every editor develops their own style over time, shaped by experience, emotion, and experimentation.
Start simple. Focus on story, emotion, and clarity. As your confidence grows, explore advanced techniques and refine your workflow. With practice and patience, your travel videos will not only look better -they’ll feel better.
Thank you for reading this guide on Inside Editors. If you found these Travel Video Editing Tips helpful, keep creating, keep learning, and most importantly, keep telling your story through visuals.


