In the rapidly evolving landscape of digital content creation, artificial intelligence is no longer a futuristic concept but a powerful, accessible tool. For video creators, the advent of AI-powered platforms like Runway ML is a game-changer, offering unprecedented capabilities to transform static images into dynamic, cinematic video sequences. This guide, inspired by the innovative techniques showcased with Runway Gen-3, delves into the process of leveraging AI to produce high-quality, engaging video content that stands out. Whether you’re a budding filmmaker, a seasoned content creator, or an aspiring digital artist, understanding these methods will equip you to push the boundaries of visual storytelling.
Runway ML has consistently positioned itself at the forefront of AI video innovation. Its reputation is built on a suite of robust features, from sophisticated video-to-video transformations to precise automatic rotoscoping. However, the introduction of Runway Gen-3’s image-to-video model marks a significant leap forward. This new capability allows creators to generate video clips directly from still images with remarkable consistency, paving the way for more coherent narratives and visually compelling storytelling. Unlike earlier iterations or competing models, Gen-3 offers a level of control and fidelity that makes it an indispensable tool for crafting professional-grade AI cinematic videos. The emphasis here is on achieving a consistent visual style and narrative flow, which is crucial for producing content that resonates with audiences.
The Foundation: Generating Consistent Images with Midjourney
The journey to creating stunning AI videos begins with the source material: your images. The quality and consistency of these initial images are paramount to the success of your final video. For this purpose, Midjourney, a powerful AI image generation tool, is an excellent starting point. The key lies in crafting precise prompts and utilizing specific features to ensure your generated images are not only visually striking but also cohesive enough to form a seamless video sequence.
Crafting Your Prompt for Cinematic Vision
When generating images in Midjourney, think like a cinematographer. Every detail in your prompt contributes to the final aesthetic. For instance, consider a prompt designed to create a cinematic extreme close-up of an alien character in a bustling Cambodian market. To enhance the visual appeal and cinematic quality, you might specify the shot type (extreme close-up), the subject (alien character), the setting (Cambodian market), the film stock (35mm film), the visual style (IMAX), and the color grading (teal and orange muted color grading). This level of detail ensures that Midjourney produces images that align with your specific creative vision.
Leveraging Style Reference for Visual Cohesion
One of Midjourney’s most powerful features for video consistency is the “style reference” image. This isn’t just about mimicking the composition of a reference image; it’s about influencing the broader visual elements. By providing a style reference, you guide Midjourney to adopt similar color palettes, recurring motifs, and an overall aesthetic that can be carried across multiple generated images. This is crucial for maintaining a unified look and feel throughout your video, preventing jarring visual shifts between clips. Think of it as setting a visual mood board for your entire project.
Upscaling Images for Optimal Quality
Before you even think about importing your images into Runway Gen-3, a critical step is upscaling them. While Midjourney offers subtle upscaling options within its interface, maximizing pixels and sharpness is vital for high-quality AI video generation. Utilizing Midjourney’s upscaling feature before downloading is a good practice. For even greater fidelity, consider external upscaling tools like Gigapixel or Magnific. These tools can significantly enhance the resolution and detail of your images, ensuring that when they are animated by Runway Gen-3, the resulting video clips are crisp, clear, and professional-looking. The higher the resolution of your source images, the better the output quality of your AI video.
Bringing Images to Life: Creating Video Clips in Runway Gen-3
Once your meticulously crafted and upscaled images are ready, it’s time to bring them into Runway Gen-3 and transform them into dynamic video clips. Runway ML’s intuitive interface and powerful AI models make this process surprisingly straightforward, though understanding the nuances of prompting and settings is key to achieving optimal results.
Uploading Your Image
The first step is simple: upload your generated image to Runway ML. The platform is designed to handle high-resolution images, so your pre-upscaled files will be well-received.
The Art of Prompting for Camera Movement and Scene Description
Runway Gen-3 utilizes a specific prompting format that is crucial for guiding the AI in generating the desired camera movements and scene interpretations. The recommended format is to first describe the camera movement, followed by a colon, and then the scene description. For example, “a handheld shot: an alien character looks around a crowded market.” This structured approach helps the AI understand your intent, allowing it to generate video clips that accurately reflect your vision for both the action and the camera’s perspective. Experiment with different camera movements like “dolly shot,” “tracking shot,” “pan left,” or “tilt up” to add dynamic flair to your scenes.
Clip Duration and Essential Settings
Runway Gen-3 offers flexibility in clip duration, typically allowing users to choose between 5-second and 10-second segments. The choice depends on the pace and rhythm you envision for your video. For longer sequences, you’ll generate multiple shorter clips and stitch them together in a video editing software. A crucial setting to always verify is the “removed watermark” option. Ensuring this is checked will prevent the Runway ML watermark from appearing on your generated videos, maintaining a clean and professional look.
Generating Multiple Clips for Optimal Selection
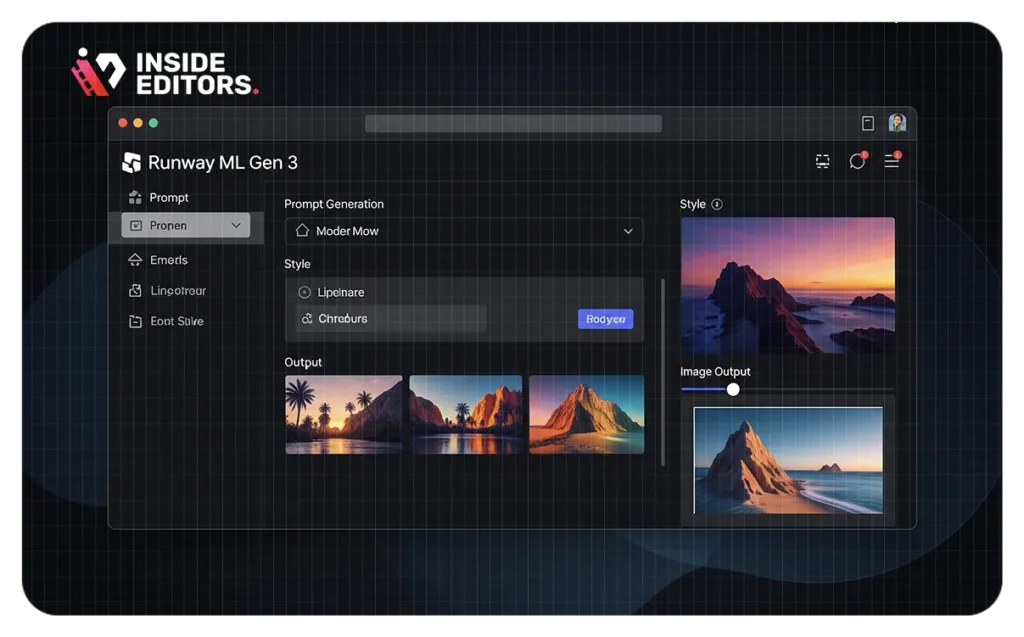
Not every AI generation will be perfect on the first try. The creator often suggests generating three to four clips at a time from a single image and prompt. This strategy provides you with more options to choose from, increasing your chances of finding the perfect take that aligns with your creative vision. It’s a process of iteration and refinement, much like traditional filmmaking, where multiple takes are often shot to ensure the best performance or visual outcome. Don’t be afraid to experiment with slight variations in your prompts or settings to achieve different results.
A Comparative Look: Runway Gen-3 Versus Other AI Video Tools
The landscape of AI video generation is becoming increasingly competitive, with new tools emerging regularly. While Runway Gen-3 stands out for its cinematic quality, it’s beneficial to understand how it compares to other prominent platforms like Kling and Luma Labs (Dream Machine). This comparison highlights the strengths and weaknesses of each, helping you make informed decisions based on your project’s specific needs and budget.
Kling: Promising Movement, but Room for Improvement
Kling is another contender in the AI video space, and it shows promise, particularly in its ability to generate movement. However, the overall quality of its output is often noted as not yet on par with the leading tools. While the motion might be fluid, the visual fidelity and detail can sometimes fall short. This suggests that while Kling is an interesting tool to watch, it may require further development before it can consistently produce the high-quality cinematic results achievable with Runway Gen-3.
Luma Labs (Dream Machine): Dynamic Yet Prone to Hallucinations
Luma Labs’ Dream Machine excels at creating dynamic, engaging video clips with fluid motion. However, it often “hallucinates”- generating unexpected scenes or elements not present in the original prompt. While this can lead to happy creative accidents, it poses challenges for projects requiring precision and consistency. Another limitation is its relatively low output resolution (typically 704×1344), meaning you’ll likely need an AI upscaler to achieve HD or 4K quality. On the plus side, Dream Machine is budget-friendly, costing around $0.41 per minute – ideal for creators seeking cinematic AI results without breaking the bank.
Runway Gen-3: The Leader in Cinematic Realism
Runway Gen-3 stands out with superior realism, dynamic camera work, and lifelike faces, offering sharper, more cinematic results than competitors like Luma. Its higher resolution (768×1280) and reduced visual noise make it ideal for pro-level video. While it’s pricier – around $7 per minute – it offers an unlimited plan for heavy users. For creators seeking consistency and high-fidelity visuals, the investment is often well worth it.
Elevating Quality: Upscaling Videos with Topaz Video AI for 4K/8K
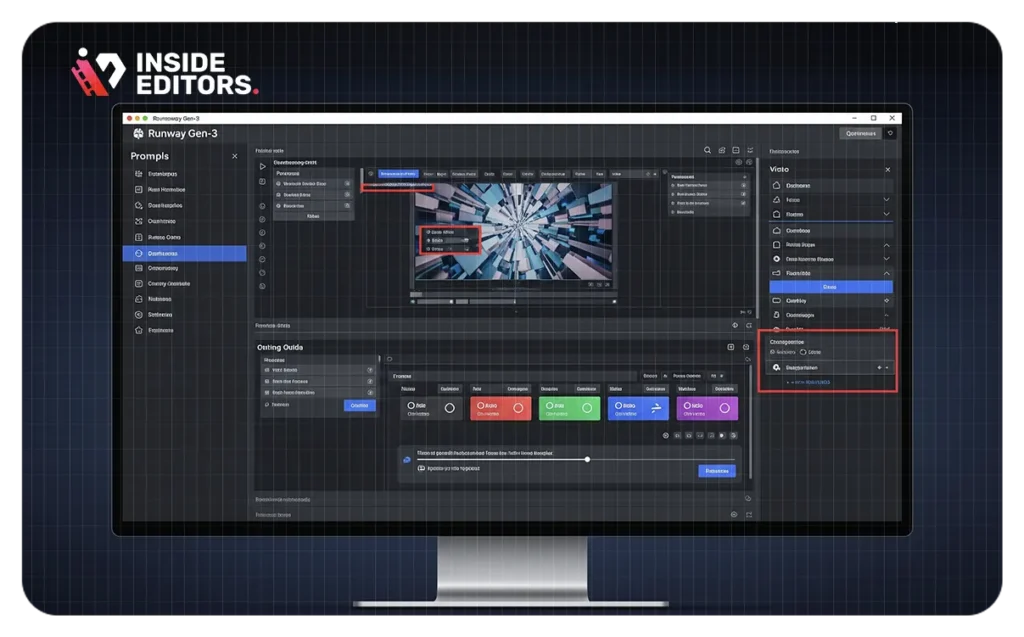
Even with the high-quality output from Runway Gen-3, there’s always room to push the visual fidelity further, especially when aiming for broadcast-quality 4K or even 8K resolution. This is where dedicated video upscaling software like Topaz Video AI becomes an invaluable tool. Topaz Video AI utilizes advanced AI models to intelligently enhance resolution, sharpen details, and reduce noise, transforming your generated clips into stunning, high-definition cinematic assets.
The Simple Workflow: Drag and Drop
The process of upscaling with Topaz Video AI is remarkably user-friendly. Simply drag and drop your generated Runway clips directly into the Topaz Video AI interface. The software is designed for an intuitive workflow, making it accessible even for those new to video upscaling.
Strategic Output Settings for Desired Resolution
When configuring your output settings in Topaz Video AI, a strategic approach is recommended to achieve the best results. It’s often advisable to select an output resolution one level higher than your desired final export resolution. For example, if your goal is an HD (1080p) final video, you might upscale to 4K within Topaz Video AI. If you’re aiming for a 4K final output, consider upscaling to 5K or even 8K. This over-upscaling provides a buffer, allowing for further refinement or cropping in your
Choosing the Right Video Models: Proteus and Rehea
Topaz Video AI offers various AI video models, each optimized for different types of footage and enhancement goals. While “Proteus” is a robust and reliable default model that delivers excellent results for general upscaling, the “Rehea” model is considered more advanced. Rehea is designed to offer maximum cinematic quality, excelling in preserving fine details, enhancing textures, and creating a truly polished, professional look. However, it’s important to note that Rehea is significantly more computationally intensive. This means it requires more processing power and can potentially lead to longer rendering times or even crashes on less powerful systems. Experimenting with both models based on your hardware capabilities and desired output quality is recommended.
Selecting the Appropriate Video Format
The choice of video format for your upscaled clips depends on your intended use. For further editing in professional video editing software (like Adobe Premiere Pro, DaVinci Resolve, or Final Cut Pro), formats like ProRes are highly recommended. ProRes is a high-quality, low-compression codec that preserves maximum visual information, making it ideal for post-production workflows. If your primary goal is online distribution (e.g., uploading to YouTube or social media), then H.264 is a widely compatible and efficient format that balances quality with file size. Topaz Video AI provides options for both, allowing you to tailor your output to your specific needs.
The Impact: Unlocking Unprecedented Realism
The transformation after upscaling with Topaz Video AI is often dramatic. The video demonstrates a significant increase in sharpness and fidelity, making faces and intricate details incredibly realistic. What might have been slightly fuzzy or less defined in the original AI-generated clip becomes crisp, clear, and lifelike. This final step is crucial for elevating your AI-generated videos to a professional, cinematic standard, ensuring that your audience experiences the highest possible visual quality.
Final Thoughts on the Future of AI in Video Creation
The capabilities demonstrated by Runway Gen-3 and complementary tools like Midjourney and Topaz Video AI are just the beginning. As AI technology continues to advance, we can expect even more sophisticated and accessible tools for video creation. This democratizes filmmaking, allowing creators with limited resources to produce content that once required large budgets and extensive teams. For Inside Editors, embracing these technologies means empowering our clients and the broader creative community to tell their stories with unprecedented visual quality and efficiency. The future of cinematic storytelling is here, and it’s powered by AI.
What is Runway Gen-3 and how does it differ from Gen-2?
Runway Gen-3 is an advanced AI video generation model by Runway ML, primarily known for its new image-to-video capability. Unlike Gen-2, which focused on video-to-video transformations, Gen-3 allows you to create dynamic video clips directly from still images, offering greater consistency and control for cinematic storytelling. This evolution significantly enhances the ability to generate coherent and visually compelling sequences from static inputs.
How important is image upscaling before generating AI videos?
Image upscaling is crucial for achieving high-quality AI videos. Tools like Midjourney offer subtle upscaling, but using dedicated software like Gigapixel or Magnific can significantly enhance the resolution and sharpness of your source images. Higher resolution images lead to crisper, more detailed, and professional-looking video outputs from AI tools like Runway Gen-3, ensuring a superior final product. For more on video quality, explore our video editing services.
Can I achieve 4K or 8K quality with AI-generated videos?
Yes, you can achieve 4K or even 8K quality by using video upscaling software like Topaz Video AI. After generating your clips in Runway Gen-3, you can import them into Topaz Video AI, select an appropriate output resolution (often one level higher than your desired final export), and choose advanced AI models like “Rehea” to enhance sharpness and fidelity. This process transforms your AI-generated videos into stunning, high-definition cinematic assets.
What are the key differences between Runway Gen-3, Kling, and Luma Labs (Dream Machine)?
Runway Gen-3 excels in dynamic camera movements, lifelike faces, and overall cinematic realism with higher resolution. Kling shows promise in movement but has lower overall quality. Luma Labs (Dream Machine) offers dynamic movements but is prone to “hallucinations” (creating unprompted scenes) and generates smaller resolution videos, though it is significantly more affordable. Runway Gen-3 is generally considered the premium option for quality, while Luma Labs is a budget-friendly alternative.
How can I ensure consistency across multiple AI-generated video clips?
To ensure consistency, start by using a “style reference” image in Midjourney when generating your initial images. This influences the color palettes and overall aesthetic. In Runway Gen-3, use consistent prompting for camera movements and scene descriptions across related clips. Finally, during post-production, apply consistent color grading and editing styles to unify the visual look and feel of all your AI-generated segments.

