

Welcome to Inside Editors! If you love traveling and capturing beautiful moments but struggle to turn those clips into engaging videos, you are in the right place. In this guide, I will explain How to Edit Travel Videos for YouTube in a simple, friendly, and professional way. Imagine we are sitting together, and I am walking you through the entire process step by step, just like a real editor would.
Travel videos are more than just clips put together. They tell stories, show emotions, and make viewers feel like they are traveling with you. Learning How to Edit Travel Videos for YouTube properly can help your channel grow, keep viewers watching longer, and make your content look polished and professional even if you are just starting out.
This article is written for beginners and intermediate creators who want clear guidance, not confusing technical jargon. Let’s dive in and start your journey toward professional-level travel video editing.
Understanding the Purpose of Travel Video Editing
Before opening any editing software, it’s important to understand why editing matters. Editing is not just cutting clips and adding music. Editing shapes the story of your journey. When people search for How to Edit Travel Videos for YouTube, they are often looking for ways to make their videos more exciting, emotional, and enjoyable to watch.
A well-edited travel video keeps viewers hooked from the first second. It shows the best moments, removes unnecessary footage, and creates a smooth flow. Think of editing as guiding your audience through your adventure. You decide what they see, what they feel, and how they experience the destination.
Professional editors always start with a vision. Ask yourself what you want viewers to feel. Do you want them to feel relaxed, excited, inspired, or adventurous? Your editing style should match that emotion.
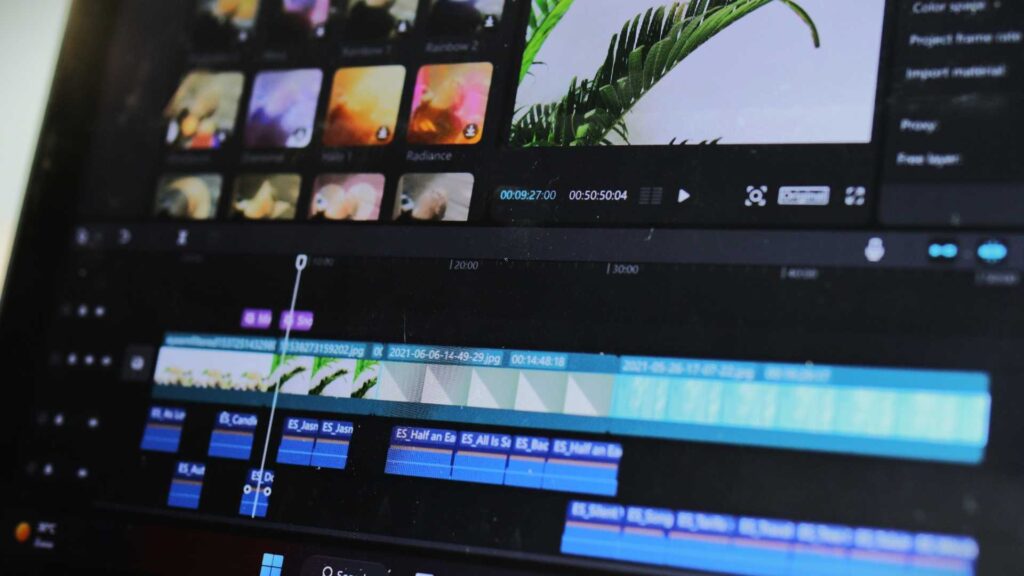
Choosing the Right Editing Software for Travel Videos
One of the first questions beginners ask when learning How to Edit Travel Videos for YouTube is which software to use. The good news is that you don’t need the most expensive tools to create professional results. What matters most is understanding the software you choose.
Popular options include Adobe Premiere Pro, Final Cut Pro, DaVinci Resolve, and even beginner-friendly tools like iMovie or CapCut. Professional editors often prefer software that allows color grading, audio control, and smooth transitions. However, if you are new, start with something simple and grow from there.
Spend time learning the basics of your editing software. Learn how to import clips, cut footage, add music, and export videos in YouTube-friendly settings. Mastering these basics is a big step in understanding How to Edit Travel Videos for YouTube effectively.
Organizing Your Travel Footage Like a Pro
Organization is one of the biggest secrets behind professional editing. When editors work on travel videos, they deal with hours of footage. Without proper organization, editing becomes frustrating and time-consuming.
Start by sorting your clips into folders based on locations, days, or types of shots. For example, you can group drone shots, walking shots, food clips, and scenic views separately. This makes it easier to find the best clips when editing.
When people search How to Edit Travel Videos for YouTube, they often underestimate this step. But professional editors know that good organization saves time and improves creativity. When your clips are easy to access, you can focus more on storytelling instead of searching for files.
Creating a Strong Storyline for Your Travel Video
Travel videos are stories, not random collections of clips. A professional editor always builds a storyline. Even a simple day trip can have a beginning, middle, and end.
Start by introducing the location or the purpose of your trip. Then show the journey, the experiences, and the highlights. End with a satisfying conclusion, such as a sunset shot, a reflection, or a teaser for the next destination.
Understanding storytelling is a key part of How to Edit Travel Videos for YouTube. Viewers stay longer when they feel connected to your journey. A clear story helps your video stand out from thousands of similar travel videos on YouTube.
Cutting and Trimming Clips for a Smooth Flow
Cutting footage is where real editing begins. Professional editors remove anything that doesn’t add value to the story. Long, shaky, or repetitive clips can make viewers lose interest.
When learning How to Edit Travel Videos for YouTube, focus on keeping your clips short and engaging. Each shot should have a purpose. If a clip doesn’t improve the story or visuals, it’s better to remove it.
Smooth flow is also important. Avoid sudden or awkward cuts. Let your video breathe, but don’t let it drag. The goal is to keep viewers watching without feeling bored or overwhelmed.
Using Music to Enhance the Travel Experience
Music plays a powerful role in travel videos. It sets the mood and connects emotionally with viewers. Professional editors spend a lot of time choosing the right music.
When selecting music, think about the destination and the emotion you want to convey. Calm music works well for nature and scenic views, while energetic beats suit city adventures or action-packed moments.
Sync your cuts with the music beats. This is one of the most effective techniques in How to Edit Travel Videos for YouTube. When visuals match the rhythm, the video feels more professional and satisfying to watch.
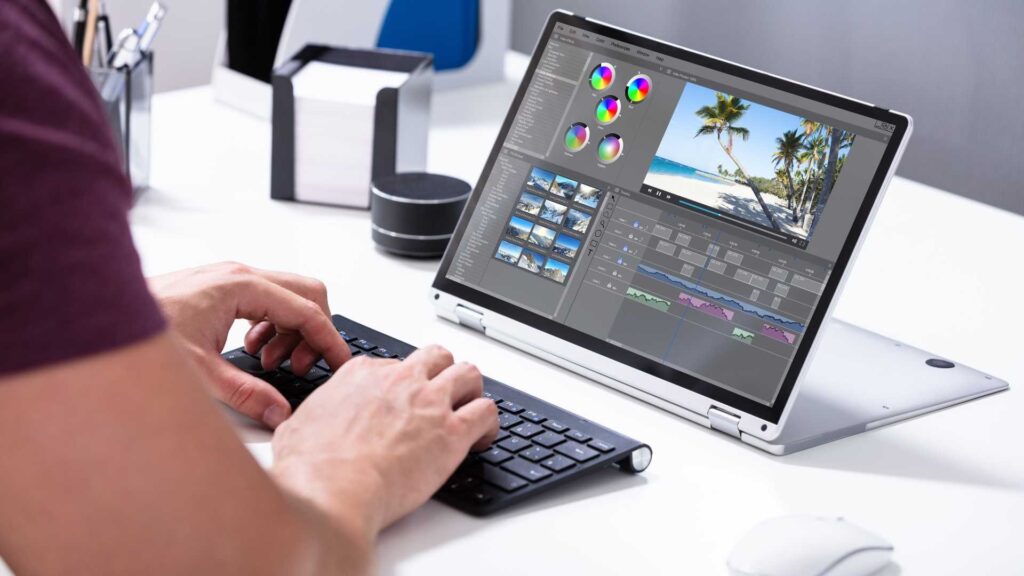
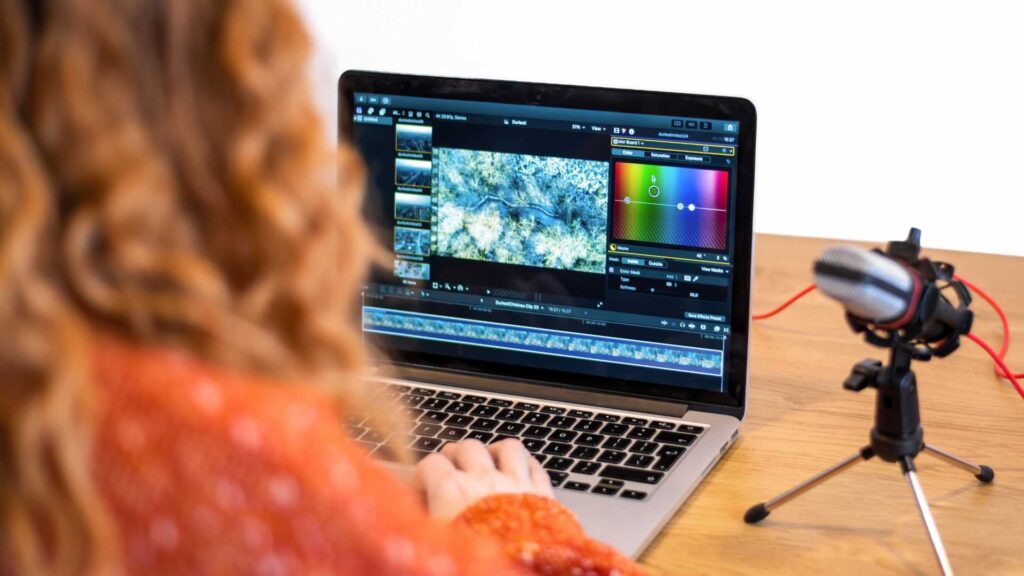
Basic Color Correction and Color Grading for Travel Videos
Color is what makes travel videos truly stand out. Raw footage often looks flat or dull. Professional editors use color correction and grading to enhance the beauty of each scene.
Color correction fixes issues like exposure, contrast, and white balance. Color grading adds a style or mood to the video. You don’t need to be an expert to start. Simple adjustments can make a huge difference.
Learning basic color grading is an essential part of How to Edit Travel Videos for YouTube. Bright skies, vibrant landscapes, and natural skin tones make your videos more attractive and professional-looking.
Adding Simple Transitions Without Overdoing It
Transitions help connect clips smoothly, but too many can ruin a video. Professional editors use transitions sparingly. Most of the time, simple cuts work best.
If you use transitions, keep them subtle. Cross dissolves, fades, or smooth motion transitions work well in travel videos. Avoid flashy effects that distract from the content.
Understanding when and how to use transitions is another important lesson in How to Edit Travel Videos for YouTube. The goal is to support the story, not overshadow it.
Writing Engaging Titles and Adding Text Overlays
Text can add context and clarity to your travel videos. Professional editors use text to introduce locations, highlight moments, or add short captions.
Keep text simple and easy to read. Use clean fonts and consistent styles. Avoid placing text where it blocks important visuals.
When people search How to Edit Travel Videos for YouTube, they often forget about text design. But good text placement improves viewer understanding and adds a professional touch to your videos.
Improving Audio Quality for a Professional Feel
Bad audio can ruin even the most beautiful travel video. Professional editors always pay attention to sound quality.
Remove background noise, balance audio levels, and make sure music does not overpower voiceovers or natural sounds. Clear audio makes your video more enjoyable and trustworthy.
Improving audio is a crucial but often ignored part of How to Edit Travel Videos for YouTube. Even small adjustments can make a big difference in how professional your video feels.
Exporting Your Travel Video for YouTube
Once editing is complete, exporting your video correctly is essential. Use YouTube-recommended settings for resolution, frame rate, and bitrate.
Most travel videos look best in 1080p or 4K. Make sure your video is sharp and smooth without unnecessary compression.
Exporting properly ensures that all your hard work in How to Edit Travel Videos for YouTube is displayed in the best possible quality on YouTube.
Why Consistency Matters in Travel Video Editing
Professional YouTube channels grow because of consistency. This includes editing style, color tone, music choice, and pacing.
When viewers recognize your style, they are more likely to subscribe and return. Consistency builds trust and brand identity.
As you continue learning How to Edit Travel Videos for YouTube, focus on developing your own unique editing style while maintaining quality and clarity.

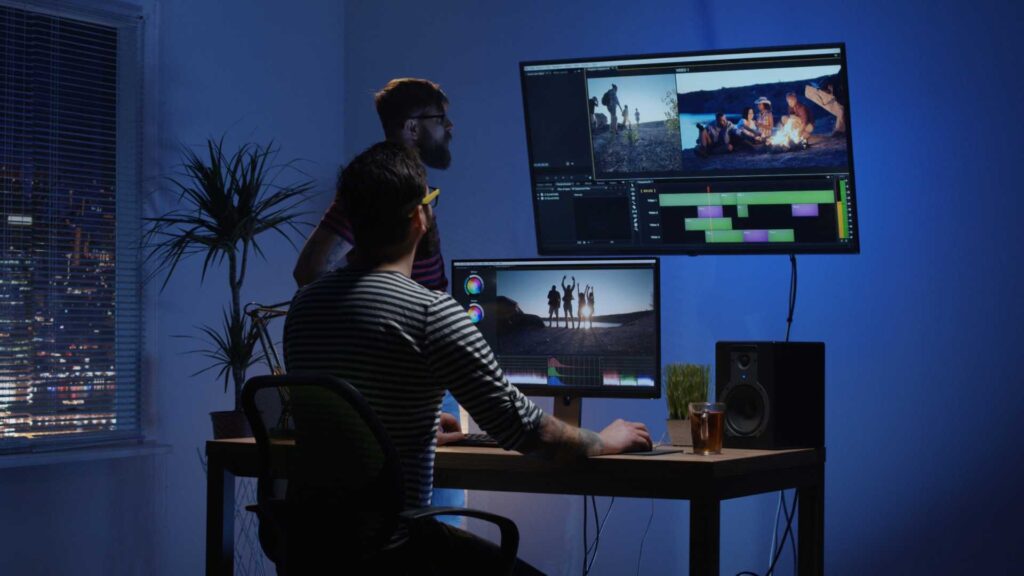
Learning from Professional Travel Editors
One of the best ways to improve is by watching successful travel YouTubers. Observe how they cut scenes, use music, and tell stories.
Try to recreate styles you admire, then slowly add your own creativity. Learning by observation is a powerful technique in mastering How to Edit Travel Videos for YouTube.
The Importance of Thumbnails and Visual Appeal
Even the best-edited video needs a strong thumbnail to get clicks. Professional editors understand that visuals don’t stop at the video itself.
Choose a clear, emotional, and colorful frame for your thumbnail. Add minimal text if needed.
Thumbnails are part of the overall editing strategy when learning How to Edit Travel Videos for YouTube, as they directly impact click-through rates.
Final Thoughts on Editing Travel Videos Like a Pro
Editing travel videos is a skill that improves with practice. Don’t aim for perfection at the beginning. Aim for progress.
Every video you edit teaches you something new. Over time, your workflow becomes faster, your storytelling stronger, and your style more refined.
If you truly want to master How to Edit Travel Videos for YouTube, stay patient, stay creative, and keep learning.
Need Professional Editing? We’ve Got You Covered
At Inside Editors, we understand how important quality visuals are for content creators. Along with video editing insights, we also provide professional video editing services to help your thumbnails, travel photos, and social media visuals stand out.
If you need help with photo retouching, background removal, color correction, or any professional video editing service, visit our website and explore how we can support your creative journey.
Thank you for spending your time with Inside Editors.


