

Uploading your first video to YouTube is one of those moments every creator remembers. It’s equal parts excitement, curiosity, and a little bit of worry – especially if you’re not sure which settings are right or whether your file will upload correctly. The good news is that once you understand the process, it becomes incredibly simple. In fact, most new creators struggle not because YouTube is difficult, but because no one explains the steps clearly and in a way that feels natural. That’s what this Inside Editors Guide is here to fix.
In this article, you’ll learn how to upload a video to YouTube step by step, how to choose the correct visibility and privacy settings, how to select the right format, and which mistakes to avoid so you publish confidently every time. Most importantly, you’ll pick up the best practices new YouTubers often learn the hard way – insights that can save you hours and help your videos perform better from day one.
Understanding the Basics Before You Upload Your First Video
Uploading a video starts long before you hit the blue “Upload” button. It begins with understanding what YouTube expects from a file, how its system handles compression, and how your choices affect video quality. Many new creators rush to upload and only discover problems afterward – blurry footage, unexpected cropping, or long processing times that delay publishing. Preparing your video correctly ensures the rest of the process goes smoothly and avoids these frustrations.
Why File Preparation Matters More Than You Think
YouTube automatically re-encodes every video you upload, meaning your file is transformed into several resolutions for different devices. If your original file is poorly exported – wrong aspect ratio, incorrect bitrate, or unusual codec – YouTube’s compression makes it look even worse. But when your file is optimized, YouTube’s system actually improves viewing quality across all devices. A little preparation saves you a lot of disappointment later.
What YouTube Recommends for Best Results
YouTube’s own documentation recommends MP4 format (H.264 codec), a standard 16:9 aspect ratio, and a high enough bitrate to preserve quality. These settings are supported everywhere – from smartphones to professional editing software. If you edit videos professionally or use Inside Editors’ services, your export presets will already follow these guidelines. However, even if you’re working on simpler tools, ensuring these essentials are set correctly is the key to a clean final upload.
Step-by-Step: How to Upload a Video to YouTube Smoothly
Now that the preparation is clear, let’s walk through the actual upload process. This section explains exactly what happens from the moment you log in to YouTube to the moment your video goes live. Whether you’re uploading from a laptop, desktop, or mobile device, the core experience is the same – and once you do it once, you’ll feel much more confident doing it again.
Signing In and Navigating to the Upload Page
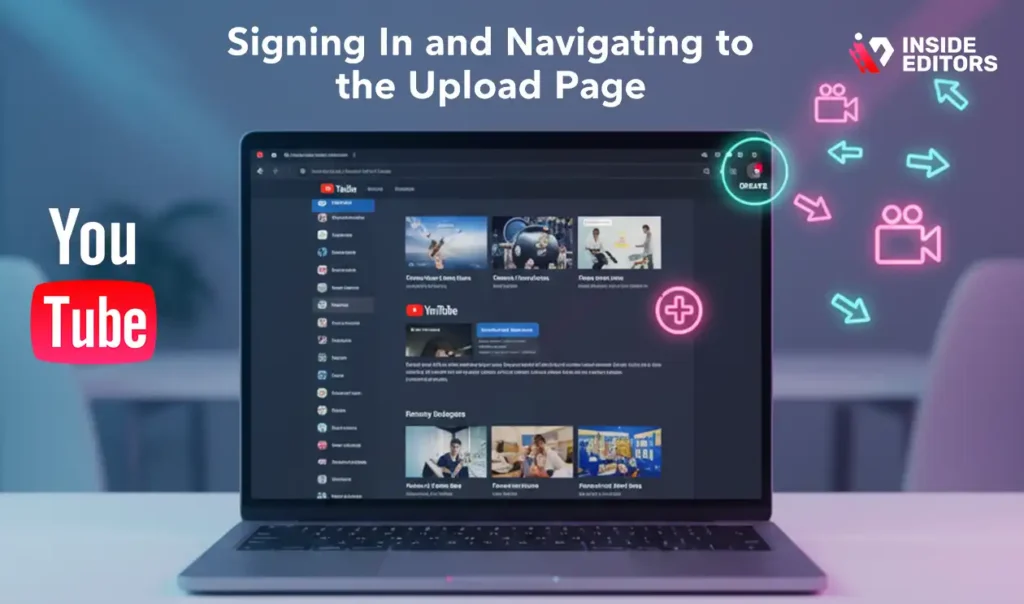
Start by logging into your YouTube account. Once you’re on the homepage, look at the top-right corner – you’ll see a video-camera icon with a plus sign. Clicking this opens the upload menu. Select “Upload video,” and YouTube will take you directly to the upload dashboard. This dashboard is your main working space where all metadata, settings, and publishing options appear.
Adding Your File and Letting It Process
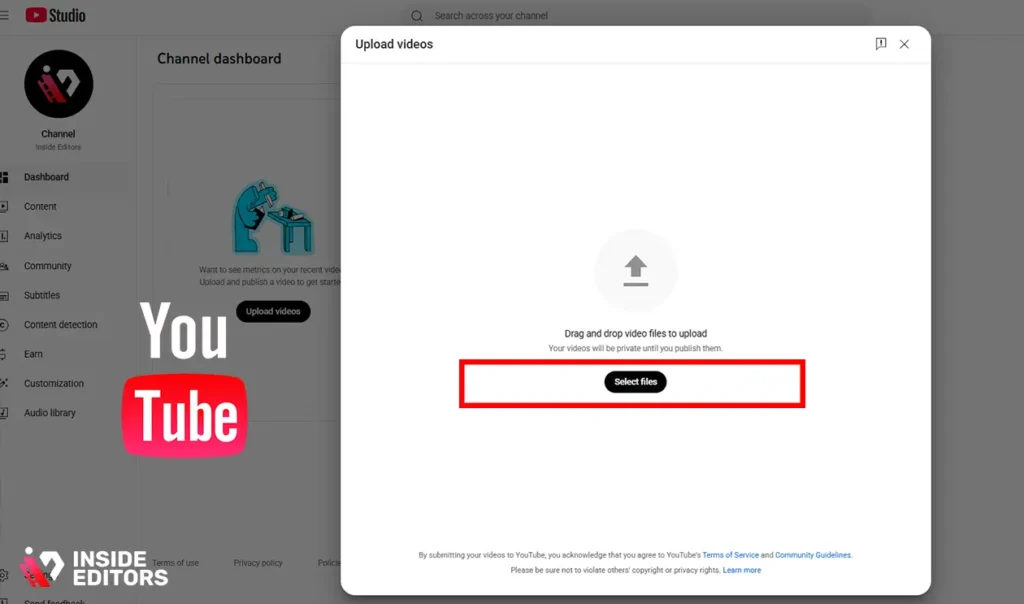
Drag and drop your video file into the upload box or click to browse your computer. YouTube immediately begins uploading and processing the file in the background. While this happens, you can fill in the title, description, tags, and other details. Processing time depends on your video’s length, resolution, and bitrate. A short 1080p video might process in minutes, while a 4K video may take longer. The key is not to rush – allow YouTube to fully process higher resolutions before you publish so viewers can access the best quality from the start.
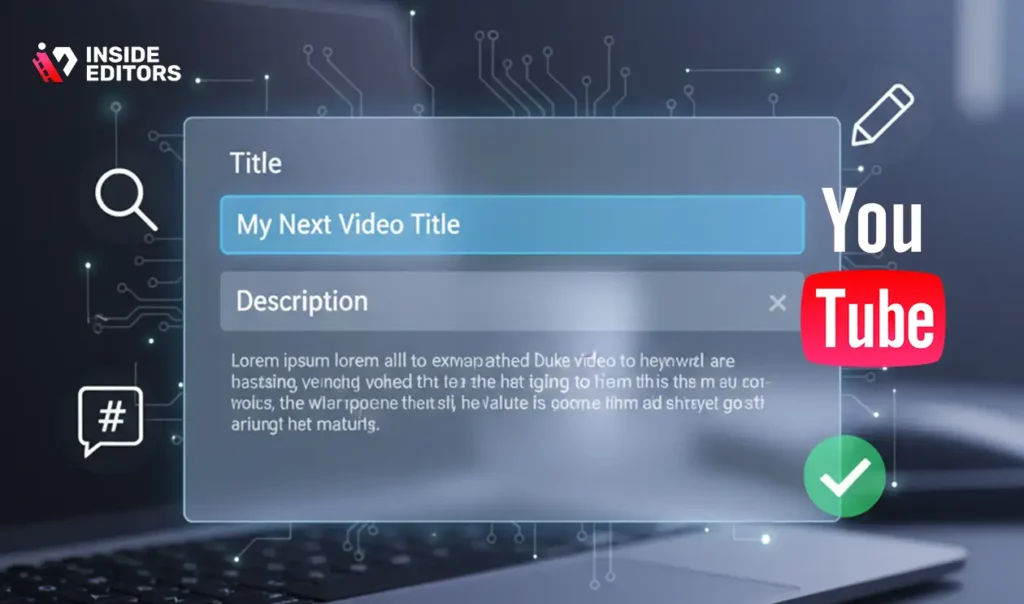
Completing the Basic Details Section
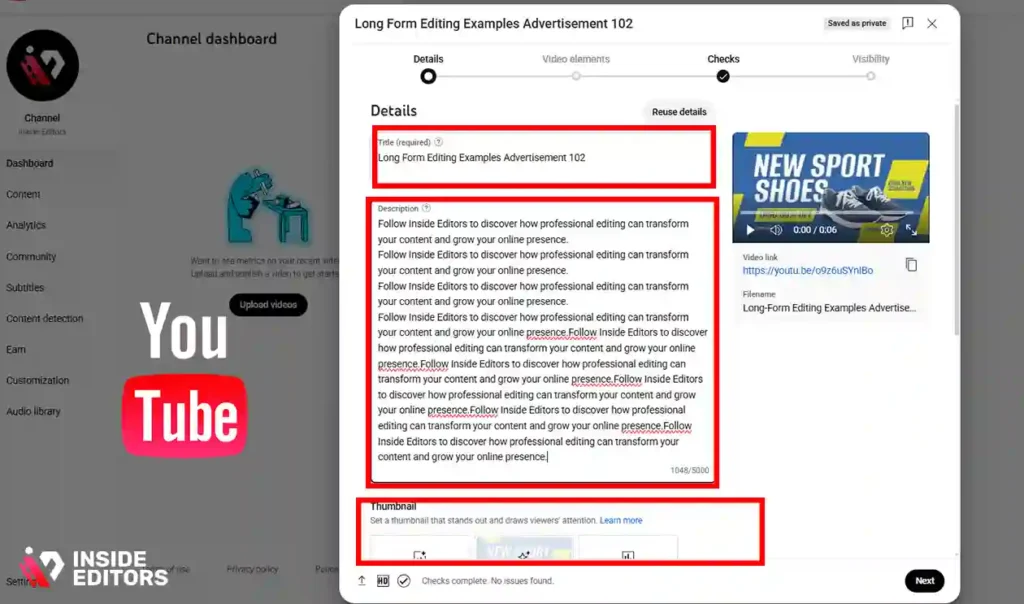
As your file uploads, you’ll see fields for the title, description, thumbnail, playlist, and audience selection. YouTube gives you flexibility here, but your choices impact discoverability. A clear, keyword-friendly title helps viewers instantly understand your content. Your description provides context for both viewers and YouTube’s algorithm. And selecting the right audience setting (such as “Not made for kids” if your content targets adults) ensures your video appears in relevant search results.
Choosing the Right Settings: Privacy, Visibility, Tags & Description
Your video settings determine who sees your video, how easily they discover it, and whether YouTube recommends it to new audiences. Many creators overlook these details, but they influence everything from search ranking to viewer retention. Let’s break down the settings that matter most.
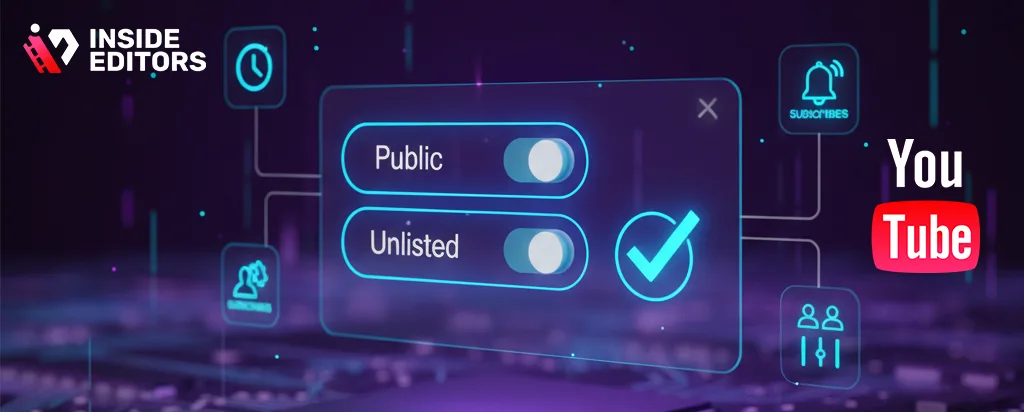
Picking the Correct Visibility Option
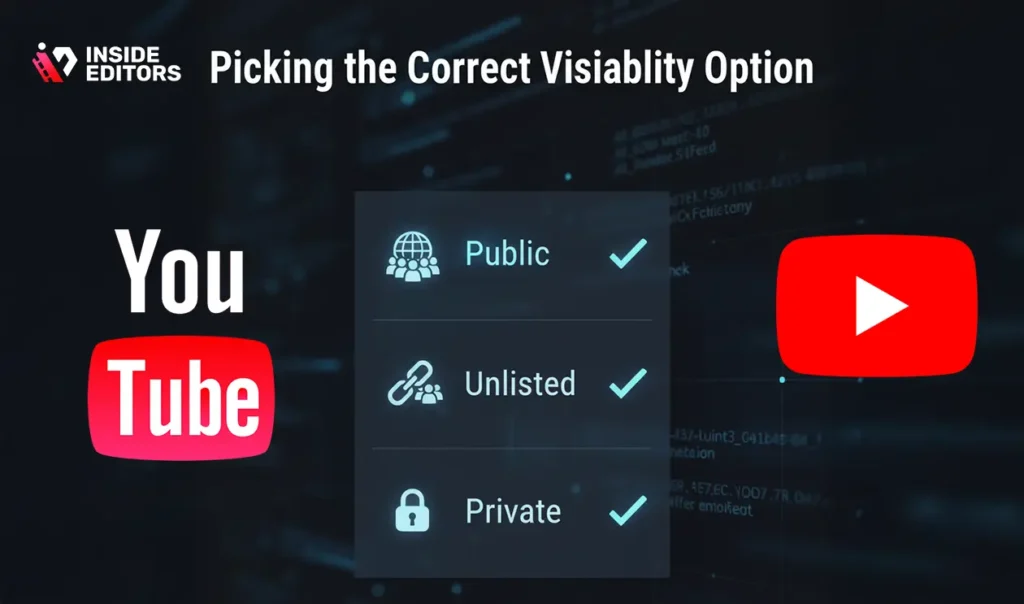
YouTube gives you three visibility choices: public, unlisted, or private. Each serves a purpose depending on your goals. If you want viewers to find your video through search or recommendations, choose public. If you want to share your video privately with a few people – for example, clients reviewing a project – unlisted is ideal. And if you’re still improving or finalizing metadata, keeping it private gives you time to refine everything before publishing. Most creators use private mode to prepare and switch to public later when ready.
Writing a Strong, Search-Friendly Description
Your description should explain your video’s purpose clearly, naturally, and in a way that helps viewers understand why they should watch. Think of it as your video’s introduction. A good description includes your main topic, supporting details, and any additional links or references you want viewers to explore. This is also where you can naturally incorporate your keyword without forcing it – for example: “In this video, you’ll learn how to upload a video to YouTube quickly and confidently.” Writing this way supports search engines and provides value to viewers.
Using Tags Effectively Without Overdoing It

Tags are not as powerful as they once were, but they still help YouTube clarify your topic and prevent misclassification. Use tags that closely match your content’s theme, including simple variations. You don’t need dozens of them; a few focused, relevant ones are enough. Overloading with unrelated keywords can actually harm search performance. Aim for clarity, not volume.
Selecting the Right Format: What Every Creator Should Know
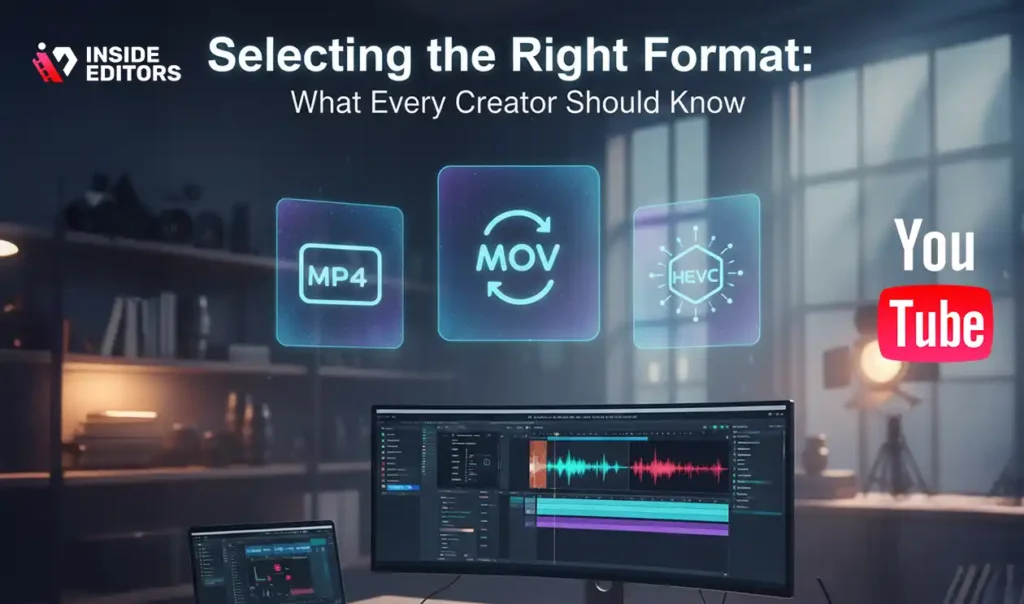
Picking the correct format is one of the easiest ways to ensure high-quality playback. Many creators mistakenly think YouTube will “fix” their video quality automatically. While YouTube does optimize your file, it processes whatever you upload – meaning bad input results in bad output. Choosing the correct format ensures the platform has the best foundation to work with.
Why MP4 with H.264 Is the Ideal Standard
MP4 paired with the H.264 codec provides a great balance of quality and file size. It compresses efficiently while maintaining clarity during YouTube’s re-encoding process. This format is widely supported across editing tools, ensuring consistent results for your final upload. If you’re using editing software like Adobe Premiere Pro or DaVinci Resolve, this preset is typically available as “YouTube Export” or “H.264 Match Source High Bitrate.”
When to Consider Advanced Formats Like MOV or HEVC
In some cases, formats like MOV or HEVC offer higher fidelity or more flexibility during editing. However, these formats are heavier and can take longer to upload and process. For most beginners and even many professionals, MP4 offers the best mix of simplicity and quality. Only choose advanced formats if you know your workflow demands it or if your editor recommends it.
Common Mistakes New Creators Make – and How to Avoid Them
One of the biggest advantages you can have as a new YouTuber is learning from other creators’ mistakes instead of making them yourself. The upload process isn’t difficult, but small missteps can create big problems later. From wrong aspect ratios to missing metadata, here’s what to watch out for so you publish confidently.
Rushing Through the Upload Without Checking Details
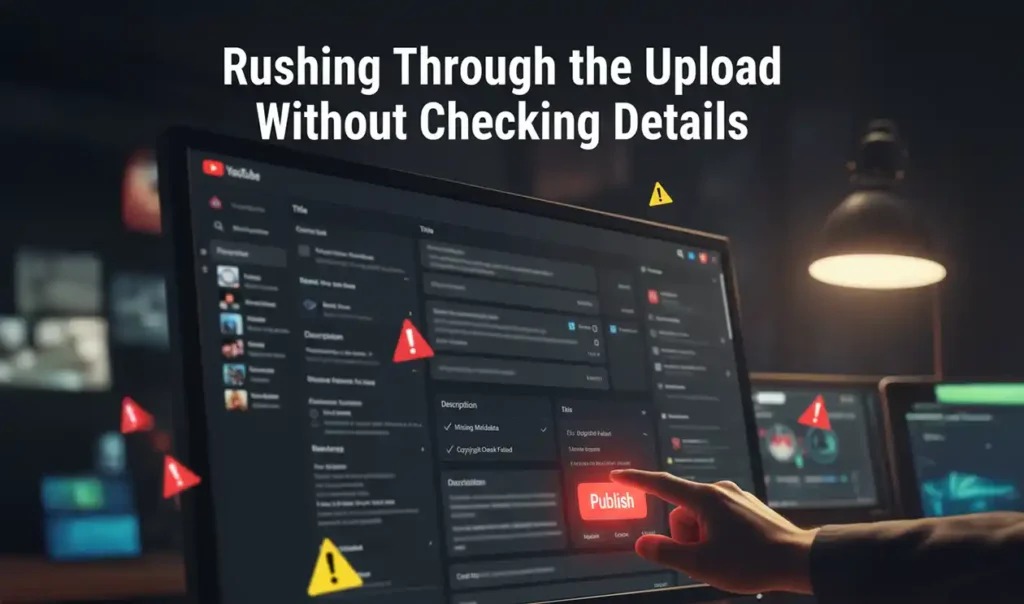
New creators often upload a video, write a quick description, and press publish – only to realize later that their title isn’t clear, their description lacks useful information, or their category is incorrect. Taking a moment to review everything ensures your video reaches the audience it deserves. Think of this as your final quality check before going live.
Ignoring the Impact of Thumbnails on Click-Through Rates
Your thumbnail is often the first thing viewers see, even before your title. A weak or unclear thumbnail can drastically reduce your click-through rate. A strong thumbnail uses simple visuals, readable text, and contrasting colors to catch attention. If you’re not sure how to design thumbnails effectively, Inside Editors can help you create professional visuals that stand out in crowded feeds.
Uploading Low-Bitrate or Poorly Exported Files
Even if your content is great, a poorly exported file makes your video look unprofessional. Always export at a high bitrate to preserve detail. YouTube will compress your file anyway, so starting with higher quality ensures better results. If you’re unsure which export settings to use, consider using Inside Editors’ editing services to ensure every step – from color grading to export settings – is optimized.
Best Practices New YouTubers Should Follow (Inside Editors Recommendations)
Stepping into YouTube feels exciting, but it can also feel overwhelming when you’re unsure how to stand out. The companies, creators, and channels you admire have consistent systems – and these systems matter more than gear or fancy editing tricks. In this section, you’ll learn the practices Inside Editors recommends for new creators who want to grow steadily and avoid burnout. These practices aren’t about chasing viral moments; they’re about building a foundation that makes every future upload easier and more effective.
Start With Simple, Consistent Uploads Instead of Perfection
Every new creator faces the same challenge: the fear of uploading something that isn’t perfect. But the truth is that perfection is a moving target – your “best” video today will look different six months from now because you’ll improve. What matters most when you’re beginning is consistency. Uploading one clear, well-organized video per week teaches YouTube who your audience is, helps you refine your workflow, and builds confidence.
Consistency isn’t just good for the algorithm – it’s good for you. When you upload regularly, you develop routines for outlining, shooting, editing, and publishing. The upload process becomes second nature. You worry less about whether a video is “good enough” and more about learning from each step. YouTube rewards this: creators who publish consistently see better recommendations and more engaged audiences because viewers know what to expect.
Optimize Your Metadata Slowly and Strategically
Your title, description, tags, and thumbnail all work together to tell YouTube what your video is about. Many beginners overthink metadata, stuffing keywords or adding unnecessary phrases that don’t feel human. Instead, think of metadata as a conversation with your future viewer. How would you describe your video naturally? What would you want them to know before clicking?
Inside Editors suggests working in layers. Write a simple, clear title first. Then expand your description to add context, naturally include your topic (“how to upload a video to YouTube”), and give viewers a reason to watch. Your tags can fill in small gaps – synonyms, alternate phrasing, or variations someone might search. By focusing on clarity instead of keyword stuffing, you create metadata that both humans and algorithms appreciate.
Invest in Clean, Clear Thumbnails From the Beginning
Your thumbnail is the doorway to your video. If it doesn’t grab attention, it doesn’t matter how good your video is – people won’t click. This doesn’t mean you need advanced design skills on day one. But you should aim for clean layouts, bold typography, and minimal clutter. Simple designs outperform complex ones because they’re easier to recognize on small screens.
If thumbnail creation feels intimidating, Inside Editors offers design help. Many creators who use Inside Editors’ services see improved click-through rates simply because their thumbnails become clearer and more aligned with their content style. Clean design signals professionalism, and viewers naturally trust it.
Focus on Retention Instead of Length
Another common misconception among new YouTubers is that longer videos perform better. In reality, what matters most is retention – the percentage of the video your viewers watch. A six-minute video with 60% retention often performs better than a fifteen-minute video with 15% retention. Viewers prefer clarity and momentum. If your video delivers value, stays focused, and respects their time, they’ll stay longer.
Think of every video as a story, even if it’s a tutorial. You introduce a problem, guide viewers through steps, and end with a satisfying solution. If you keep your pacing tight and remove unnecessary pauses or rambling, retention will naturally improve. And retention is the strongest signal YouTube uses to decide which videos to recommend next.
When Professional Editing Can Make a Big Difference
Uploading videos consistently teaches you a lot, but editing is often the part that slows creators down. Even experienced YouTubers eventually reach a point where editing becomes time-consuming and mentally draining. This is where professional editing becomes a game-changer. Not because you “can’t” edit – but because your time is better spent planning, filming, and engaging with your audience.
Why Professional Editors Save You Time and Improve Quality
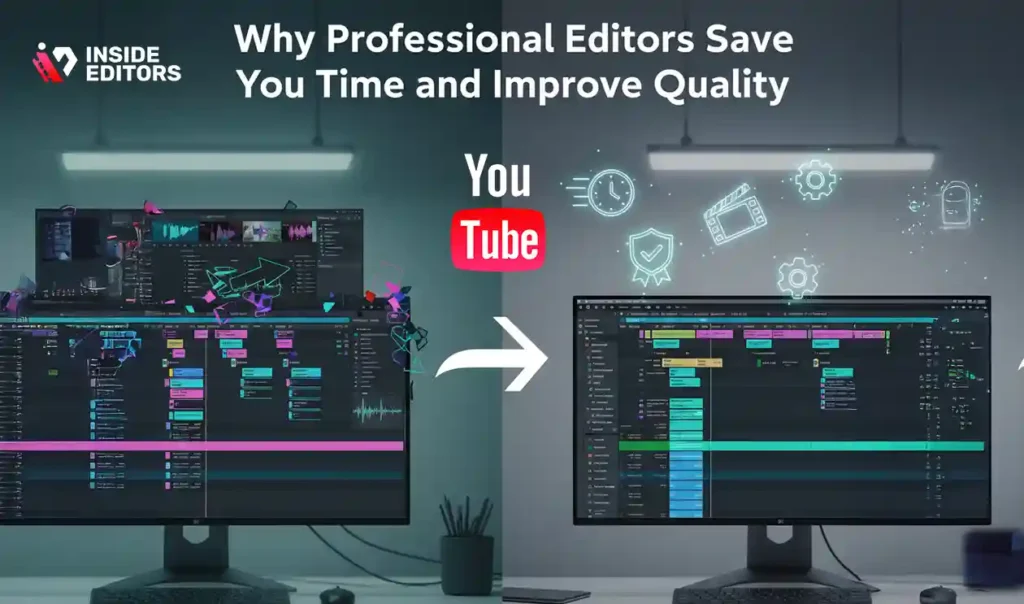
Editing is more than trimming clips; it’s pacing, storytelling, color correction, audio balancing, subtle motion graphics, and preparing export settings that match YouTube’s compression. Professional editors understand these technical layers instinctively. They can turn raw footage into a polished story while maintaining your voice and style.
Imagine filming a product demo or tutorial. You might spend two hours shooting – but eight hours editing. A professional editor cuts that down drastically. Instead of losing momentum between uploads, you can build a library of content faster, maintain consistency, and avoid burnout. This is especially helpful for creators running businesses who use video for marketing, not just entertainment.
Inside Editors Services That Support YouTube Creators
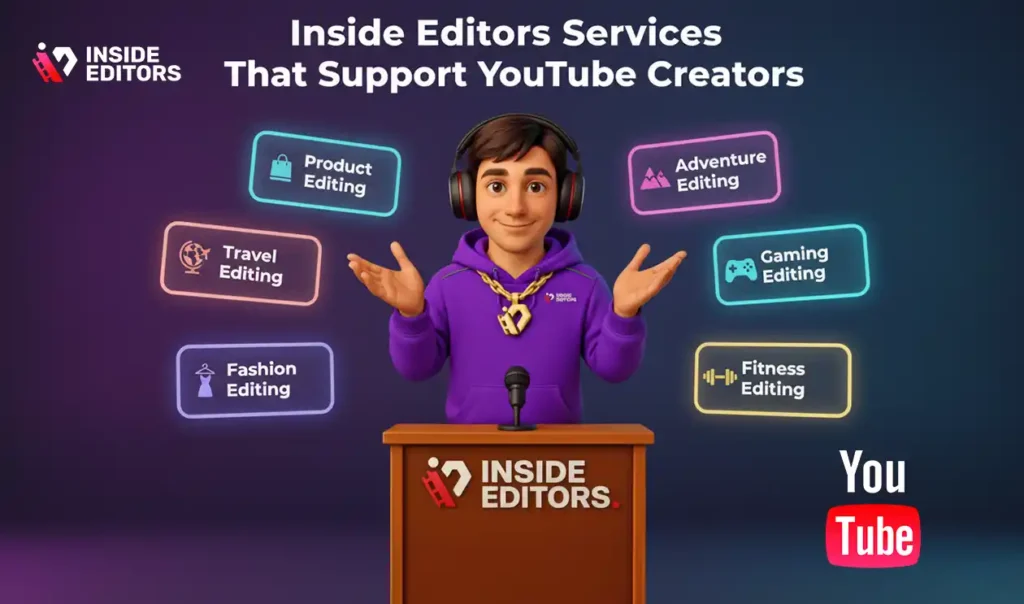
Inside Editors offers a range of specialized editing solutions tailored for different types of YouTubers. If you’re creating product reviews, the Product Video Editing Services team can help you showcase products with clean cuts, sound design, and professional pacing. If you’re filming outdoor adventures, the Adventure Video Editing Services service enhances your footage with dynamic transitions and color grading that makes landscapes pop.
For niche creators – like fitness trainers, gamers, travelers, or fashion influencers – dedicated services such as:
- Fitness Training Video Editing Services
- Gaming Video Editing Services
- Travel Video Editing Services
- Fashion Video Editing Services
help shape content that fits your audience’s expectations. Instead of starting from scratch every time, you get editing that matches your brand and saves you hours per week.
Why Many Creators Outsource Earlier Than You’d Expect
A surprising number of successful YouTubers outsource editing long before they “feel ready.” Not because they can’t edit, but because they realize their time is better spent writing scripts, improving their lighting, engaging with viewers, or filming more content. Editing is often the bottleneck – and once removed, growth accelerates quickly.
Inside Editors has seen this pattern repeatedly: creators who outsource early typically increase their upload frequency consistently because they’re no longer overwhelmed. The result isn’t just faster growth – it’s better quality, less burnout, and a channel that feels sustainable long-term.
Final Checks Before Publishing Your YouTube Video
Once your upload is complete, YouTube presents a few final options before your video goes live. These last steps determine how your video behaves after publishing – including how notifications work, how your video is categorized, and how it appears to new viewers. Spending a few extra minutes here ensures you don’t accidentally publish a video with incomplete details.
Reviewing Metadata One Last Time
Before publishing, re-read your title and description. Make sure the title clearly reflects what viewers will learn. The description should include your main keyword naturally but conversationally – for example, mentioning “how to upload a video to YouTube” once in the opening lines is ideal. You don’t need to repeat it excessively. This final check helps prevent small errors that could impact search visibility.
Ensuring Your Visibility Setting Matches Your Intent
Creators sometimes accidentally publish videos as private or unlisted because they forget to switch visibility. Double-check the setting. If you plan to schedule your release – which is a great strategy for consistency – you can also set a date and time. Scheduled videos allow your audience to anticipate your upload and help YouTube understand your content rhythm.
Adding Cards, End Screens, and Chapter Markers
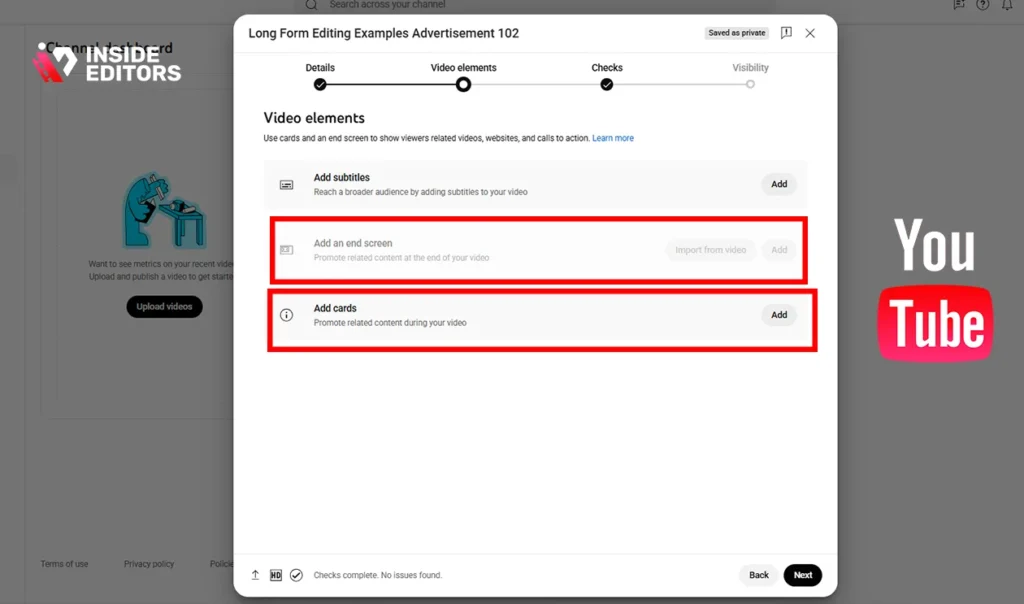
These features help viewers stay engaged and navigate your content easily. Cards guide viewers to related videos. End screens help them continue watching your channel. Chapter markers make your tutorial or review easier to follow, improving retention. Adding these elements only takes a moment but significantly enhances viewer experience.
Conclusion – You’re Ready to Upload Your First YouTube Video Confidently
Learning how to upload a video to YouTube is a foundational skill – one that becomes faster, easier, and more intuitive the more you do it. What seems complicated at first quickly becomes routine. When you understand file formats, metadata, thumbnails, and visibility settings, you gain full control over how your content appears and performs.
You now know the key steps: preparing your file correctly, uploading with confidence, optimizing your settings, and avoiding common beginner mistakes. Combine this with consistent uploads and simple storytelling, and you’re already far ahead of most new creators.
If you ever feel overwhelmed or want your videos to look cleaner, sharper, or more professional, Inside Editors is here to support you. Whether you’re making reviews, tutorials, vlogs, travel films, or social content, a professional editor can elevate your ideas and free up your time to focus on what you love most – creating.
Ready to take your videos to the next level?
Explore Inside Editors’ full range of video editing services and turn your uploads into stories people remember.
FAQs How to Upload a Video to YouTube
1. How do I upload a video to YouTube step by step?
Uploading is simple: sign in, click the Create (+) button, select Upload Video, and choose your file. Add a clear title, description, and thumbnail while the video processes. Review your visibility settings before publishing. These steps help ensure your video appears correctly and reaches the right audience.
2. Which YouTube settings should beginners choose when uploading?
Most beginners should keep visibility on Private until all details are finalized, then switch to Public. Select “Not made for kids” unless your content is specifically child-focused. Add a natural description and a few relevant tags to help YouTube understand the topic, especially when learning how to upload a video to YouTube.
3. What’s the best video format for YouTube uploads?
YouTube recommends MP4 (H.264) because it balances quality and compression efficiently. It processes quickly, avoids unexpected color shifts, and ensures playback across all devices. Higher-end formats like MOV work too but usually increase file size and processing times for no visible benefit.
4. What mistakes should new creators avoid when uploading videos?
Beginners often rush metadata, upload low-bitrate exports, or forget to add a thumbnail. These mistakes reduce click-through rate and overall video quality. Always double-check your title, visibility, and export settings before publishing.
5. How long does it take for YouTube to process a video?
Most 1080p uploads finish processing in a few minutes, but 4K can take anywhere from 10–45 minutes depending on file size and bitrate. Full-resolution processing may continue after the video is live, so waiting a bit before publishing ensures viewers see the best quality.
6. Do I own the rights to my video after uploading to YouTube?
Yes – you keep full ownership of your content. YouTube only receives a license to display it on the platform. If you use Inside Editors for editing, you retain 100% ownership of the final files.
7. How much do YouTube editing services cost?
Professional editing typically ranges from $60–$300 per video, depending on length, complexity, motion graphics, color grading, and revisions. Packages can include faster turnaround or additional services like thumbnails. Inside Editors provides transparent pricing with no hidden fees.
8. How long does professional editing take?
Most standard projects take 48–72 hours, while more complex videos may require extra time. Rush options are usually available for an additional fee. Turnaround depends on video length, reference materials, and revision cycles.
9. Should I edit videos myself or hire a professional?
DIY editing is great for learning, but it can be time-intensive and inconsistent. Professional editors improve pacing, color, sound, and storytelling – especially useful when you’re uploading regularly. Many creators eventually outsource so they can focus on filming, scripting, and growth.
10. Are my files private when I work with an editing service?
Yes. Reputable editors follow strict privacy and data-handling standards. Inside Editors uses encrypted storage and deletes raw files on request, ensuring your footage stays confidential.


