
Real estate videos have become one of the most powerful tools for capturing attention in a market where buyers make decisions faster than ever. A strong video doesn’t just show a property – it frames a lifestyle, creates an emotional connection, and gives viewers a sense of what it feels like to live there. But even the best-shot footage won’t shine without skilled editing. That’s why understanding the essentials of real estate video editing can give your listings a meaningful advantage, whether you’re a realtor, creator, or growing property brand.
In this guide, we’ll walk through the techniques, tools, workflows, and insider tips that professionals use to turn raw clips into polished, persuasive stories. By the end, you’ll know exactly how to elevate your editing process – and where expert help can make the biggest difference.
Why Real Estate Video Editing Matters More Than Ever
How polished editing shapes buyer perception from the first second
If you’ve ever clicked on a real estate video and exited within a few seconds, chances are the editing didn’t hold your attention. Today’s viewers expect smooth pacing, balanced lighting, and intentional storytelling – even for a simple property tour. When editing is done well, the viewer feels guided through the space. When it’s sloppy, every jump cut or shaky clip becomes a distraction.
This matters because buyers often form their first impressions online. According to a 2025 Realtor Insights Report, over 82% of home shoppers say video strongly influences which properties they short-list for in-person visits. Strong editing instantly elevates professionalism, suggesting the property – and the realtor – can be trusted.
Why high-quality visuals drive faster decisions
Great editing helps buyers visualize themselves in the space. Clean cuts and stable motion make tours feel natural. Good color grading adds warmth or crispness. Even the right background music can change emotional tone. When all these elements come together, the viewer stays engaged longer and absorbs more detail.
This emotional connection leads to quicker decisions. Real-world case studies show that properties with polished video content typically receive more inquiries within the first 48 hours. When you understand how editing affects viewer psychology, you begin to appreciate why mastering these techniques is essential.
The link between editing quality and marketing ROI
Real estate is a competitive field. When two similar properties are listed, the one with the better video almost always gets more clicks and saves. And because platforms like Instagram, Facebook, and TikTok favor videos with high engagement, quality editing also improves reach. In practice, this means fewer days on the market and higher perceived property value.
As we move deeper into an era dominated by short-form and interactive media, editing becomes one of the most powerful leverage points – and one of the easiest ways to differentiate your listings from everyone else’s.
Choosing the Right Tools for a Smooth Editing Workflow
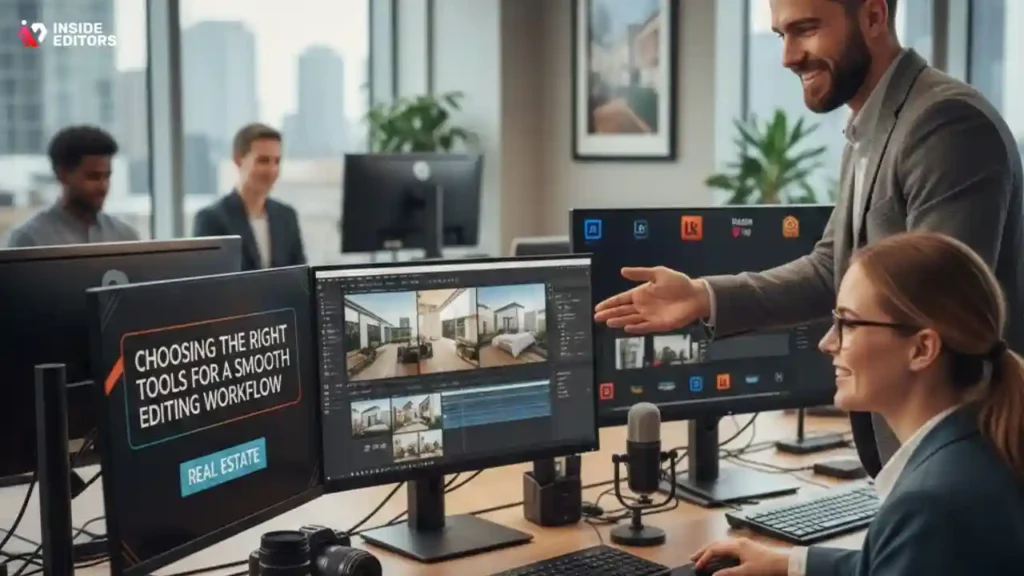
Why your choice of editor impacts both speed and final quality
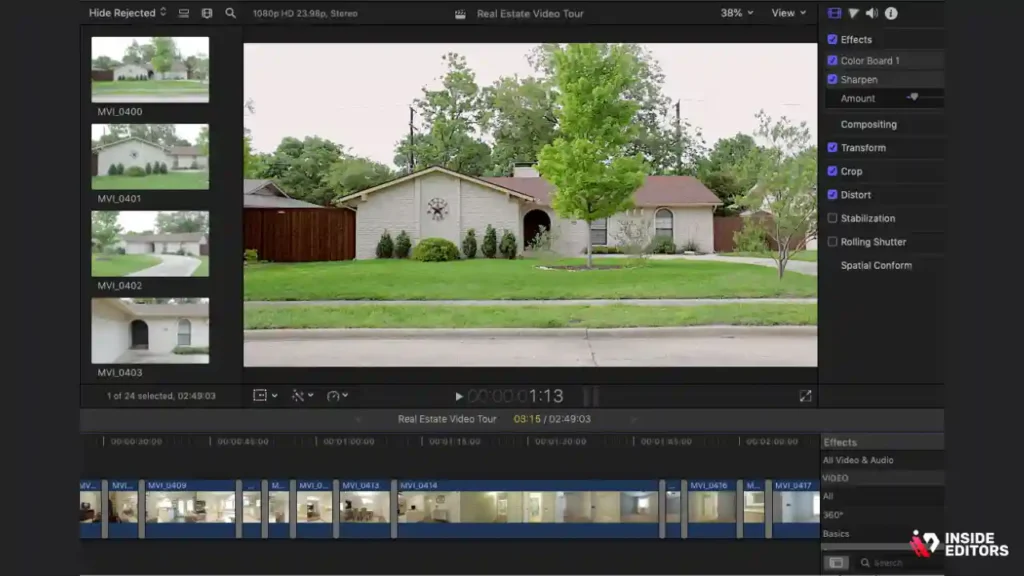
Before you worry about transitions or color grading, your first big decision is selecting the right editing software. This choice affects how quickly you can assemble timelines, how well you can stabilize footage, and how confidently you can produce professional results. A tool that’s too basic becomes limiting, while something overly complex can slow you down.
Most editors fall into one of two categories: beginner-friendly cloud tools or more advanced desktop applications. The right pick depends on your experience, your computer’s power, and how quickly you need to turn around projects. As you evaluate options, think about the type of properties you typically film. Large luxury homes, for example, often benefit from advanced grading tools.
Comparing the most popular real estate editing software
To help you choose confidently, here’s a quick comparison of the tools most editors rely on today:
| Software | Best For | Strengths | Potential Drawbacks |
| Adobe Premiere Pro | Professional editors and agencies | Very powerful; color grading; stabilizers; plugins | Steeper learning curve |
| Final Cut Pro | Mac-based creators | Fast rendering; magnetic timeline | Mac-only |
| DaVinci Resolve | Color-focused editors | Industry-leading grading; free version available | Interface can feel complex |
| CapCut Desktop/Web | Realtors and creators who need quick edits | Fast templates; auto-caption; AI tools | Limited grading options |
| iMovie | Beginners | Simple, free, clean interface | Not ideal for advanced work |
If you’re unsure where to start, cloud-based editors like CapCut offer simplicity and speed, especially for quick social media versions of property tours. On the other hand, Premiere Pro or Resolve will give you deeper control over visual quality, which is helpful when dealing with mixed lighting or drone footage.
When it makes sense to hire a professional editor
It’s perfectly normal to feel overwhelmed by editing tools – especially if real estate is your primary job. Many agents capture decent footage but struggle to turn it into a polished final video. That’s where a professional service like Inside Editors can help streamline your workflow. Instead of spending hours trying to balance exposure or match color between rooms, you can outsource the heavy lifting and focus on selling.
Professionals also ensure your videos look consistent across listings, which helps strengthen your brand. Think of it as long-term marketing: the more polished your content becomes, the more credibility you build with viewers.
Building Strong Stories with Smart Pacing & Clips

Why narrative flow matters more than fancy effects
A great property video feels effortless, almost like a guided walk-through. That sense of clarity comes from the editor carefully choosing which clips to use and how long to keep each shot on screen. Even if you captured hours of footage, only a fraction should make it into the final cut.
One of the biggest mistakes new editors make is including every clip simply because it took effort to capture. But real estate viewers prefer efficiency. They want to understand the layout quickly, not sit through repetitive angles. This is where pacing plays a vital role. A well-timed sequence of wide shots, medium shots, and close-ups creates rhythm, while lingering too long can lead to boredom.
How to structure your property videos for maximum engagement
When structuring a real estate video, start with a strong opening shot – something wide, bright, and stable that introduces the property. Think of this as your video’s handshake. From there, move logically through the interior: kitchen, living room, bedrooms, and special features.
The trick is to avoid abrupt transitions between unrelated spaces. For example, jumping from the living room directly to a bathroom often confuses viewers unless the layout clearly connects. Instead, follow physical flow. If your sequence mirrors the natural movement through the home, viewers stay oriented.
Creating emotional momentum with intentional pacing
Beyond logic, pacing affects how viewers feel. Quick-cut sequences create energy – useful for modern condos – while slower, lingering shots produce calm, perfect for luxury homes or spacious rural properties. Adjust your pacing to match the personality of the listing. When editors understand pacing emotionally, they produce videos that feel more memorable.
As your confidence grows, you’ll start noticing how small adjustments in pacing transform the narrative. That level of control is what separates amateur editing from professional storytelling.
Enhance Visual Quality with Consistent Color Grading
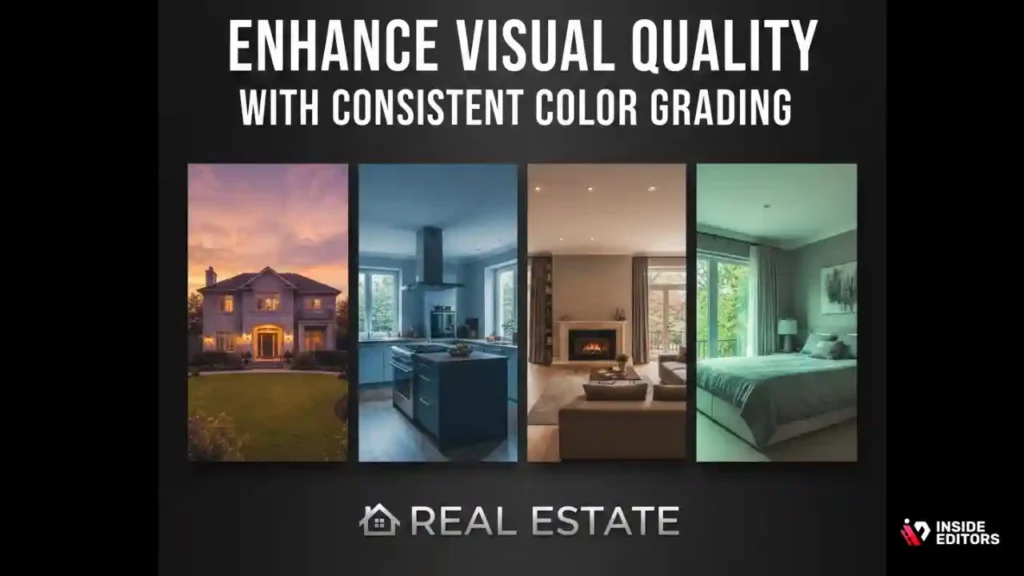
Why color grading shapes the mood and realism of your property video
Color grading isn’t just about making footage look pretty – it’s about creating consistency and emotional impact. In real estate videos, your goal is to present the property in the most flattering yet realistic light possible. If your footage shifts from warm to cool between rooms, viewers subconsciously feel something is “off,” even if they can’t pinpoint why. That discomfort can lead to lower engagement or skepticism about what the space actually looks like.
Think about it this way: a buyer who’s imagining themselves in a cozy, sunlit living room may suddenly feel disconnected if the next clip appears dim or unnaturally blue. Good grading keeps viewers immersed. It builds trust by showing the property accurately, inviting them to picture life inside.
How to achieve clean, natural color without overediting
Many editors fall into the trap of using overly dramatic LUTs or filters. While cinematic looks can be stunning in films, they rarely suit property tours. The secret is subtle enhancement: lift shadows slightly to reveal detail, correct white balance to keep rooms neutral, and nudge saturation just enough to make colors feel fresh.
Another useful trick is to grade your exterior shots first. Outdoor lighting is usually easier to balance, and once you set the overall tone, you can match the interior clips accordingly. This prevents jarring shifts between bright exterior and indoor shots captured with mixed lighting. As you develop this skill, you’ll find your videos looking more polished even with minimal adjustments.
When professional color grading becomes a game-changer
Some properties – especially high-end listings – benefit from more advanced grading techniques such as secondary color correction, hue isolation, and exposure matching. These tools can transform footage shot under difficult conditions, like cloudy exteriors or tungsten-lit interiors.
This is often where professional editors shine. Services like Inside Editors use calibrated monitors and advanced software to ensure your footage looks consistent across devices. For Realtors trying to build a premium brand image, this level of polish can dramatically enhance perceived property value.
Boost Flow with Better Transitions & Camera Motion

Why transitions should enhance, not distract, from property details
In property videos, viewers are looking for clarity. Overusing fancy transitions tends to distract from what actually matters – the space itself. Simple cuts and gentle cross-dissolves often work best because they keep the viewer focused. Think of transitions as a subtle guide, helping viewers move naturally from room to room without noticing the editor’s hand.
When used intentionally, though, transitions can do more than connect clips. A slow fade can create a sense of elegance in luxury homes. A whip pan can add energy to modern spaces. The key is matching technique to the personality of the listing. By treating transitions as storytelling tools rather than decorations, you create a smoother and more immersive viewing experience.
How to stabilize your footage for a more professional finish
Shaky footage is one of the biggest visual distractions in real estate video editing. Even slight movements can make wide shots feel amateurish. If your footage comes from a handheld camera, software stabilizers can help significantly, but it’s important not to overuse them. Too much stabilization introduces warping, which looks even worse.
A good approach is to stabilize only the clips that genuinely need it. If you filmed with a gimbal or steady cam, stabilization can be used lightly to smooth the edges. And for drone footage, a touch of warp stabilizer can turn a wobbly pan into a clean, cinematic sweep. Whether you’re editing yourself or working with a professional, stabilization is one of the easiest ways to level up your video’s production value.
Creating transitions that mirror the flow of a walkthrough
Real estate videos work best when the viewer feels like they’re walking through the property. To achieve this effect, transitions should follow physical movement. For example, moving from a wide living-room shot to a medium shot of the same room feels natural. Jumping abruptly to a different floor without context does not.
This walkthrough approach builds orientation and helps viewers remember the layout long after they’ve finished watching. It’s a subtle technique, but it’s one of the biggest contributors to viewer satisfaction.
Elevate Your Video with Sound & Music
Why audio quality influences emotional impact
Most people focus on visuals, but audio plays an equally important role. Clean, well-balanced sound keeps viewers engaged longer. Even if your video has no dialogue, ambience matters. Poor audio immediately feels amateurish, while crisp background music can elevate the entire experience.
Music also influences mood. Upbeat tracks work well for modern apartments, while softer, cinematic music suits luxury homes. The right soundtrack helps buyers imagine themselves living in the space. This emotional resonance is impossible to achieve with visuals alone.
How to choose the right music for your brand and property
You don’t need a large music library to create emotionally cohesive videos. What you do need is intention. Ask yourself who the target buyer is. A young professional touring a downtown condo might respond well to contemporary beats. A family-oriented home may feel better with gentle guitars or airy piano.
When selecting tracks, ensure your music is royalty-free. Platforms like Artlist, Epidemic Sound, and YouTube Audio Library offer great options. Inside Editors uses licensed music that matches the tone of each property, ensuring legal safety and professional polish.
Balancing audio levels for clarity and comfort
Even the perfect soundtrack becomes distracting if it’s too loud. Keep music slightly below dialogue if you’re narrating or including agent voiceovers. For silent tours, aim for a comfortable volume that fills space without overwhelming it.
A useful rule is to set your peaks around -12dB to -6dB. This gives enough headroom and prevents the harsh clipping that can make viewers click away.
Export for Any Platform with Crisp, Clean Quality
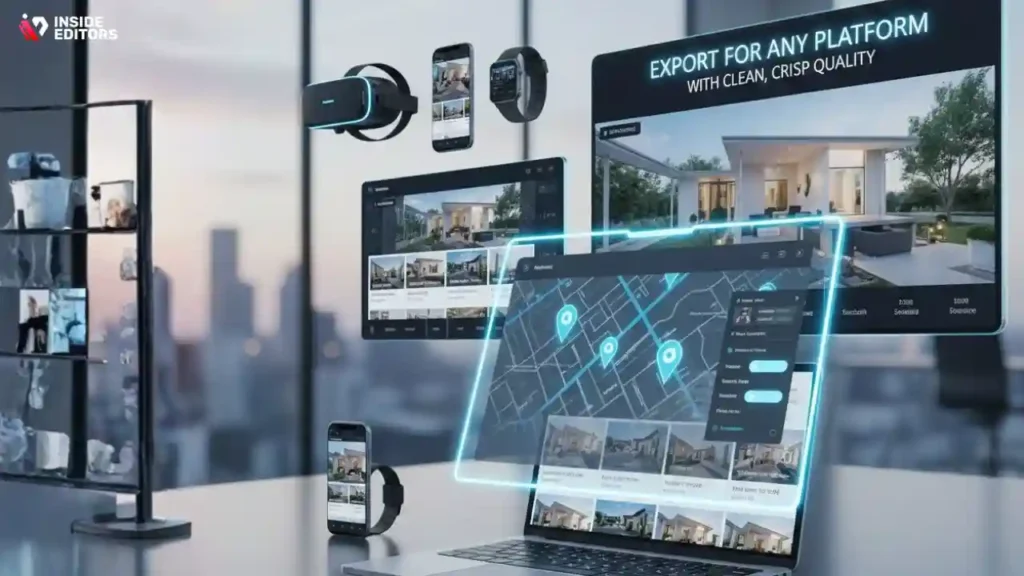
Why exporting correctly matters for quality on YouTube, MLS, and social media
You’ve captured great footage and edited beautifully, but exporting wrongly can ruin everything. Poor export settings lead to compression artifacts, washed-out colors, or choppy playback. Each platform has different requirements, so your final step should always be tailored.
MLS platforms often require higher bitrates and horizontal layouts. YouTube handles 4K exceptionally well, while platforms like Instagram Reels prefer vertical 1080×1920 videos. The more you optimize for the platform, the sharper and more impressive your videos appear to potential buyers.
Recommended export settings for real estate videos
Here’s a quick overview of settings professionals rely on:
For YouTube or Website Embeds
- 4K or 1080p
- H.264 or H.265 codec
- 20–35 Mbps bitrate for 4K
For MLS platforms
- 1080p
- Higher bitrate (20–25 Mbps)
- Wider aspect ratio (16:9)
For Instagram Reels or TikTok
- Vertical 1080×1920
- 8–12 Mbps bitrate
- Slightly boosted exposure for mobile screens
These small adjustments can dramatically affect playback quality, especially on mobile, where most buyers watch.
Why multiple aspect ratios improve your marketing
Creating multiple versions of the same tour – horizontal for websites, vertical for TikTok, square for Facebook – helps you reach more buyers. Instead of forcing one format everywhere, adapting aspect ratios allows your content to shine on each platform. This multiplies engagement without reshooting anything.
Professionals use templates to streamline this process, but even beginners can adapt by setting up a few default export presets.
Avoiding Common Real Estate Editing Mistakes
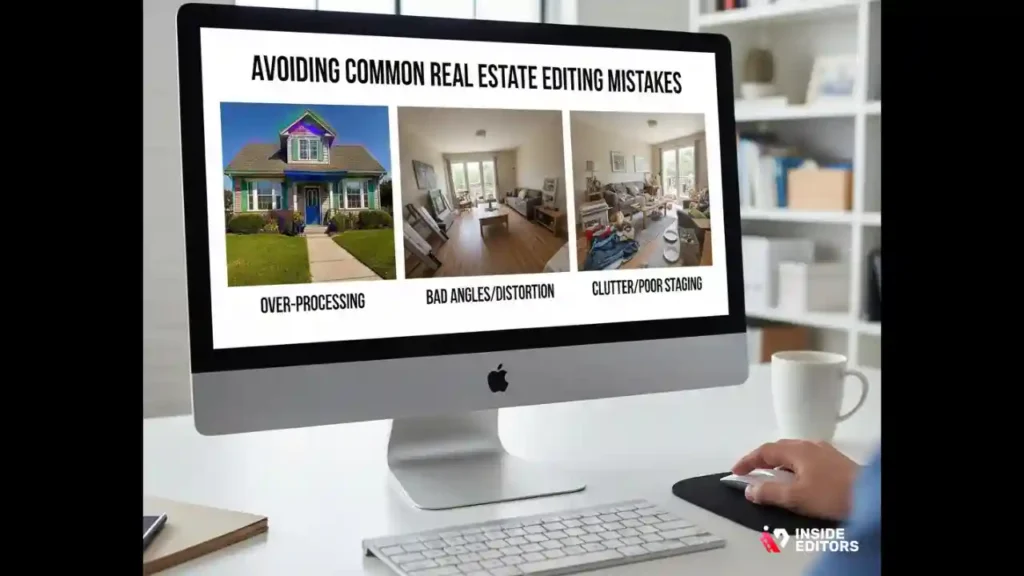
Overusing transitions and filters
Beginners often think more effects equal better quality. But flashy transitions and heavy filters make property videos feel artificial. Buyers want clarity, not distractions. Simplicity nearly always wins in real estate.
Rushing through shots
Holding a shot for too little time prevents viewers from absorbing detail. Let your clips breathe. A room needs at least a couple seconds of stable framing for the viewer to process it.
Inconsistent lighting between clips
When grading isn’t consistent, the video feels disjointed. Matching exposure across clips keeps everything unified, even if footage was captured at different times of day.
Forgetting to show layout
Real estate videos lose impact when they fail to show how rooms connect. Use wide shots and smooth transitions to help viewers understand the property’s flow.
Get Better Results by Working With Inside Editors
Why outsourcing editing saves time and boosts quality
Real estate agents are busy – filming, staging, showing homes, negotiating deals. Editing shouldn’t become another full-time job. Professional editors can take your raw footage and turn it into a polished, ready-to-upload video that aligns with your branding. This frees up hours of your week and ensures your listings always look consistent.
Many of our clients at Inside Editors say outsourcing felt like unlocking a new level of productivity. Instead of worrying about color grading or transitions, they focus on client relationships and property sales. If you’re producing more than one listing video per month, the time savings alone can justify professional help.
What makes Inside Editors different
Inside Editors combines creative storytelling with technical expertise. We handle everything – stabilizing drone shots, matching lighting, pacing walkthroughs, adding licensed music, and exporting for each platform. Whether you need a simple tour or a cinematic highlight reel, we ensure your videos feel smooth, engaging, and on brand.
If you want to see how polished your listings can look with professional editing, you can explore our services here:
Inside Editors’ Video Editing Services.
When to consider upgrading from DIY to pro editing
If your current videos feel inconsistent, if you’re getting low engagement, or if editing takes too much of your time, partnering with a professional editor makes sense. It’s not about replacing your creative eye – it’s about enhancing it with expert support.
Wrap-Up: Confidently Bringing Your Videos to Life
Real estate video editing is both an art and a technical craft. When you combine thoughtful storytelling, clean editing, consistent color, smart pacing, and platform-specific exports, your videos instantly stand out. These techniques don’t just make your footage look good – they help buyers imagine themselves living in the space, which ultimately drives faster decisions and stronger results.
Whether you’re editing yourself or partnering with a professional, each improvement you make builds trust and boosts your brand’s authority. And once you master these principles, every property video you create becomes more powerful, more persuasive, and more aligned with what today’s buyers expect.
If you’re ready to elevate your listings even further, Inside Editors is here to help you turn raw footage into polished stories that sell.
FAQs : Best Real Estate Video Editing Tips
Q: How can I trust a video editor with my property footage and privacy?
A: Trust starts with clear policies: ask for a written agreement that covers ownership, privacy, and deletion of raw files. Reliable services provide NDAs or privacy clauses, retain files only as long as needed, and show examples of past work and client references. For sensitive listings, request secure file transfer (SFTP or password-protected cloud links) and confirmation that footage won’t be reused.
Q: What’s the difference between DIY real estate video editing and hiring a pro?
A: DIY editing saves money but usually costs time – novice workflows can add hours per listing for trimming, grading, and exporting. Pros deliver consistent pacing, color-matched footage, licensed music, and platform-ready exports, which often increases engagement and reduces days on market. If you list multiple properties monthly or need a premium look, pro editing often gives better ROI.
Q: What should I expect to pay for professional real estate video editing?
A: Prices vary by complexity: a basic 60–90 second walkthrough often ranges $75–$200, mid-tier cinematic edits run $200–$600, and full cinematic packages (drone, advanced grading, voiceover) commonly exceed $800. Typical packages include color correction, stabilisation, music licensing, 1–2 revisions, and multiple aspect ratio exports; extras like rush delivery or extensive VFX cost more.
Q: How long does a typical edit take, and are rush options available?
A: Standard turnaround for a single 1–2 minute property video is 48–96 hours, depending on queue and complexity. Rush options (24 hours or same-day) are often available for an extra fee – expect 25–100% surcharge based on workload. Timelines depend on footage quality, number of revisions requested, and whether assets (logos, captions) are provided up front.
Q: What simple steps should I follow to prepare footage for editing?
A: Shoot stable, well-lit wide shots, medium detail shots, and a few closeups; label files clearly by room; include a short exterior establishing shot. Provide a shot list and any branding assets (logo, fonts) and tell the editor your target platforms and runtime. Clear organization saves hours in post and reduces revision cycles for real estate video editing.
Q: Who owns the final edited video and the raw footage after the project?
A: Ownership depends on your contract. Most editors transfer ownership of the final exported videos to the client on final payment, while raw footage retention varies – some services store it temporarily, others return or delete on request. Always confirm file ownership, permitted reuse, and archival policies in writing before delivering footage.
Q: How many revisions are typical, and what counts as a revision?
A: Standard packages usually include 1–2 revisions for small tweaks (trim length, music level, minor color adjustments). Significant changes-new shots, alternate sequencing, or regrading-are charged as extra. To avoid surprises, agree on revision scope (time allowances and change categories) before starting the edit.
Q: Which export formats and aspect ratios should I request for listing sites and social media?
A: Request a horizontal 16:9 1080p or 4K master for MLS/website embeds, a vertical 9:16 1080×1920 for Reels/TikTok, and a square 1:1 for Instagram feed. Use H.264/H.265 codecs and bitrates of 8–35 Mbps depending on resolution; supply a web-optimized MP4 for fast playback. Clear platform targets speed delivery and preserve quality.


