

Remote video editing has become one of the most practical ways for creators, businesses, and brands to produce high-quality content without being tied to a physical studio. Whether you’re a YouTuber collaborating with editors abroad or a marketer managing a global production workflow, the rise of digital tools has made it easier than ever to edit from anywhere. But with that convenience comes questions-what tools should you use, how do you build a smooth workflow, and what makes remote collaboration successful in the long run? These are exactly the questions this guide aims to answer. Throughout this article, you’ll learn the steps, tools, and strategies professionals use daily, and how you can build your own efficient system from scratch.
Remote video editing isn’t just a trend; it’s an entirely new way of working that provides freedom, flexibility, and global collaboration. Yet, getting started can feel overwhelming if you’re new to editing or have only worked in traditional environments. In the sections ahead, we break everything down clearly-what you need, how to choose tools, how to avoid common mistakes, and how to collaborate with editors across time zones without losing creative control. By the time you reach the end, you’ll have a clear playbook for creating polished, professional videos from anywhere.
Understanding How Remote Video Editing Works Today
Remote video editing is simply the process of creating, organizing, and polishing video content using online tools, cloud platforms, or virtual workflows-without requiring the editor and client to be in the same physical location. This flexibility is a major reason why creators, agencies, and even large companies have embraced distributed editing teams. But understanding how the process works will help you choose the right tools and avoid early frustrations.
How Remote Editing Differs from Traditional Studio Editing
Traditional editing usually takes place in a controlled environment-same room, same hardware, same local storage. Remote editing, however, requires you to bridge distances with software, file-sharing platforms, and collaborative tools. Instead of handing someone a hard drive, you send your footage via cloud storage. Instead of reviewing cuts in person, you use time-stamped comment tools. This change gives editors more freedom but also demands reliable systems for transferring files, organizing assets, and maintaining consistency.
Remote editing workflows rely heavily on the cloud. When footage is stored online, editors can access it anytime, from anywhere. This opens the door for real-time collaboration, faster turnaround times, and the ability to hire global talent. Of course, it also introduces challenges such as bandwidth limitations, upload speeds, and file security-but with the right strategy, these can be easily managed.
Why Remote Editing Is Becoming the New Standard
Digital content consumption has skyrocketed across platforms, from YouTube to TikTok to corporate webinars. As demand grows, brands are seeking scalable editing solutions. Remote editing provides access to worldwide talent at lower cost, while creators enjoy the flexibility of working with specialized editors for different tasks-color grading, motion graphics, short-form cuts, and more.
Another reason remote editing has surged is the rise of hybrid and remote work since 2020. Companies now prioritize virtual collaboration tools and cloud-based platforms, making distributed video production not only possible but efficient. By 2025, more than 70% of editing teams use at least one remote component in their workflow, according to multiple industry surveys. This shift isn’t slowing down; it’s accelerating-and understanding it early gives you an advantage.
The growing acceptance of remote workflows sets the stage for the next section, where we explore what tools you actually need to begin.
The Core Tools You Need to Start Remote Video Editing
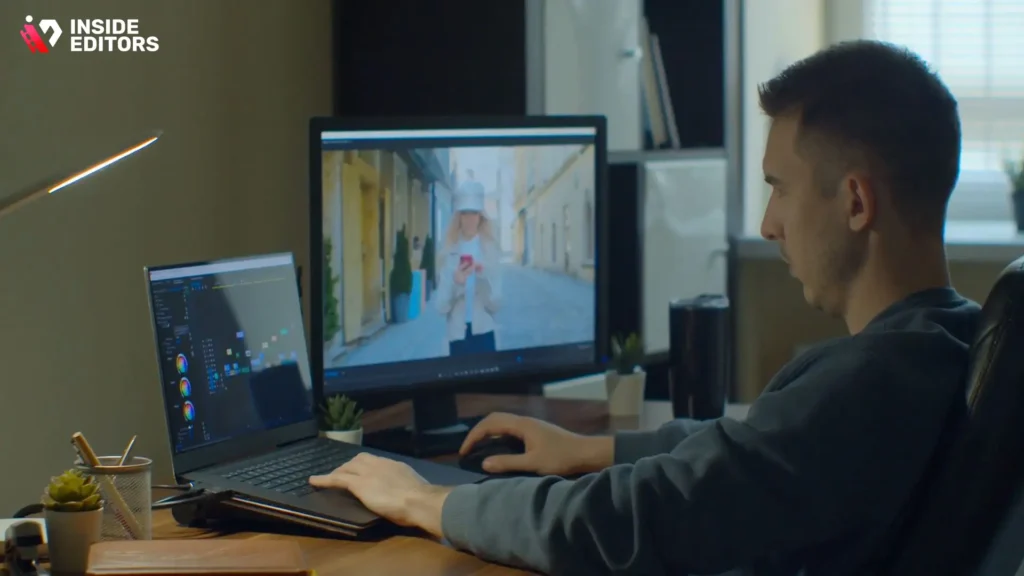
Before you start editing remotely, you’ll need a foundational set of tools that support smooth collaboration, file management, and creative workflows. The good news is that you don’t need a high-end studio or specialized equipment to begin. Most editors today start with a medium-range laptop, reliable storage, and cloud-based platforms. What matters is choosing tools that work well together.
Software That Supports Remote Workflows
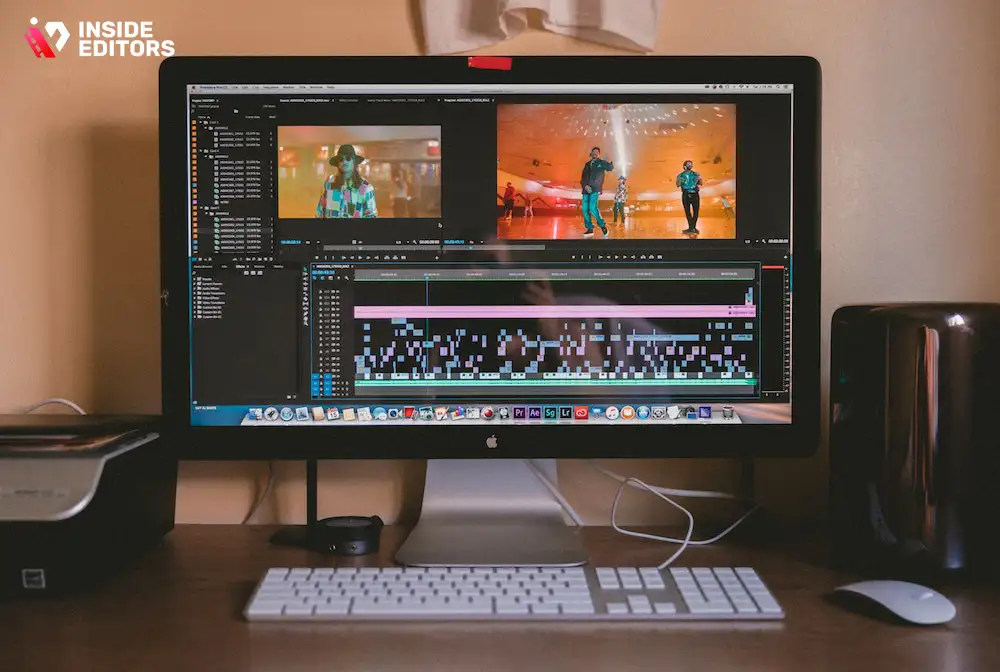
Choosing the right editing software depends on your goals and skill level. For beginners and casual editors, tools like CapCut Desktop or Adobe Premiere Rush offer intuitive interfaces and strong cloud integration. For professionals, Adobe Premiere Pro, DaVinci Resolve, and Final Cut Pro remain industry standards. Each platform handles remote collaboration differently-Adobe has shared projects, Resolve supports cloud libraries, and Apple offers optimized performance for Mac users.
When selecting software, think about how you’ll share timelines, effects, and project files. Platforms with built-in collaboration tools make remote editing much easier, especially when multiple people are involved. For example, Premiere Pro’s Team Projects allows editors to sync updates automatically, while Frame.io integrates directly into several programs for real-time review and feedback.
Cloud Storage and File Transfer Systems
This is where most beginners underestimate remote editing. Video files are large-sometimes hundreds of gigabytes. Your chosen cloud storage system must support fast uploads, reliable syncing, and secure access. Google Drive and Dropbox are common choices for small teams, while larger teams may prefer enterprise-grade platforms like Box or Amazon S3.
For raw files, dedicated media transfer tools such as MASV or WeTransfer Pro offer accelerated uploads optimized specifically for video. These platforms reduce the likelihood of file corruption and handle large uploads more efficiently than general file-sharing tools. When your footage moves smoothly between collaborators, the entire workflow becomes easier.
Communication and Collaboration Platforms
Editing is a creative process that requires clear communication. Without in-person conversations, your tools need to replicate that clarity. Slack, Discord, and Microsoft Teams are popular choices for daily communication. For revision workflows, tools like Frame.io and Vimeo Review allow creators to leave comments directly on the video timeline, making feedback incredibly precise.
These collaboration tools help prevent misunderstandings and endless revisions. Instead of writing vague emails like “Fix the part around 1 minute,” clients can leave exact timestamps. This clarity saves time and reduces frustration for both editors and clients.
Building a Smooth Remote Video Editing Workflow

A well-structured workflow is the heart of successful remote video editing. Without one, even the best tools won’t save you from confusion, missed deadlines, or lost files. The goal is to create a clear system that guides every step-from receiving raw footage to delivering the final export. When your workflow is predictable and organized, collaboration becomes easier, revisions are faster, and your results stay consistent.
Organizing Footage Before You Begin Editing
Before you open your editing software, it’s essential to organize your raw files properly. Remote editors often receive footage from multiple sources-camera files, screen recordings, voiceovers, or b-roll. If these aren’t labeled clearly, the editing process becomes unnecessarily slow. A simple folder structure can make a huge difference. Most editors separate their footage into folders like “A-Roll,” “B-Roll,” “Audio,” “Music,” “Graphics,” and “Voiceovers.” This consistency helps you quickly find exactly what you need, even months after the project ends.
Good organization also reduces back-and-forth communication with clients. Instead of messaging the client asking, “Where’s the main interview clip?” or “Which file is the final script?”, everything is already in place. In remote editing, this kind of self-sufficiency is essential. It saves time, reduces stress, and allows you to focus on creativity rather than file-hunting.
Setting Up a Timeline That Supports Collaboration
Once your files are organized, your editing timeline becomes the backbone of the project. A clean, labeled timeline helps both you and your collaborators understand the flow of the video instantly. If multiple editors are working together, fragmenting the timeline into sections-such as intro, main story, b-roll cuts, transitions, and final touches-creates clarity. Editors can then work in parallel without disrupting each other’s progress.
Collaborative-friendly software also lets editors share timelines in the cloud. This means every update is saved in real time, so no one works on outdated versions. As your workflow becomes more advanced, you might also use shared project templates. These templates maintain consistent fonts, color grades, transitions, and branding elements across videos, especially when you’re editing recurring content for a brand or channel.
Using Feedback Tools to Improve Revision Cycles
Revisions are part of every editing process, but they can be either smooth or chaotic depending on how you manage them. Without proper tools, remote revisions often turn into long email threads with vague feedback like “Fix the second part” or “Make it flow better.” Instead, timeline-based feedback platforms like Frame.io or Vimeo Review allow clients to leave comments directly on specific frames. These comments appear inside your editing software, eliminating guesswork.
Clear feedback shortens turnaround times and minimizes frustration. When everyone can see the same frame, the revision becomes a technical adjustment-not a guessing game. Over time, you’ll notice your projects becoming more efficient because the tools help clients express their ideas more clearly. This is essential if you’re working with multiple stakeholders, such as agencies, brands, or marketing teams.
As feedback becomes more structured, your workflow naturally evolves into a reliable system that supports larger or more complex projects. And this is where communication plays a crucial role.
Communicating Effectively With Clients and Team Members
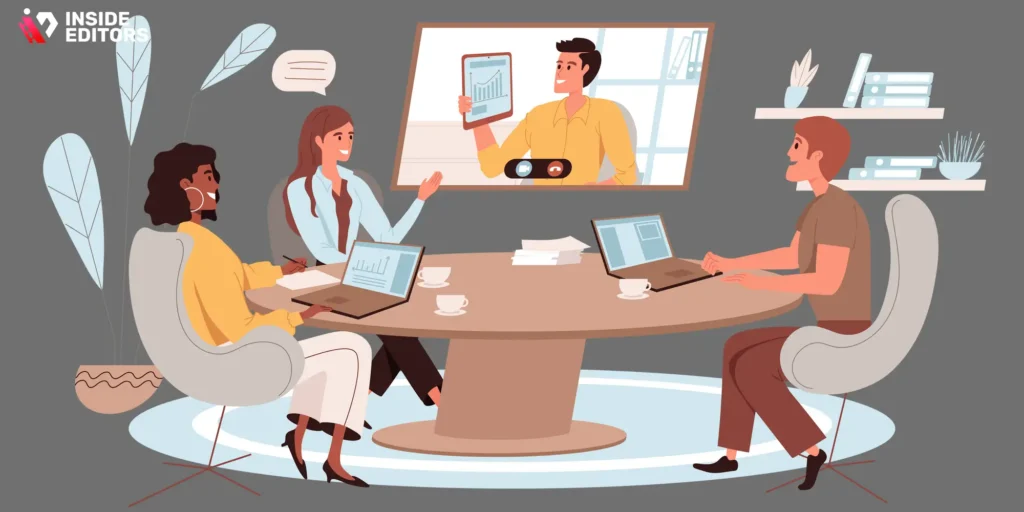
Remote editing lives and dies by communication. When you can’t meet face-to-face, your tools, habits, and clarity become your strongest assets. The better you communicate, the faster projects move-and the more confident clients feel about working with you.
Establishing Clear Expectations From the Start
One of the biggest mistakes beginners make is jumping into a remote project without setting expectations. Before editing begins, discuss deadlines, video length, visual style, music preferences, and the number of revision rounds. These details prevent surprises later. When expectations are clear, clients feel more trust, and editors feel more control. In fact, many professionals use a shared Google Doc to outline project guidelines before the first cut is made.
This step is especially important for first-time clients who may not understand the editing process. When they know what to expect, communication becomes smoother, and feedback becomes more respectful and constructive. Clear expectations also reduce scope creep-the situation where clients begin asking for more changes than originally agreed.
Using the Right Channels for the Right Conversations
Not every message belongs in email. Not every discussion requires a video call. In remote video editing, choosing the right communication channel improves efficiency. For daily check-ins or quick questions, tools like Slack or Discord are ideal. For more detailed discussions-such as planning a storytelling approach-Zoom or Google Meet works better.
Separating communication channels helps keep messages organized and prevents important details from getting buried. When editors and clients use consistent channels, they develop a shared rhythm that speeds up the creative process. This clarity becomes even more important when working across time zones.
Managing Time Zones and Availability
One of the advantages of remote editing is access to global talent, but time zones can become a challenge if not managed well. Professionals solve this by setting shared availability windows. For example, both parties may agree to be online for one hour in the morning to handle urgent updates, while the rest of the work continues asynchronously.
Some teams use project management tools like Trello or Notion to track progress and communicate updates without requiring instant responses. These tools create a buffer, allowing editors to work at their own pace while still keeping clients informed. Over time, this system builds trust because everyone understands the workflow and expectations.
Better communication naturally leads to better output-but only if you avoid common pitfalls. The next section explores the mistakes many beginners make and how you can avoid them.
Avoiding the Most Common Mistakes in Remote Video Editing

Every editor, no matter how experienced, faces challenges when working remotely. Recognizing these challenges early will help you avoid frustration and keep your workflow productive and enjoyable.
Struggling With Large File Transfers
Large video files can slow down even experienced remote editors. Many beginners rely solely on general cloud platforms like Google Drive because they’re free or familiar. The problem is that lengthy uploads can delay projects. Professional editors often use accelerated transfer systems like MASV, which are built specifically for raw video footage. Switching to a faster platform often saves hours each week.
Slow file transfers aren’t just inconvenient-they can interrupt the creative flow. When you’re excited to start a project, waiting for files can be demotivating. By choosing efficient systems early, you create a smoother editing environment that keeps you energized.
Overusing Effects or Transitions
This is a classic beginner mistake. When working remotely, editors sometimes rely heavily on flashy effects, thinking it will impress clients. In reality, great editing is invisible-it supports the story rather than distracting from it. Excessive transitions, loud sound effects, or over-saturated color grades can make videos feel amateurish.
A more professional approach is to use effects intentionally. Subtle transitions, balanced color grading, and clean typography create a polished, modern look that works well across platforms. When clients see consistent, thoughtful editing, they gain confidence in your ability to handle important projects.
Not Backing Up Footage Properly
Because remote editing relies so heavily on cloud access, many beginners forget that their footage still needs backup. A corrupted file or accidental deletion can ruin an entire project. The rule professionals follow is simple: if a file only exists in one place, it does not exist at all. Keeping a local backup and a cloud backup is a strong safety net.
This protection becomes even more important when handling client footage. Losing raw files can damage your reputation and cause unnecessary tension. A secure backup strategy shows professionalism and reliability-two qualities clients value deeply.
These common mistakes are easy to avoid once you’re aware of them. In the next section, we’ll go deeper into advanced techniques and tools that elevate your remote editing to a truly professional level.
Bringing It All Together: Your Path to Confident Remote Video Editing

Starting your journey into remote video editing may seem overwhelming at first, but once you understand the tools, workflow, and communication methods involved, it becomes an incredibly flexible and rewarding way to create high-quality content. Throughout this guide, you’ve learned how to organize footage, collaborate effectively with clients or team members, and avoid the pitfalls that so many beginners face. Each section has hopefully shown you that remote editing isn’t just a technical skill-it’s a mindset built around clarity, structure, and creativity.
Remote editing gives you access to global opportunities. Whether you’re working with international clients, managing projects across time zones, or building an agency of your own, the systems you create today will determine how efficiently you work tomorrow. Once you master cloud storage, communication habits, and project organization, you’ll find that editing from anywhere becomes second nature. This freedom allows you to focus more on storytelling and less on troubleshooting.
As the industry continues to grow in 2025 and 2026, professionals who understand remote workflows will be ahead of the curve. You’ll bring not only technical editing ability but also the capability to manage distributed teams, handle large-scale projects, and adapt quickly to new tools. These are the qualities that brands and creators increasingly prioritize, especially in a world where flexibility and speed often determine success.
Now that you’ve explored the fundamentals, the next step is practice-experiment with workflows, refine your style, and keep learning new techniques as platforms evolve. And if you ever feel that your content could benefit from expert guidance or a professional touch, working with a skilled editor can be a game-changer.
Inside Editors supports creators, businesses, and brands with reliable, high-quality editing that brings ideas to life. Whether you’re producing travel videos, reaction clips, fitness content, product showcases, or branded business stories, a professional editor can help you skip the technical hurdles and focus entirely on your vision. If you’re ready to elevate your content and streamline your workflow, our editing team is here to help you work smarter-not harder.
Explore Inside Editors’ Video Editing Services →
https://insideeditors.com/product-video-editing-services/
FAQs – Remote Video Editing
1. What is remote video editing and how does it work?
Remote video editing means your footage is edited by a professional who works from another location using cloud storage and collaboration tools. You upload your raw clips to platforms like Google Drive or MASV, and the editor assembles, trims, color-grades, and finalizes your video. The workflow is fully online, so revisions and approvals happen through timestamped comments. It’s efficient for creators who prefer flexible, hands-off editing support.
2. How do I trust the quality of a remote editor?
Quality depends on experience, sample work, and a consistent revision process. Reputable editors share portfolios, follow structured workflows, and offer 1-3 revision rounds so you can fine-tune the final cut. Clear briefs, references, and timelines also help ensure you get the exact style you want. Choosing a verified service provider adds an extra layer of reliability.
3. Is remote video editing safe for my content and privacy?
Professional editors use secure platforms, password-protected links, and encrypted storage to protect your footage. Sensitive files can be shared via private folders or time-limited links to minimize exposure. Most remote editing services also include NDAs or privacy clauses, giving you full ownership of your video. If privacy is a priority, confirm the editor’s security practices beforehand.
4. How much does remote video editing cost?
Prices vary based on video length, complexity, and delivery speed. Simple cuts start around $50-$100, while storytelling edits, motion graphics, or color grading range from $150 to $500+. Advanced edits (ads, trailers, branded videos) may cost $600-$1,500 depending on scope. Ask for a clear quote that lists what’s included-like music licensing, captions, or thumbnails-to avoid surprises.
5. How long does remote video editing take?
Most standard edits take 2-4 days after you upload your files and brief. More complex videos with animations, multiple camera angles, or long runtimes may take 5-10 days. Many teams offer rush delivery (same-day or 24-hour), though this typically adds 20-40% to the cost. Timeline clarity upfront helps avoid delays.
6. Can I collaborate or request revisions remotely?
Yes-remote systems make revisions very precise through time-coded comments on platforms like Frame.io or Vimeo Review. You can request changes, swap clips, or adjust pacing without long back-and-forth messages. Most editors include 1-3 revision rounds in their packages. If you need ongoing updates, choose a tier that supports continuous collaboration.
7. Should I edit videos myself or hire a remote professional?
DIY editing is fine for quick, simple content when budget is tight. But professional editors save hours of time and deliver polished color, sound, motion graphics, and storytelling that DIY tools can’t match. Businesses, creators, and brands often choose pros for quality consistency and faster turnaround. If your videos influence sales or audience growth, a pro is usually the smarter long-term choice.
8. What tools are best for remote video editing?
Editors commonly use Adobe Premiere Pro, Final Cut Pro, or DaVinci Resolve for professional workflows. Cloud storage platforms like Drive, Dropbox, or MASV handle large file transfers, while Frame.io manages revisions. DIY tools like CapCut Desktop and Premiere Rush work for simple projects. The right choice depends on your skill level and the style of videos you produce.


