


If you’ve ever spent an hour editing a TikTok only for it to flop, you’re not alone. TikTok is brutally fast, and if your first three seconds don’t grab attention, viewers just scroll past. The good news? With the right TikTok video editing CapCut tutorial approach, you can turn raw clips into swipe-stopping content – even if you’re not a pro editor.
Short-form video isn’t just “nice to have” anymore. Recent reports show that around 89–91% of marketers use video as a core part of their strategy, with short-form leading the engagement charts. TikTok itself has passed a billion monthly users globally, and in Europe alone it recently crossed 200 million monthly active users. That’s a lot of potential eyeballs on your content – if your edits hold their attention.
CapCut, owned by TikTok’s parent company ByteDance, has become the default free editor for this world. It has over a billion downloads and hundreds of millions of active users, thanks to its tight integration with TikTok and simple interface. In other words: if you learn to edit well in CapCut, you’re learning the language of TikTok.
Why TikTok + CapCut Is the Combo Smart Creators Rely On

Short-form video isn’t a trend anymore-it’s the default
Short-form video has become the format marketers lean on the most, delivering higher ROI than images, blog posts, or audio content. In 2025, short videos are reported to generate the strongest return, with marketers ranking them as the top-performing social content format. At the same time, TikTok has grown to around 1.6 billion monthly users, making it one of the most powerful places to grab attention with quick, snackable content.
That’s the environment your videos are competing in: massive reach, short attention spans, and a feed where viewers decide in seconds whether to stay or swipe away.
Why editing quality matters more than ultra-fancy gear
The good news? Most viral TikToks aren’t shot on cinema cameras. They’re shot on phones and polished with strong editing choices: clean cuts, clear audio, bold text, and storytelling that respects the viewer’s time. Surveys show that many viewers prefer shorter videos and use them to research products or learn new things.
In other words, editing is your unfair advantage. CapCut gives you all the tools you need-timeline editing, transitions, filters, AI audio and auto-captions-to turn everyday clips into content that feels professional without feeling overproduced.
Once you see editing as part of your storytelling, not an annoying chore, everything else in this guide will click into place.
Laying the Foundations: Getting CapCut and TikTok Ready
Before we dive into the five styles, it’s worth setting up your “editing environment” properly. Think of this as your pre-flight checklist: once it’s dialed in, every tutorial you follow will feel smoother and faster.
Choosing the right format, resolution, and project settings
The majority of TikTok content is vertical, and TikTok itself is tuned for it. To avoid blurry or cropped uploads, start every CapCut project with:
- Aspect ratio: 9:16
- Resolution: 1080×1920 at minimum
- Frame rate: 30 fps (60 fps only if your footage and device can handle it smoothly)
You can change this in CapCut by opening a new project, heading to the settings or canvas options, and selecting vertical 9:16. If you’re repurposing footage from YouTube or horizontal video, reframe the key parts so faces and text sit in the center, away from the edges and away from TikTok’s on-screen UI.
Building a simple but efficient filming-to-posting workflow
A lot of creators burn out not because editing is “too hard,” but because their process is messy. A simple workflow you can follow:
- Plan your hook, main points, and call-to-action in a few bullet notes.
- Film multiple takes in one session, all on the same topic.
- Import clips into CapCut, trim first, then add music, text, and effects.
- Export, upload to TikTok, and adjust native features (captions, cover frame, description, tags).
You’ll notice these steps are the backbone behind every tiktok video editing capcut tutorial you’ll ever see. Once they’re muscle memory, you can plug in any of the five styles below and move faster without sacrificing quality.
Top 5 TikTok Video Editing CapCut Tutorial Styles at a Glance
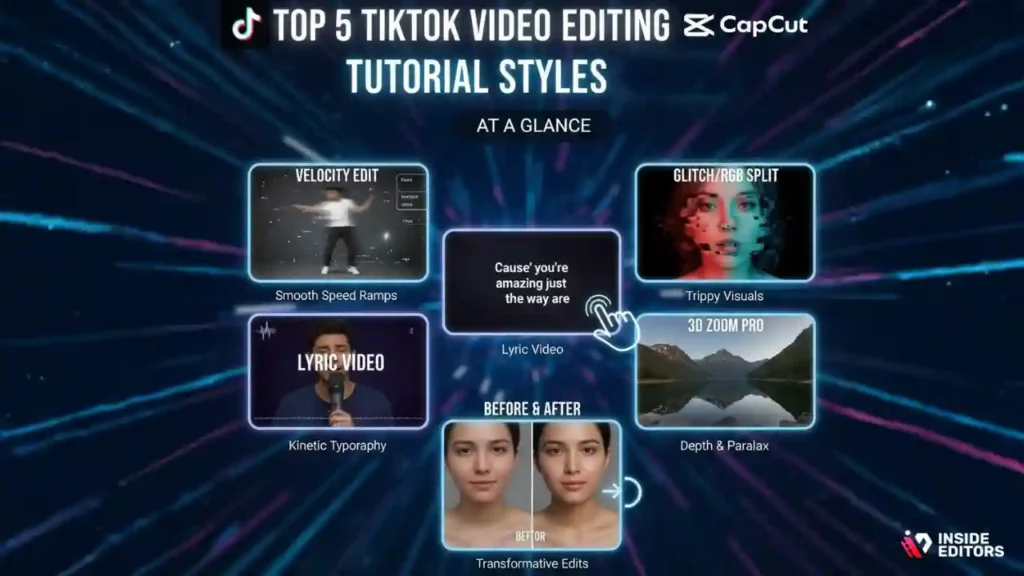
Before we go deep, here’s a quick snapshot of the styles we’ll cover and what they’re best for.
| Style | Best For | Difficulty | Main Goal |
| Talking-Head Explainer | Educators, coaches, experts | Easy | Teach something clearly in under 60 seconds |
| Beat-Synced Trend Edit | Trends, fashion, dance, memes | Medium | Match cuts and transitions to music for “wow” factor |
| Aesthetic B-Roll Mini Vlog | Lifestyle, travel, food, day-in-the-life | Medium | Tell a visual story with minimal talking |
| Text-First Storytime/Commentary | Opinions, storytime, faceless brands | Easy–Medium | Use text and pacing to keep viewers reading |
| Template-First AI-Boosted Edit | Busy creators, quick content batches | Easy | Pump out polished videos quickly using templates & AI tools |
Now let’s walk through each style step-by-step, with CapCut in mind.
Tutorial 1: The Fast Talking-Head Explainer Edit
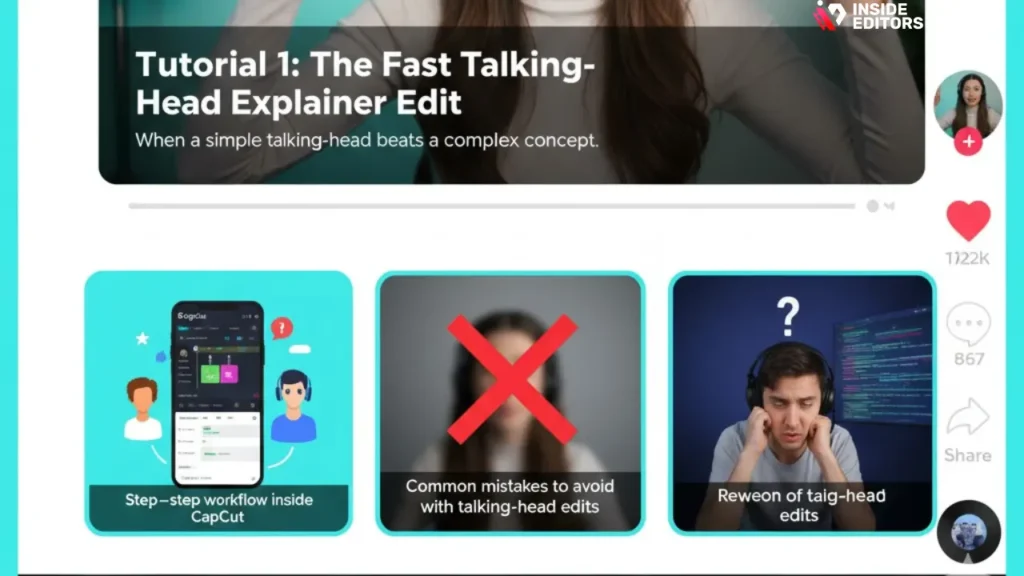
When a simple talking-head beats a complex concept
If you teach, coach, or review products, this is your bread-and-butter style. It’s just you, the camera, and a clear message. A great talking-head edit doesn’t try to hide the fact that it’s simple-it leans into clarity, eye contact, and confidence. Viewers choose these videos when they want an answer fast, not a fancy montage.
Imagine you’re explaining “How to grow from 0–1,000 followers” or “The one setting in CapCut that fixes your audio.” Your goal isn’t to show every single feature; it’s to deliver one transformation in 30–60 seconds.
Step-by-step workflow inside CapCut
Start by importing one strong main clip into CapCut-ideally the best take where you speak confidently from start to finish. Use the split and delete tools to remove dead air, “ums,” and rambling sections so your talking points flow tightly. Once the main structure is clean, add jump cuts wherever your energy dips. These tiny cuts not only keep pacing snappy but also visually signal progress, helping retention.
Next, layer in subtitle text using CapCut’s auto-captions feature, then tweak any mistakes manually. Many viewers watch with sound off, and captions can dramatically increase completion rates and accessibility. Finally, add subtle background music at low volume, a light color filter that matches your brand, and a bold title card in the first second with your core promise.
Common mistakes to avoid with talking-head edits
The biggest mistake is trying to cram in too many points. If your script covers five tips, split it into a mini-series instead of forcing everything into one video. Another frequent issue is low contrast or poor lighting; even simple phone footage looks cleaner if you bump exposure slightly and increase contrast in CapCut. And don’t forget your hook-your first three seconds should clearly answer, “Why should I care?” before the viewer scrolls away.
Tutorial 2: The Beat-Synced Trend and Transition Edit
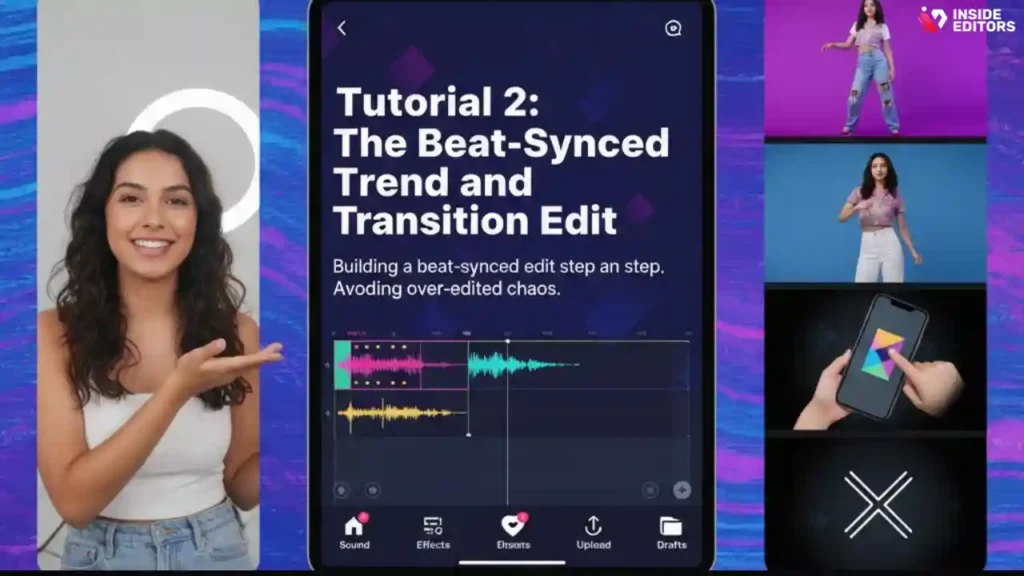
Why matching your cuts to the music matters
Trend-based edits-where transitions land perfectly on beats-are incredibly satisfying to watch. Research on short-form video shows that viewers respond well to very short, punchy clips, especially when pacing feels rhythmic and intentional. When you sync your cuts and transitions to key moments in a track, you tap into that natural rhythm that keeps people watching, rewatching, and sharing.
This style is ideal for outfits of the day, glow-ups, edits of your work, or “before vs after” moments. Even if you’re not a dancer, the music can carry the energy for you.
Building a beat-synced edit step by step
After you select a trending sound on TikTok, save or download the audio and bring it into CapCut-or use CapCut’s built-in library to find the same track. Drop the audio into your timeline first, then zoom in and mark the beat by placing markers or splits where the bass hits or main claps occur. These markers become your visual guide.
Now import your clips and drag them so that each key visual-an outfit reveal, a location change, a transition where you snap your fingers-lands exactly on those beats. In between, keep clips short, often under one second. Add transitions like whip pans, zooms, or match cuts, but use them strategically; overusing flashy transitions can distract instead of impress.
Avoiding over-edited chaos
It’s tempting to throw every effect at the timeline, but more isn’t always better. Ask yourself: “Does this transition help the story, or is it just noise?” If you feel dizzy watching your own edit, your viewers will too. Limit yourself to one or two transition types per video and focus on consistent visual language instead of random effects.
Tutorial 3: The Aesthetic B-Roll Mini Vlog
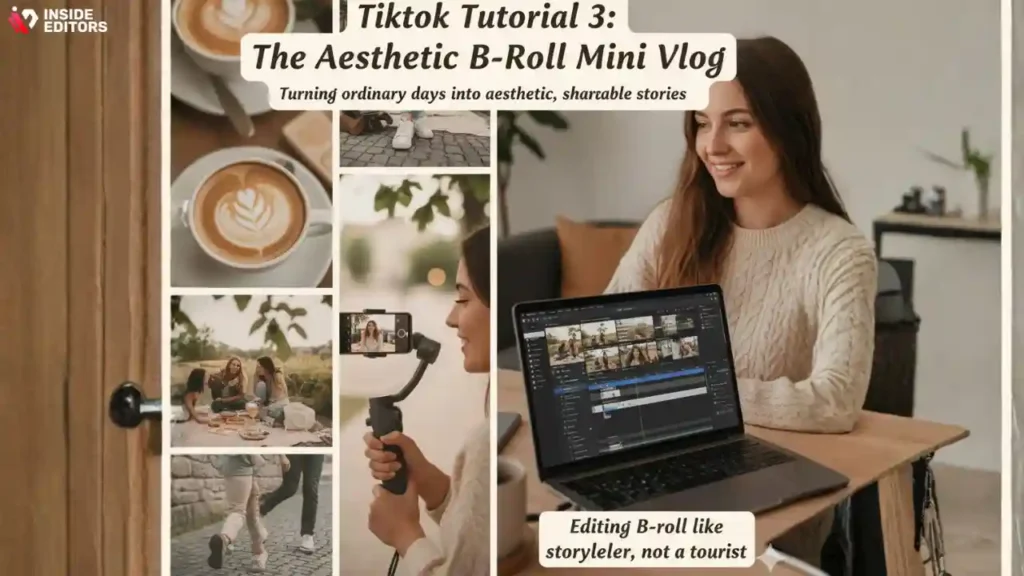
Turning ordinary days into aesthetic, shareable stories
Mini vlogs and aesthetic B-roll sequences are perfect when you don’t want to talk on camera but still want to share your world. Think “Day in my life as a freelance editor,” “POV: You move to a new city,” or “Behind the scenes of filming a TikTok.” Short-form video usage data shows that audiences increasingly use these clips to connect with brands and personalities on a more emotional, lifestyle level. You’re not just showing clips; you’re inviting people into a mood.
Editing B-roll like a storyteller, not a tourist
In CapCut, arrange your clips in a sequence that has a beginning, middle, and end-even if it’s subtle. For example: making coffee (start), editing at your desk (middle), nighttime wind-down (end). Trim away shaky or repetitive shots so each clip reveals something new. Use gentle crossfades or simple cuts instead of wild transitions; here, the story is in the pacing and composition.
Color grading makes a huge difference with this style. Experiment with CapCut’s filters or manual color tools to create a consistent look (warm, cozy tones for lifestyle; cooler tones for tech or productivity). Add a short line of on-screen text at key moments: “Editing 5 client videos today,” “Took a break to reset,” “Exporting the final cut.” Light text gives viewers something extra to connect with without turning the video into a reading exercise.
Tutorial 4: The Text-Heavy Storytime or Commentary Edit
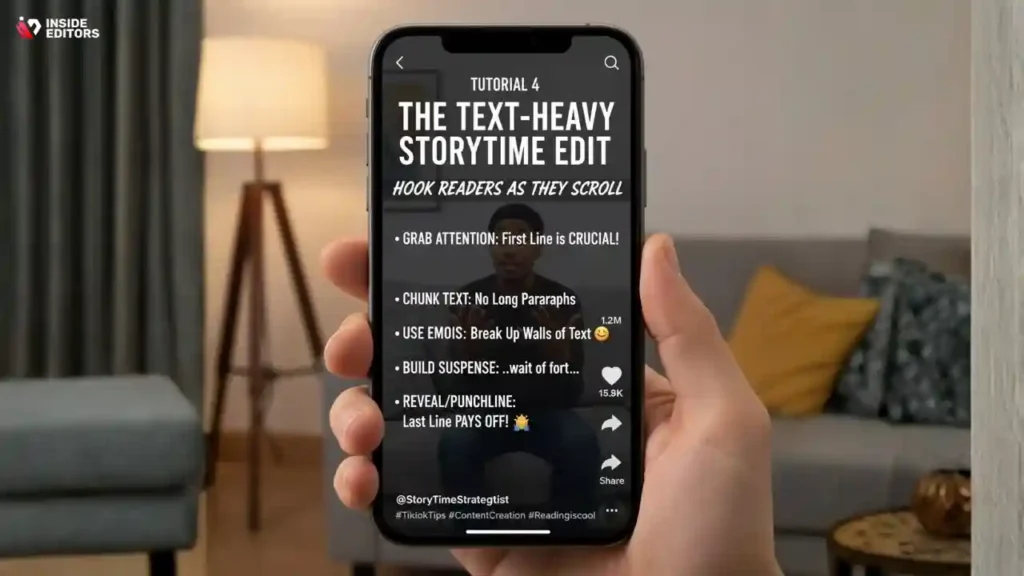
How to hook people who like to read as they scroll
Not everyone wants to be on camera, and that’s okay. Text-driven edits are incredibly effective for storytimes, opinions, and “here’s what happened when…” content. Many TikTok users will pause for a compelling story in text form, especially if each line appears at just the right pace to keep them reading.
This is a great format if you’re building a faceless brand, sharing client results, or breaking down a tricky concept with screenshots and screen recordings.
Structuring text so viewers stay until the last line
In CapCut, start by deciding your background: it might be B-roll footage, a static image, a screen recording, or even subtle stock footage. Then, write your story as short, punchy lines-each one a line or two of text on screen. Place each text block on its own track at the top of the timeline, and extend it just long enough to be read comfortably, usually 1.5–3 seconds depending on reading level.
To keep things engaging, introduce micro-cliffhangers: end a text panel with “But here’s what I didn’t expect…” or “That’s when everything went wrong.” This encourages viewers to stick around for the next panel. Combine this with subtle movement-slow zooms, light pans, and small overlays-and you’ve got a video that feels alive even if you never say a word.
Tutorial 5: The Template-First, AI-Boosted Edit
When speed matters more than custom builds
Sometimes you just need to publish consistently: daily TikToks, quick recap videos, or promo snippets. CapCut’s templates and AI features are built exactly for that. Instead of crafting each edit from scratch, you plug your clips into pre-designed structures and let the template handle transitions, timing, and text animations.
For busy creators, service providers, or brands repurposing webinars and long-form content, this can be a lifesaver. It also keeps your aesthetic consistent across multiple videos.
Using templates wisely without looking “like everyone else”
Inside CapCut, browse templates by theme (aesthetic, vlog, business, promo, etc.) and choose one that roughly matches your brand’s vibe. Import your clips, hit the replace option where needed, and adjust text to your own voice. Templates built for TikTok usually come pre-timed to trending audio, so you get that beat-synced feeling with minimal work.
The key is customization: tweak fonts, colors, and copy so the result still feels like you. Over time, you can even save your own “template projects” in CapCut-pre-built timelines that you duplicate and update with new footage each week.
If you find yourself using templates heavily but craving a more unique brand look, that’s often the moment creators call in professional editors.
Fine-Tuning Your CapCut Edits for TikTok’s Algorithm
Crafting hooks, pacing, and structure that keep people watching
TikTok’s algorithm loves what people actually watch. That sounds obvious, but it means your first seconds are crucial. After you’ve built your edit in CapCut, review just the first three seconds: is there a clear hook on screen (spoken or text) that promises a benefit, transformation, or curiosity gap?
Short-form video research suggests that length and clarity are huge factors: many viewers prefer very short videos, and even slightly tighter pacing can dramatically impact engagement and retention.
Inside CapCut, tighten gaps between sentences, cut dead frames, and avoid clip lengths that “stall” for no reason. The best edits feel like a smooth slide, not a staircase.
Captions, covers, and posting strategy that support your edits
TikTok viewers frequently interact with short videos when they can quickly understand what the content is about and why it matters. Use CapCut’s auto-caption feature to generate subtitles, then manually correct brand names and technical terms. Clear captions help global viewers, people watching on mute, and anyone who struggles with audio clarity.
On TikTok itself, choose a thumbnail frame that instantly communicates the video’s topic-a reaction face, a bold text overlay, or the “after” version of a transformation. Pair your video with a concise description and a few relevant hashtags; you don’t need dozens, just a mix of topic-specific and broader tags.
If you’re serious about growth, you can even track which of your five styles consistently gets the best completion rate and saves. Over time, that data becomes your personal content roadmap.
When to Bring in a Professional Editor and How Inside Editors Can Help
Signs you’ve outgrown purely DIY CapCut editing
At some point, creators and brands hit a ceiling. Maybe you have more footage than time, client work is piling up, or your TikToks look “okay” but not as refined as you’d like. You might notice that:
- You’re spending hours in CapCut for videos that still feel off-brand.
- You have good ideas but struggle to translate them into clean, watchable edits.
- Your TikTok content isn’t aligning visually with your other platforms, like Instagram or YouTube.
This is often the point where partnering with a professional editor turns from luxury into smart leverage. Instead of getting stuck in the timeline every evening, you can focus on scripting, filming, and engaging with your audience.
How Inside Editors supports TikTok and social creators
At Inside Editors, our job is to take that raw footage-from your phone, GoPro, camera, or screen recorder-and turn it into content that feels ready for the “For You” page. Whether you’re building a personal brand, promoting products, or creating daily content, a professional editor can:
- Clean up rough cuts and pacing based on best practices for TikTok and other platforms.
- Design a consistent visual identity (fonts, colors, overlays, subtitles) across your entire channel.
- Repurpose one shoot into multiple pieces of content for TikTok, Reels, Shorts, and beyond.
If you ever feel like your edits don’t match the quality of your ideas, you can explore our TikTok video editing services or broader social media video editing services as a next step. We keep the same friendly, collaborative approach you’re feeling in this article-only now, you have a full team behind you.
Final Thoughts: Turn Tutorials Into Your Own Editing System
You now have five concrete styles you can open inside CapCut and try today: the fast talking-head explainer, the beat-synced trend edit, the aesthetic mini vlog, the text-first storytime, and the template-driven quick build. You don’t need to master all five at once. Start with the one that matches your current content, nail it, then add another style to your toolkit.
Remember, a tiktok video editing capcut tutorial is only the starting point. The real magic happens when you turn these ideas into a repeatable workflow that fits your personality, schedule, and goals. With each video you publish, you’ll refine your pacing, hooks, and visuals-and your results will show it.
And if you ever want to skip the trial-and-error and move straight to polished, platform-ready content, the team at Inside Editors is here to help you bridge that gap-so you can focus on creating, not just cutting.
FAQs:Top 5 TikTok Video Editing CapCut Tutorial
1. Is CapCut good enough for professional TikTok videos?
CapCut is powerful for short-form content because it combines timeline editing, templates, and auto-captions in one place. For many creators, it’s more than enough for polished TikTok videos, especially when following a clear tiktok video editing CapCut tutorial. However, it has limits with advanced color grading and multi-camera workflows. If you need consistency across dozens of videos, a professional editor can deliver higher quality and faster turnaround.
2. How much do professional TikTok video editing services cost?
Most TikTok editing services range from $50–$200 per video, depending on length, revisions, captions, and custom motion graphics. Larger monthly packages typically include consistent branding, hooks, and optimized pacing for retention. Prices increase for rush delivery or multi-platform repurposing. Inside Editors provides transparent pricing so you always know what’s included.
3. How long does it take to edit a TikTok video?
Simple talking-head edits take 6–12 hours, while transitions, effects, and beat-synced videos may take 24–48 hours. Professional editors often deliver faster because they use templates, presets, and optimized workflows. Rush delivery is usually available for time-sensitive campaigns. Complex projects with multiple revisions may need additional time.
4. Do I own the final edited videos?
Yes – reputable editors give you full ownership of both the exported videos and the project files. You can reuse, repost, or repurpose them anywhere without restrictions. Only licensed music or third-party assets may have usage limitations. Inside Editors provides clear documentation so you always retain creative control.
5. How many revisions are included?
Most editing services include 1–3 free revisions to ensure the final video matches your vision. Additional revisions are available but may add extra cost depending on complexity. Clear feedback, timestamps, and examples help speed up the process. With a strong brief, many creators finalize their video in just one revision cycle.
6. Is my footage safe when I send it to an editor?
Professional studios follow strict privacy and data-security policies, including protected uploads and controlled access. Your raw footage is never shared or reused without permission. After project completion, files are typically archived securely or deleted upon request. Inside Editors maintains confidentiality standards suitable for influencers, brands, and agencies.
7. Should I edit TikTok videos myself or hire a professional editor?
DIY editing is great for learning pacing, storytelling, and understanding what your audience likes. But as your channel grows, editing can become the bottleneck – especially if you post daily. A professional editor ensures consistent quality, fast turnaround, and branding that matches your goals. Many creators use both: DIY for simple clips and pro editing for campaigns or high-stakes content.
8. What’s the simplest workflow for editing a TikTok video in CapCut?
Import your clips, trim out silence, add captions, match transitions to the beat, and export at 1080×1920, 30fps. This basic process works for almost every style, especially if you’re following a tiktok video editing capcut tutorial. Using templates speeds things up even more. Export, check framing in the TikTok preview screen, and publish with a clear hook in the caption.


