

If you’ve ever watched a TikTok that felt effortless-sharp cuts, crisp audio, captions that land exactly on the beat-you’re seeing smart editing at work. Great edits don’t just “polish” a clip; they hold attention, boost completion rate, and nudge the algorithm to show your content to more people. In this guide, we’ll walk through the top five tiktok video editing tips and show you how to apply them, step by step.
You’ll learn when to edit inside the TikTok app versus CapCut or a desktop NLE, how to plan your story for retention, and what finishing touches make your video feel premium without adding hours to your workflow. By the end, you’ll have a repeatable process you can use on every post-and a few pro shortcuts to make editing faster and more fun.
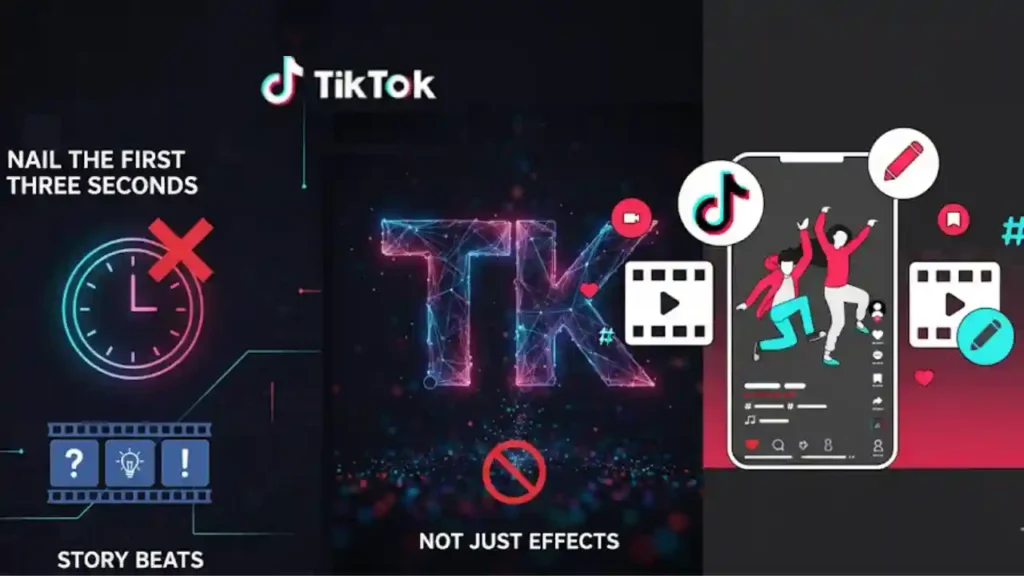
1) Nail the First Three Seconds With Story Beats (Not Just Effects)
Build a micro-story that promises a payoff
Hooks matter, but clarity beats hype. Start with a single, specific promise the viewer will get by the end-“I’ll show you the color-grading setting that fixes dull skin tones in 5 seconds”-then trim anything that doesn’t serve that promise. Think in story beats: setup (1s), reveal (1s), and momentum (1s). The pacing in these first three seconds sets the rhythm for the rest of the video, so cut aggressively and avoid empty lead-ins or slow pans that don’t add meaning.
Use visual “anchors” that preview the journey
On-screen text, a quick before/after, or a timeline glimpse can anchor expectations. If your video is educational, overlay chapter stamps like “1/3 Lighting → 2/3 Color → 3/3 Sound.” Viewers who see the path are more likely to stay for the payoff. Keep typography legible, high contrast, and placed away from your subject’s eyes so it doesn’t fight with the face (which the algorithm tends to prioritize).
Balance pattern interrupts with coherence
A quick jump cut, a zoom punch-in, or a whip-pan transition helps wake the scroll, but too many disrupt comprehension. A reliable rhythm is cut every 0.8-1.5 seconds early on, then widen to 2-3 seconds once the viewer is committed. The goal is intentional variety-just enough movement to stay fresh, never so much that viewers lose the thread. This foundation makes the next stages (audio, captions, color) work even better.
Takeaway: When your opening frames deliver a specific promise and a clear path, retention climbs-and every later edit compounds that early win. Next, let’s make your audio work as hard as your visuals.
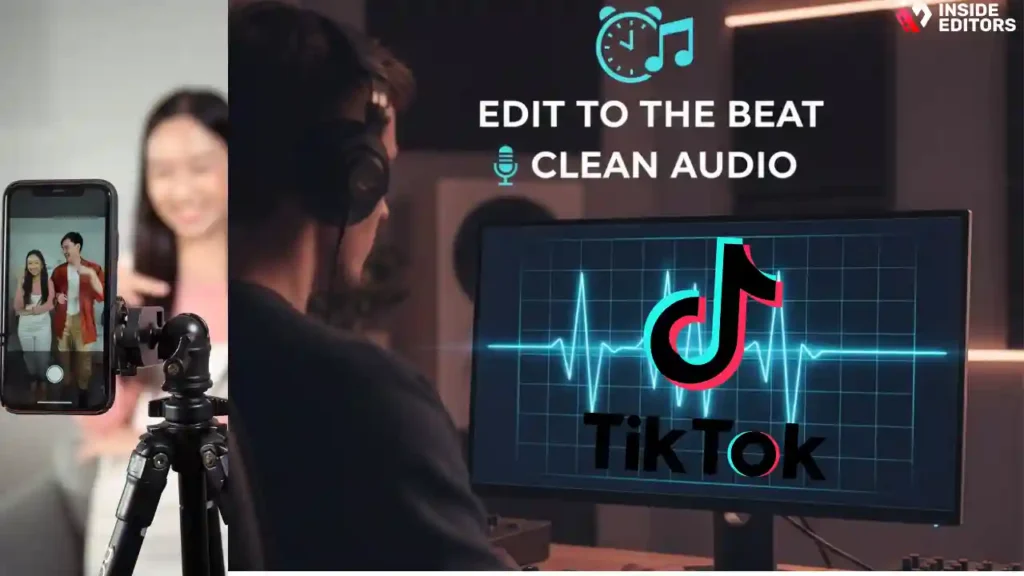
2) Edit to the Beat and Prioritize Clean Audio
Sync your cuts to transients, not just the chorus
Whether you’re using trending sounds or original voiceover, align cuts to audible transients-the kick drum, a snare crack, or a consonant in your speech. In CapCut or TikTok’s editor, zoom into the waveform and place your blade tool right at the spike. Micro-aligning cuts to audio cues creates a “locked-in” feel that audiences perceive as professional, even if they can’t explain why.
Treat voice as the hero and music as the bed
For educational or review content, the voice track should sit clearly on top. Drop background music to the point where you feel the groove but never strain to hear the words. If your app offers ducking, enable it to automatically lower music under speech. Add light compression to even out levels and a gentle high-pass filter to remove low rumble-especially if you recorded on a phone in a lively room.
Use silence strategically to sharpen contrast
A half-second of silence or a brief music stop creates emphasis before a reveal. This “breath” resets attention and makes the next beat feel more impactful. Pair it with a brief zoom or text flash for a combo that grabs attention without resorting to gimmicks.
Takeaway: Audio moves emotion. When your cuts land on the beat and your voice sits cleanly above the music, viewers feel guided-and they keep watching. With the rhythm locked, we can add the most functional visual layer: captions.
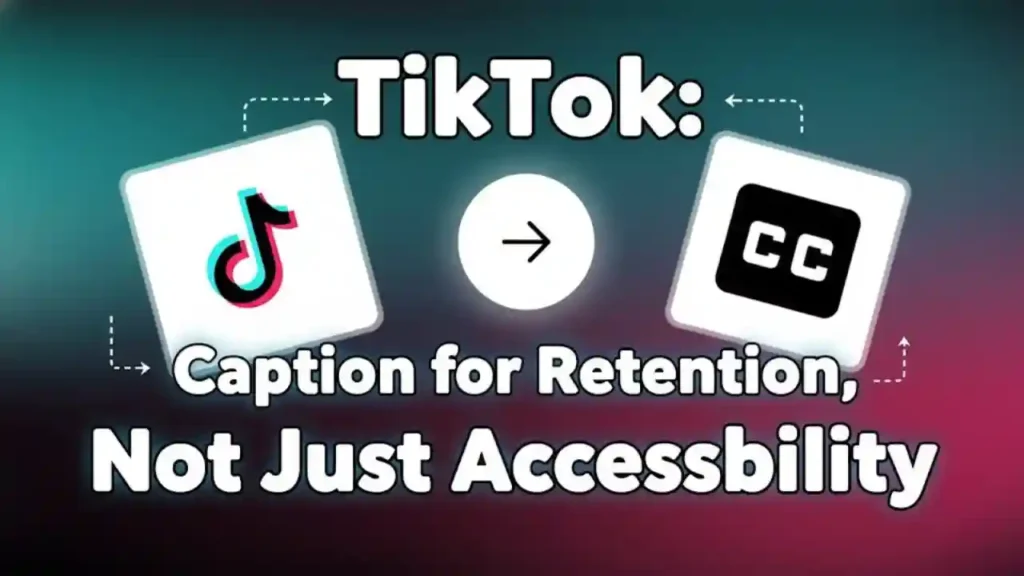
3) Caption for Retention, Not Just Accessibility
Write captions that guide the eye and the mind
On mobile, captions do more than make content accessible; they structure the story. Break lines at natural phrase boundaries and keep units short-five to eight words per burst. If your sentence has a key term (“jump cut,” “grade,” “export”), give it the second line for emphasis. This makes scanning easier and reduces cognitive load.
Time captions to speech, then add emphasis layers
Auto-captions are a great start; refine timing so each line appears a beat before you say it. Subtle emphasis-bolding a word, using a highlight box, or adding a one-frame “pop”-helps key terms land without shouting. Keep color usage consistent with your brand palette so the video feels cohesive across your grid.
Place captions with composition in mind
Avoid covering important gestures or product shots. If you’re demoing an app on screen, anchor captions low-third or just above UI elements. For dance or fitness content, consider a top-third placement to keep the body unblocked. Test on a real phone-desktop previews can be misleading-and remember TikTok’s UI overlays can hide edges on some devices.
Takeaway: Smart captions reduce friction. Viewers process information faster, stay longer, and are more likely to finish the story. Now, let’s make your footage look intentional with lightweight color and exposure work.
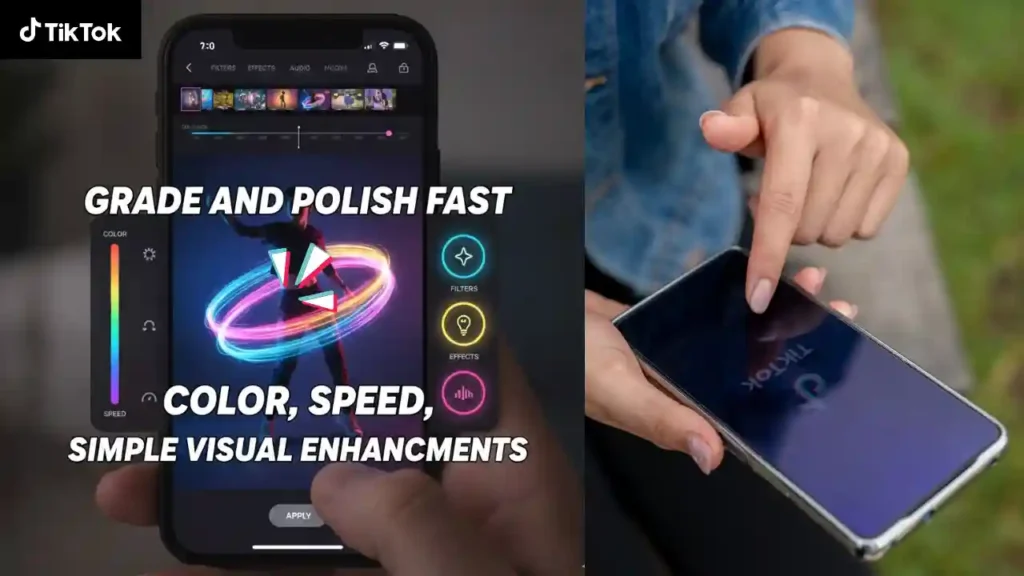
4) Grade and Polish Fast: Color, Speed, and Simple Visual Enhancements
Start with exposure and white balance before color style
Correct brightness and color temperature first; then apply a light LUT or style. This order prevents crushed shadows or strange skin tones. If you shoot under mixed lighting (window + lamp), use a targeted white-balance tweak on faces for natural skin, then let the background be slightly cooler or warmer for depth.
Use speed ramps and motion to underline meaning
A gentle speed ramp into a key moment-product reveal, punchline, or transition-creates momentum without requiring complex effects. Keep ramps short (a few frames) and synced to audio transients. Combine with a micro-zoom or subtle motion blur to sell the movement without distracting from your message.
Keep effects purposeful and repeatable
Templates and flashy transitions are tempting, but consistency builds a recognizable style. Pick two or three “signature” enhancements-say, a 3% punch-in on emphasis lines, a warm highlight roll-off, and a clean type style-and reuse them. You’ll edit faster and your grid will feel like a cohesive brand, not a patchwork of trends.
Takeaway: Minimal, intentional polish looks more expensive than heavy effects. With visuals dialed in, your final step is packaging: aspect ratio, export settings, and thumbnails that summon the tap.
5) Finish Like a Pro: Packaging, Thumbnails, and Repurposing
Master vertical framing and safe-area discipline
Shoot and edit for 9:16 from the start. Keep eyes in the upper third, avoid edge-hugging text, and leave room for captions and UI overlays. If you must crop from landscape, place the subject dead-center and use background blur or a branded canvas to maintain focus without black bars.
Export settings that protect quality on upload
Aim for a high-quality export with efficient compression so the platform’s transcode doesn’t chew up detail. Keep bitrate generous and avoid double-compressing assets (for example, re-exporting a clip that’s already a compressed download). If your editor offers “Upload in high quality,” enable it-and test on a short draft to confirm speed and look on your device.
Treat cover frames like miniature billboards
Your cover image sells the click on your profile grid. Freeze a frame that represents the promise of the video-then add a four-to-six word title with strong contrast. Keep your cover typography consistent across posts so viewers recognize your series at a glance. Over time, this turns casual scrollers into intentional visitors.
Takeaway: Smart packaging is free performance. It improves initial taps, protects visual fidelity, and sets you up to repurpose clips for Reels, Shorts, or your site’s blog embeds.
Choosing Your Editing Tool: In-App vs. CapCut vs. Desktop

| Workflow goal | Best fit | Why it helps | Watch-outs |
| Fast, trend-aligned posts | TikTok in-app editor | Quick trims, effects, sounds, and auto-captions in one place | Limited fine control; harder to manage brand consistency |
| Balanced speed + control | CapCut (mobile or desktop) | Great for beat sync, captions, speed ramps, and templates | Export carefully to avoid double compression |
| Branded, long-term series | Desktop NLE (Premiere Pro, DaVinci Resolve, Final Cut) | Color control, audio mixing, reusable graphics, versioning | Steeper learning curve; longer render times |
When in doubt: Draft in CapCut for speed, finish in your desktop NLE for color and audio finesse, then post via TikTok with high-quality upload toggled. If you’re building a business around content, consider a reusable project template that includes caption styles, safe-area guides, and your opener/closer.
For hands-on help shaping that template-or when a campaign needs consistent, on-brand edits-our team at Inside Editors can do the heavy lifting while you stay focused on filming. Explore our dedicated TikTok video editing services to see packages and workflows that fit creators and brands alike.
Common Mistakes (and Quick Fixes That Save Hours)
Overstuffed intros: If your first line tries to do too much, clarity drops and viewers swipe. Replace broad claims with a single, specific promise, then show proof quickly-ideally in the first cut.
Captions that chase the voice: When captions lag behind speech, comprehension lags too. Bring lines on screen just before you say them, and trim them off as the next phrase begins.
Noise-heavy audio: Room echo and street noise undermine even the best visuals. Use a $15 clip-on lav when possible, or record voiceover in a soft-furnished room. In post, cut low rumble and gently compress to even levels.
Transition overload: Fancy wipes and spins can be fun, but they often mask weak storytelling. Instead, use clean cuts and purposeful motion aligned to your beats.
Random fonts and colors: Inconsistent type breaks brand trust. Choose one readable display font and one body font, stick to two brand colors, and reuse them in captions and cover frames.
A Repeatable 5-Step Edit Flow You Can Use Today
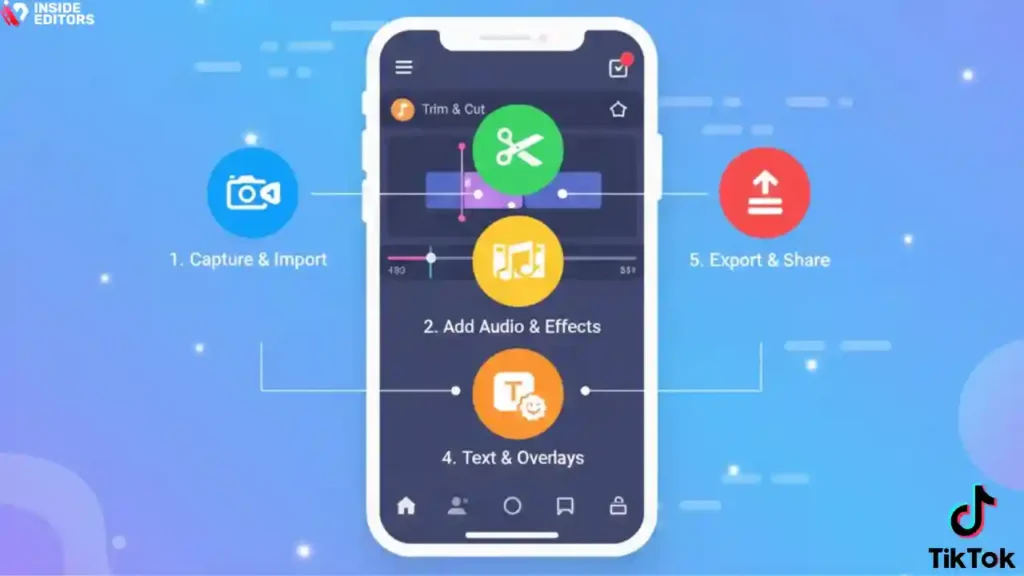
- Outline the promise. Write your opening line and identify the three beats your video must hit.
- Cut for clarity. Trim ruthlessly until every second adds meaning, especially the first three.
- Lock audio. Sync cuts to transients, set voice as hero, duck music, and smooth levels.
- Caption with intent. Time lines slightly ahead of speech, emphasize key words, and place for readability.
- Polish and package. Apply light color, add subtle motion, confirm safe areas, export high quality, and choose a clear cover.
This isn’t just faster-it’s scalable. Once you’ve done it a few times, you’ll build templates you can reuse, freeing up brainspace for creative ideas.
Where Professional Editors Make a Noticeable Difference

Even with a tight workflow, some projects deserve an elevated finish-brand launch videos, product reveals, paid ads, or content series where consistency equals trust. That’s where a professional team saves time and improves results. At Inside Editors, we build custom presets for your captions and color, streamline your audio chain, and set up a reusable timeline so every episode looks and sounds like your brand-without you reinventing the wheel. If you’re ready to scale with confidence, explore our Social Media Video Editing Services or talk to us about a tailored package via our Contact page.
Micro-Summary (So You Leave With a Plan)
The best tiktok video editing tips boil down to five habits: promise fast, cut to the beat, caption with intention, polish lightly, and package smartly. Do those consistently, and you’ll see higher watch time, clearer storytelling, and a grid that feels unmistakably yours. When you want to move even faster-or you’re ready to turn that style into a scalable system-Inside Editors is here to help you turn raw clips into stories people remember.
FAQs – Concise, PAA-Style Answers
Is DIY editing enough, or should I hire a pro?
DIY works for quick posts, but a professional editor adds structure, pacing, and brand consistency that boosts retention and conversions. If a video drives sales or represents your brand, pro help usually pays for itself through higher watch time and cleaner storytelling. Use DIY for tests; scale winners with expert polish and tiktok video editing tips applied systematically.
How do you guarantee quality without over-editing?
We follow a defined workflow-story beats, clean audio, intentional captions, light grade-then review against your brief and brand kit. You’ll see a calibrated first cut, not a filter-heavy montage. Quality is measured by clarity (message lands in 3-7 seconds), audio intelligibility, and stable color. Transparent checklists keep results repeatable across creators and campaigns.
What if I need revisions-how many are included?
Most projects include 2-3 rounds of revisions: structural (story/order), stylistic (type/color), and final polish (timing/typos). We time-box each round to 24-48 hours so momentum isn’t lost. Extra rounds are available at a fixed per-hour rate. Clear notes-timestamps and what to change vs keep-make revisions fast and predictable.
Who owns the final videos and source files?
You own the exported videos upon full payment, with perpetual, worldwide usage. Ownership of project files (timelines, presets) depends on the package: basic tiers include exports, while pro tiers include organized source files for future updates. Third-party assets (fonts, music) retain their original licenses, which we document for compliance.
How is my footage kept private and secure?
We use encrypted transfer links and restricted folders, with access limited to your project team. Sensitive files can be watermarked during review and purged on request after delivery. NDAs are available. For brand accounts, we avoid exporting with embedded credentials and log publishing actions in a simple audit trail.
What does TikTok editing typically cost?
Editing ranges $75-$200 per short for basic trims/captions, $250-$600 for story-first edits with color, motion, and sound design, and $700+ for ad-ready deliverables with variants. Packages usually include one hero cut plus 1-3 hooks or aspect-ratio versions. Music licensing, custom graphics, or reshoots are billed separately.
What’s included vs. excluded in standard packages?
Included: story edit, beat-synced cuts, captions timed to speech, light color grade, clean audio mix, and a high-quality export (9:16). Often included: one square or 16:9 repurpose. Excluded: custom illustration, premium music licenses, extensive VFX, and raw footage backups beyond 30-60 days. We itemize add-ons upfront to avoid surprises.
How long does a TikTok edit take, and can you rush?
Typical turnaround is 24-72 hours per video after assets and brief approval. Rush options (6-12 hours) are available with a surcharge and depend on editor availability. Dependencies that extend timelines include missing assets, unclear scripts, or last-minute brand changes. We share an ETA at handoff and update if scope shifts.
Which tools should I use: TikTok app, CapCut, or desktop software?
For speed and trends, the TikTok app is fine; for control and templates, CapCut wins; for branded series and advanced color, choose Premiere/Resolve/Final Cut. Many creators rough-cut in CapCut, then finish audio/color on desktop for a premium look. Pick the stack that fits your goals, not the trend-smart tiktok video editing tips work in any tool.
What’s the simplest, skimmable workflow I can follow today?
Outline one promise, record tight takes, and pick a track with clear beats. Trim to the rhythm, duck music under voice, and time captions to appear a beat early. Apply light color correction, add one signature motion accent, and export in high quality. Choose a cover frame with a 4-6 word title for profile grid clarity.


