
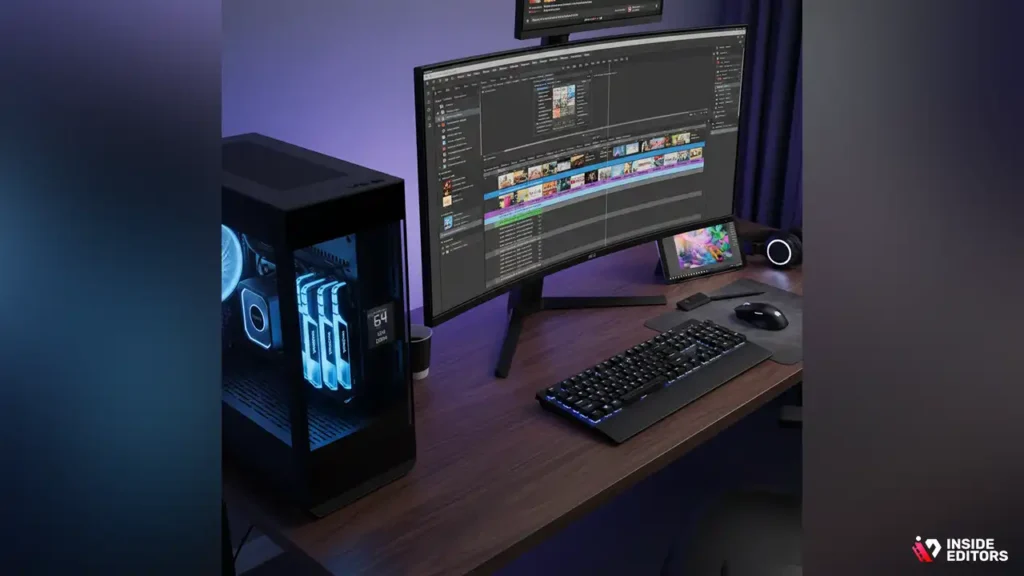
If you’ve ever sat through a render that felt like it would finish next week, you already know hardware matters. The right video editing hardware doesn’t make you a better storyteller by itself, but it removes friction: fewer dropped frames, shorter export times, and more time to refine pacing, color, and sound. That means you spend hours doing creative work instead of babysitting progress bars.
In this guide I’ll walk you through the parts that actually change your day-to-day editing experience, explain why they matter in plain language, and give practical configurations whether you’re on a shoestring budget or building a pro workstation. By the end you’ll be able to choose hardware that matches your software, your workflow, and your goals.
Top Hardware for Video Editing
Match your hardware to the kind of editing you do
Not all video work is equal. A vlogger trimming talking-head clips has very different needs from a 4K colorist working with raw camera files. Start by asking what you’ll edit most often, which editing apps you prefer, and whether portability matters. Lighter editors benefit most from fast storage and enough RAM, while heavy color artists and VFX artists need multi-core CPUs and powerful GPUs. Knowing which applications you’ll run (Premiere Pro, DaVinci Resolve, Final Cut Pro, or others) helps you prioritize: some apps lean harder on GPU acceleration, others on CPU threads or fast scratch drives. That initial decision shapes every hardware choice that follows.
Budgeting: think total cost of ownership, not just sticker price
When evaluating price, remember to include monitor calibration, backup drives, and a UPS or surge protector. A cheap build with no reliable backup will cost you more later if a drive fails. Also factor in upgrade paths: a slightly larger case and better power supply now can save you from replacing your whole system later. If you’re freelancing, consider the time value: paying a bit more for faster exports can translate into more billable hours. Planning for a three-to-five-year lifecycle helps you pick components that won’t bottleneck your workflow as your projects grow.
The components that actually move the needle
CPU: why cores and clocks both matter
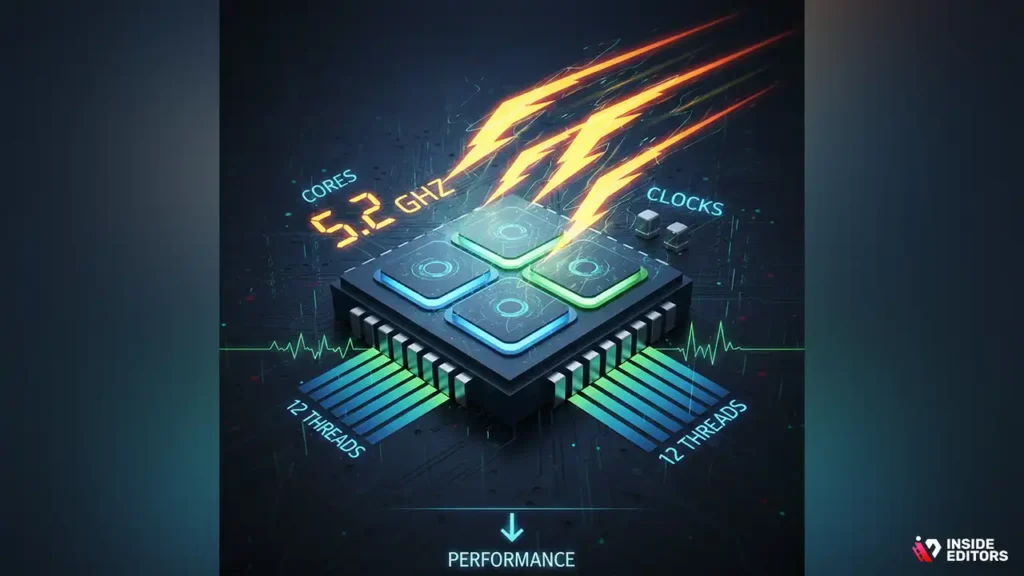
The central processor remains the backbone of an editing workstation. For timeline playback, encoding, and many effects, both core count and single-core clock speed are important. Multi-core CPUs speed up multi-threaded tasks like rendering exports and transcoding batches, while higher clock speeds help with tasks that rely on single-thread performance such as certain plugins or interface responsiveness. For most creators, a modern CPU with a solid mix of cores (6–12 for pros; 4–6 for entry-level) delivers the best day-to-day balance. If your work includes heavy color grading or effects stacks, prioritize more cores; if you mainly edit and apply light effects, strong per-core speed is more noticeable.
GPU: the game-changer for real-time effects and playback
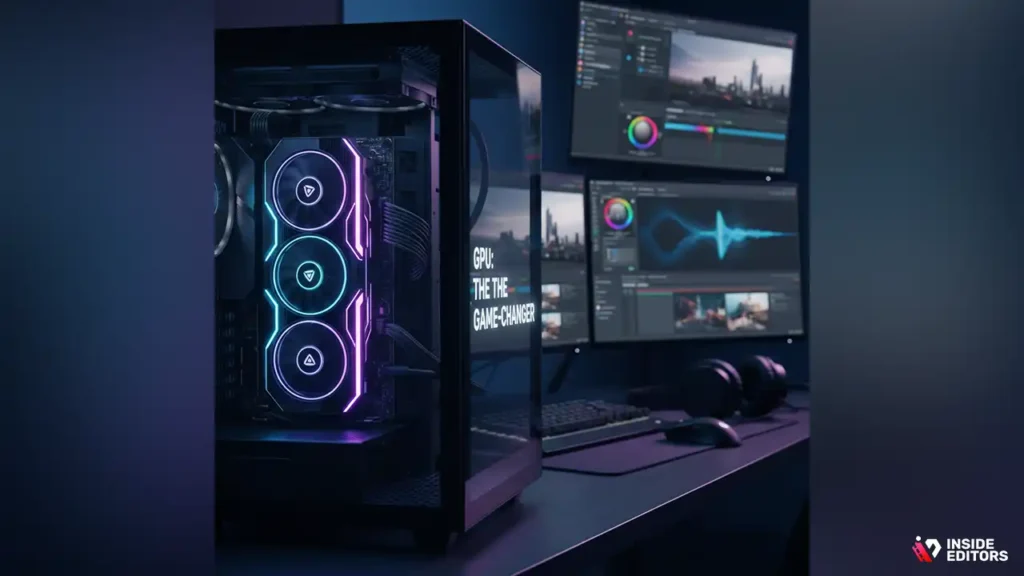
Graphics cards increasingly accelerate real-time playback, GPU-accelerated effects, and hardware encoding/decoding. Applications like DaVinci Resolve and many plugins offload processing to the GPU, which can dramatically improve timeline performance and speed up things like noise reduction or GPU-based color grading. For editors working with native raw formats or high-resolution timelines, a mid-range GPU already offers noticeable gains; for colorists and motion designers, a high-end GPU with larger VRAM is a better investment. If you edit on a laptop, look for models with discrete GPUs or Thunderbolt support for external GPU enclosures.
RAM: how much is “enough” for editing comfortably
Memory keeps your timeline and preview frames accessible. Editors working at 1080p can usually be comfortable with 16 GB, but for smoother multitasking-running your NLE alongside Photoshop, browsers, and plugins-32 GB is the practical sweet spot. For 4K timelines, large proxies, or complex multicam projects, 64 GB reduces swapping and prevents slowdowns during playback and renders. Faster RAM shows diminishing returns compared to capacity, so prioritize more GBs first, then speed.
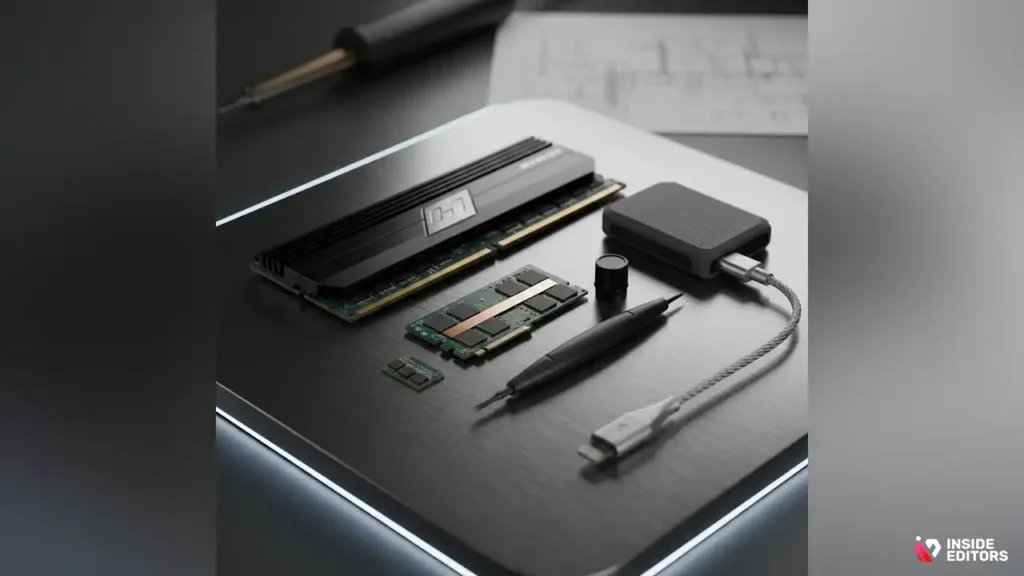
Storage: fast scratch drives, roomy media pools, and safe backups
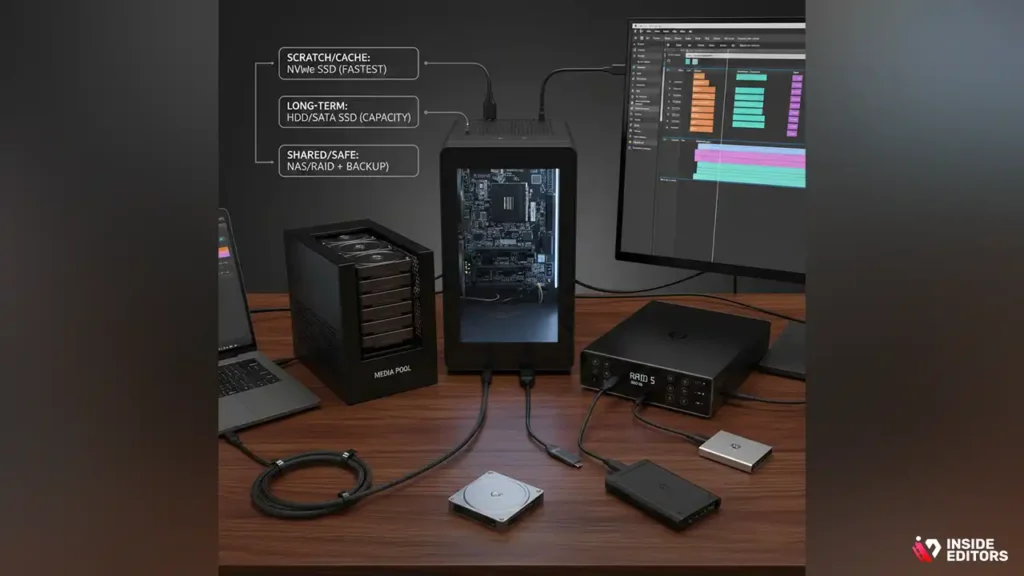
Storage is often the invisible bottleneck. Use at least two tiers: a fast NVMe or SATA SSD as your scratch/cache drive for active projects, and larger HDDs or slower SSDs for long-term media storage. NVMe drives dramatically speed timeline scrubbing, cache builds, and some forms of rendering. For multi-camera teams or high-resolution footage, consider a RAID or NAS solution for shared access and redundancy, but remember RAID is not a substitute for backups. External SSDs are now fast enough for on-the-go editing, but factor in connection types-Thunderbolt 3/4 or USB4 offers the best sustained throughput for high-bitrate footage.
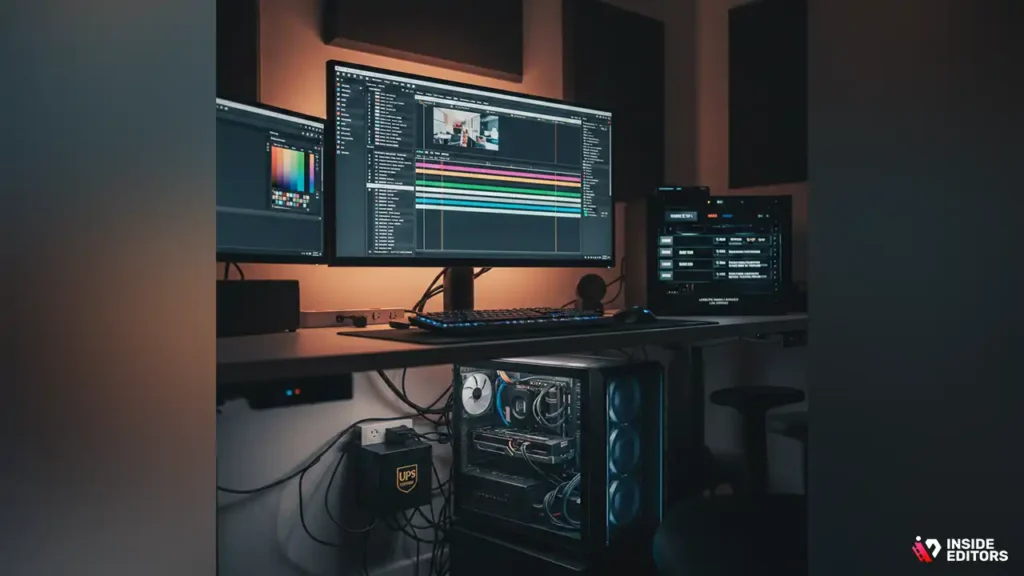
Monitors and color accuracy: why your screen is part of the kit
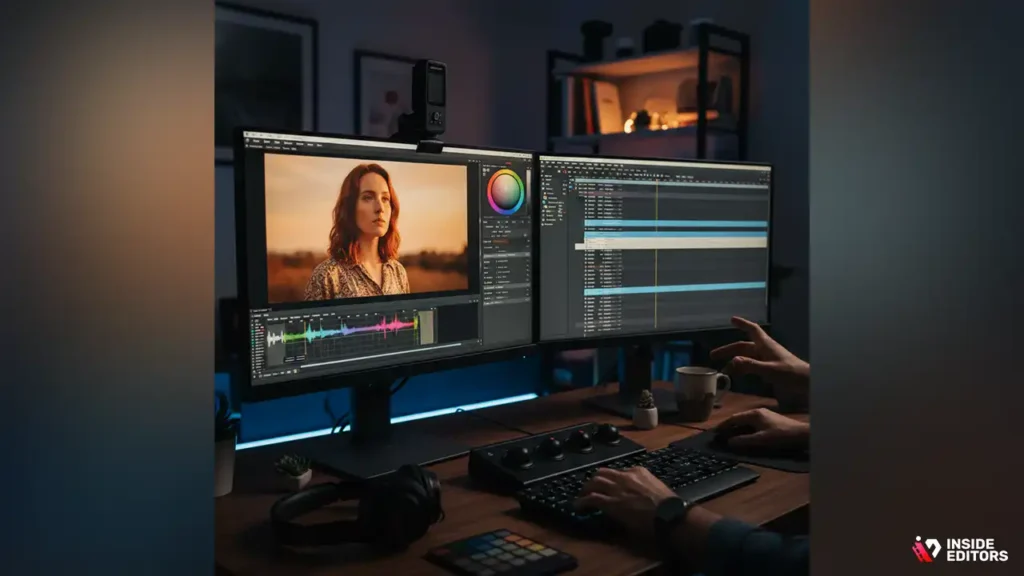
A good monitor changes what you do with color and framing. For serious color work, choose an IPS panel with wide color gamut and at least 10-bit color support if your budget allows. Calibrate regularly with a hardware calibrator to ensure consistency across devices. Size and resolution matter too: a 27-inch 1440p gives great screen real estate for timelines and scopes, while a 32-inch 4K monitor lets you view full-resolution footage and more detailed scopes at once. If you can, use a dual-monitor setup-one for the timeline and one for full-screen playback or scopes.
Peripherals that improve speed and comfort
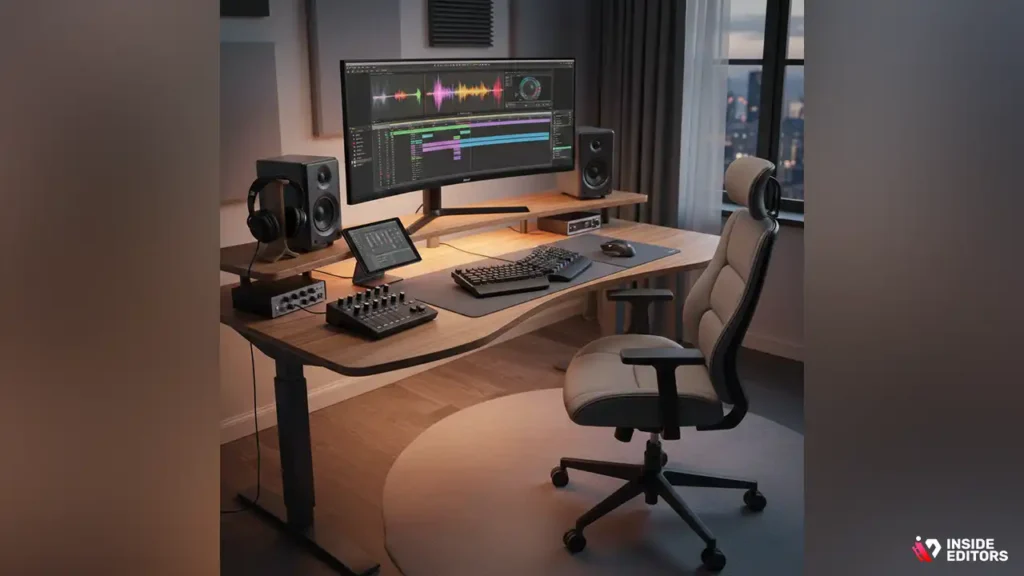
Peripherals-keyboards, mice, control surfaces, and audio gear-often produce the most immediate improvements. A precise mouse or a surface with dedicated jog/shuttle controls speeds trimming. A comfortable chair and an ergonomic desk reduce fatigue during long sessions. For audio, a good set of reference headphones or speakers and an audio interface help you judge levels and noise properly. Small investments here make a big difference to your day-to-day comfort and output quality.
Real-World Builds for Common Workflows
Build A – The Efficient Starter (ideal for YouTubers & talking-head videos)
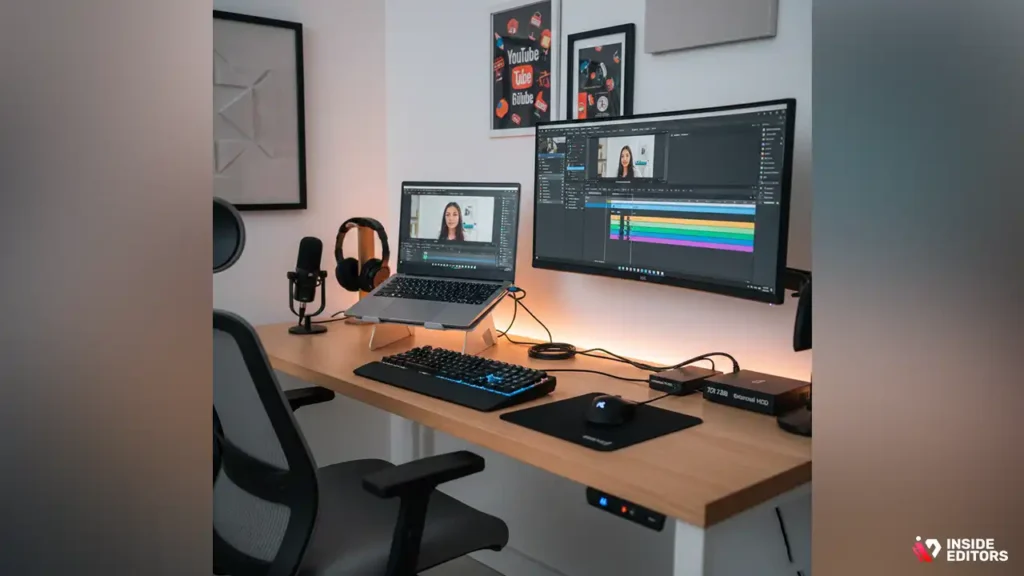
If your edits are mostly cuts, light color correction, and simple motion graphics, you don’t need overkill. Aim for a modern quad- or hexa-core CPU, a mid-range GPU, 16–32 GB RAM, an NVMe scratch drive for active projects, and a 2 TB HDD or SSD for media. This setup keeps costs low while delivering fast exports for 1080p and competent 4K with proxy workflows. It’s also the easiest to carry in a laptop form factor if portability is important. For many creators just starting out, this balance between price and performance is the most practical choice.
Build B – The All-Rounder (freelancers, content studios)
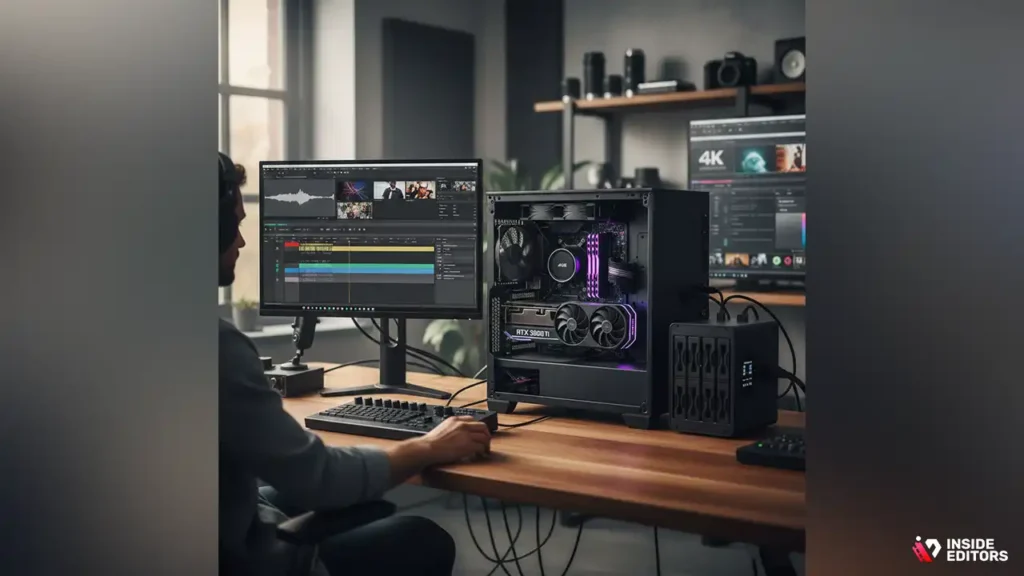
For editors working with multiple formats and higher resolution, step up to 8–12 CPU cores, a stronger GPU with 8–12 GB VRAM, and 32–64 GB RAM. Use an NVMe for scratch, a dedicated media SSD, and a RAID or network drive for backups and client deliveries. This build handles 4K natively, smooth multicam timelines, and more sophisticated effects without frequent cache stalls. It’s flexible enough for remote work and in-studio tasks, offering a reliable mix of speed and future-proofing.
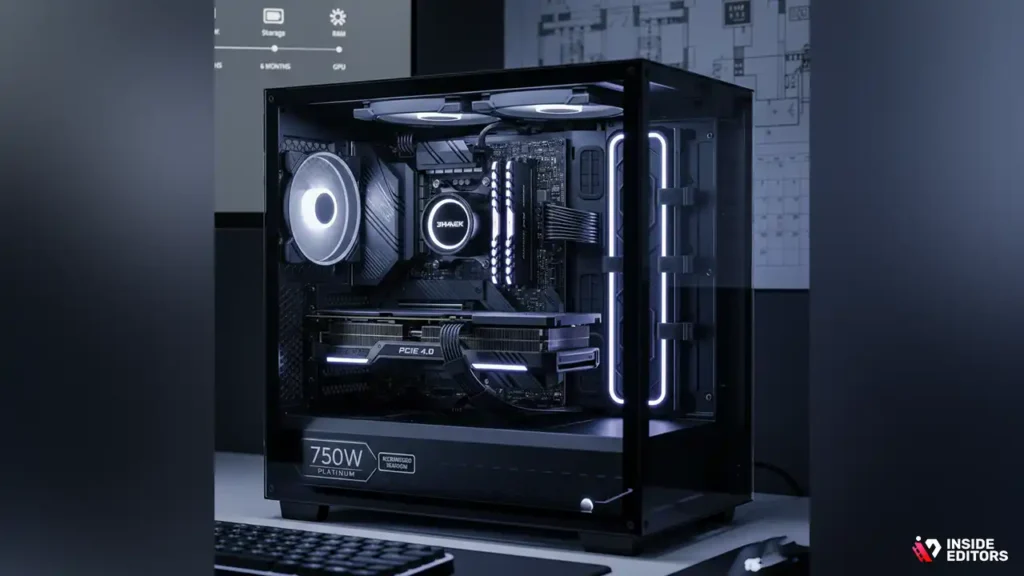
Build C – The Pro Workstation (colorists, VFX, long-form post)
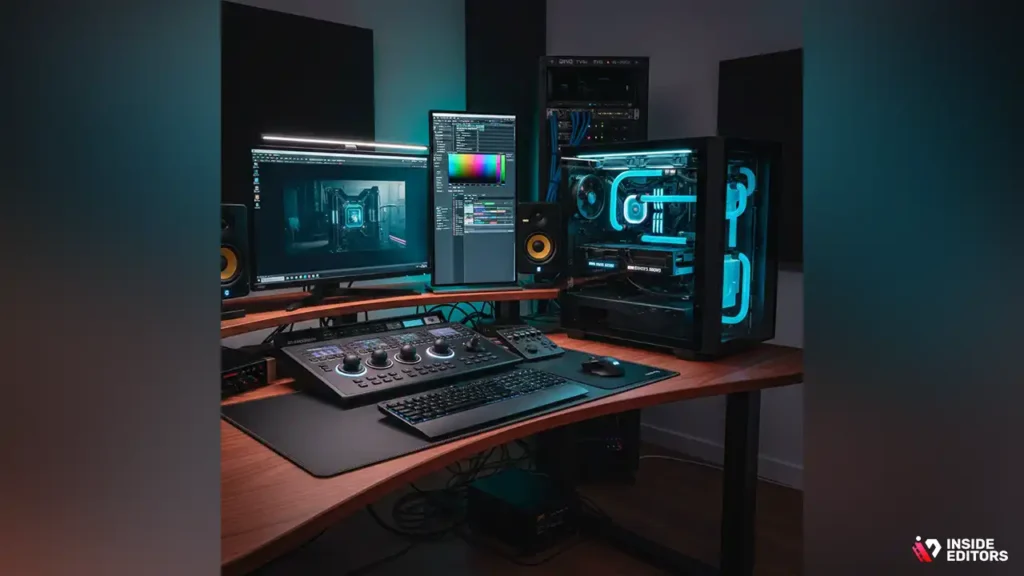
A pro workstation prioritizes both CPU threads and GPU power: think 12+ CPU cores, one or two high-end GPUs with large VRAM pools, 64+ GB RAM, and multiple NVMe drives in a fast configuration. High-end monitors with hardware LUTs, dedicated control surfaces, and a reliable NAS or SAN for media storage make this setup suitable for feature work, episodic television, or demanding color pipelines. These systems cost more upfront but save massive time across long projects and complex renders.
Quick Spec Comparison Table
| Task / Workflow | CPU | GPU | RAM | Scratch Storage |
| Vlogs/talking-head (1080p) | 4–6 cores | Mid-range | 16 GB | NVMe 500 GB |
| YouTube/Light 4K | 6–8 cores | Mid-high | 32 GB | NVMe 1 TB |
| Freelance 4K & Multicam | 8–12 cores | High | 32–64 GB | NVMe 1–2 TB + media SSD |
| Color/VFX / Pro | 12+ cores | High-end (large VRAM) | 64+ GB | Multiple NVMe + NAS/RAID |
This table helps translate specifications into real-world expectations: more cores and more VRAM reduce rendering and playback time, while more RAM and faster scratch storage reduce stuttering and lag during editing.
How to choose video editing hardware for your workflow
Choosing the right video editing hardware is less about buying the most expensive parts and more about matching specs to what you actually do. If you edit short-form social content, prioritize fast storage and responsiveness so you can cut quickly and export many short videos per day. If you grade long-form documentaries, favor more CPU cores, larger RAM pools, and high-VRAM GPUs that keep complex timelines smooth.
Think in terms of bottlenecks: if your timeline stutters, you likely need faster scratch storage or more RAM; if export times are slow, the CPU (or GPU if your NLE uses GPU encoding) is usually the limiting factor. By identifying the single biggest pain point in your current workflow, you can spend smartly and get the most noticeable improvement for your budget.
Practical rules of thumb to pick priority components
When you’re unsure where to invest, follow these simple priorities: first, secure a fast scratch drive (NVMe) and enough RAM for your resolution; second, pick a CPU with a sensible mix of cores and clock speed for your apps; third, choose a GPU sized for your editing software and effects workload; finally, add reliable backups and a calibrated monitor. These steps reduce random choices and focus spending on the parts that change daily editing comfort. Remember: balanced systems outperform single-component extremes-an ultra-fast GPU won’t help if your system keeps swapping to disk.
Laptop vs. Desktop – portability, power, and trade-offs
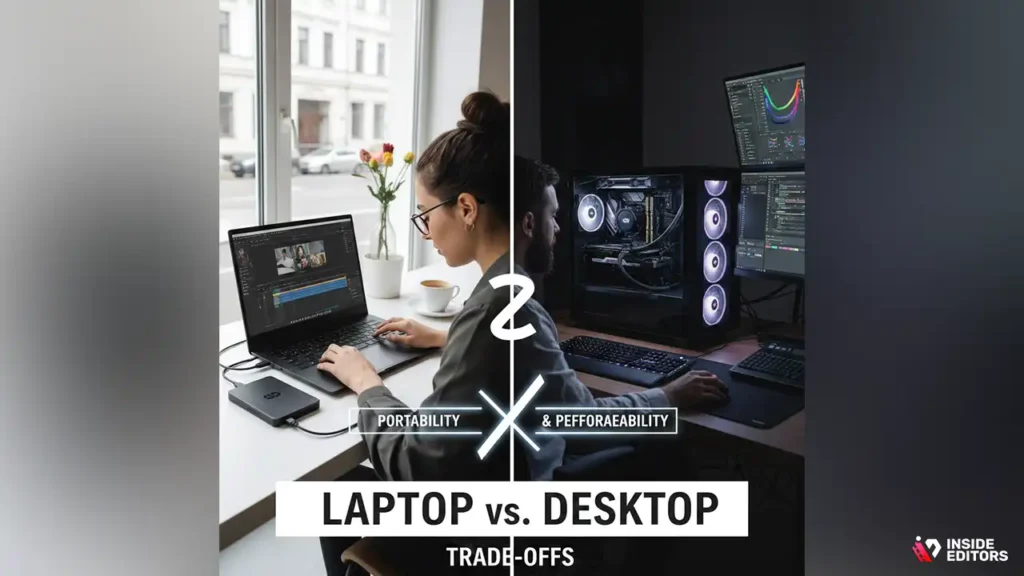
When a laptop is the better choice
Laptops are ideal when you need mobility for client edits, on-location cuts, or a compact workspace. Modern mobile workstations offer respectable CPUs, discrete GPUs, and fast internal NVMe storage that, combined with proxy workflows, manage 4K projects surprisingly well. Choose a laptop with Thunderbolt 4 or USB4 if you plan to connect external drives or docks, and look for models with at least 32 GB RAM if you work in heavy timelines. Battery life and thermals matter here-thin-and-light machines often throttle under long renders, so prioritize models designed for sustained performance.
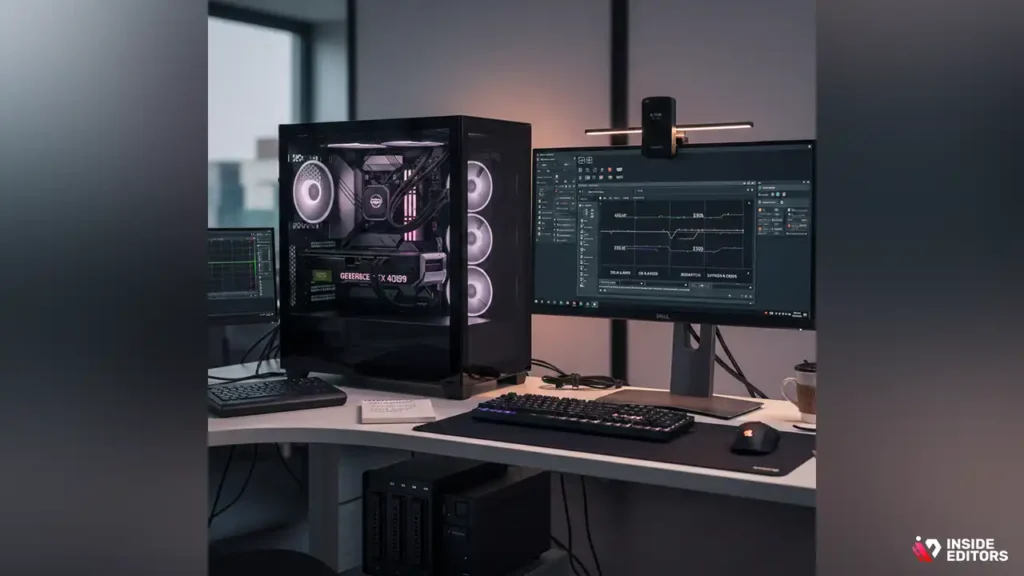
Why desktops still lead for raw performance and value
Desktop workstations generally offer better cooling, more cores for the money, and easier upgrade paths-meaning more long-term value. If your work includes heavy color grading, heavy effects, or multi-GPU rendering, a desktop gives you the thermal headroom and PCIe slots you’ll need. Desktops are also easier to service and upgrade: swapping in a larger NVMe, adding RAM, or installing another GPU is straightforward, which extends the machine’s useful lifetime. If portability isn’t essential, a well-configured desktop is the most cost-effective path to sustained high performance.
Upgrading, future-proofing, and what to buy now
Upgrade paths that save money long-term
Buy cases and motherboards that support future expansions: extra RAM slots, M.2 NVMe bays, and a strong power supply (with some headroom) are inexpensive insurance. If you can, choose a motherboard with PCIe 4.0 or 5.0 support and reserve at least one M.2 slot for a future NVMe addition. These choices let you stagger upgrades-add storage now, add RAM later, and upgrade the GPU when you can-without rebuilding from scratch. For laptops, opt for models with user-upgradeable RAM and storage (many still exist) or strong external connectivity for docks and eGPUs.
What to buy now vs. wait for
If your projects are time-sensitive, buy what improves your workflow today rather than chasing the latest CPU generation. Generational gains are real but often incremental relative to the productivity you’ll unlock from a sensible upgrade now. If a new architecture brings a large jump in value-per-dollar and your purchase can be delayed without hurting work, waiting makes sense. Otherwise, solve the immediate bottleneck (storage, RAM, or GPU) and plan a staged upgrade in 12–24 months.
Common mistakes editors make
Many creators chase raw specs without considering compatibility or real-world workflows. A common error is buying a GPU for its peak benchmark scores while ignoring VRAM size-VRAM limits can kill large 4K or raw workflows. Another frequent mistake is relying solely on a single storage drive; when that drive fails, clients’ footage can vanish. Always separate your scratch/cache drive from long-term media storage and implement a 3-2-1 backup strategy (three copies, two different media types, one offsite). Avoid undervaluing monitors and calibration: poor screens hide grading mistakes and send you back for rework.
Small decisions with big consequences
Skipping a UPS or surge protector is a small saving that risks huge losses during power events. Likewise, buying a tiny power supply that’s already near its limit leaves no room for future GPUs or drives and increases failure risk. Choose components with reasonable warranties and consider serviceability-modular PSUs and tool-less cases speed repairs. These “boring” choices protect your work and your wallet in the long run.
Extending the Life of Older Hardware
If you’re working on older kit, several steps can produce visible gains without replacing everything. Moving your NLE’s cache and scratch files to a fast external NVMe (Thunderbolt) often improves playback more than a GPU upgrade. Increasing RAM is one of the most affordable and effective upgrades for older systems, and cleaning thermal paste or improving case airflow can prevent throttling that reduces performance. For laptops, where internal upgrades are limited, rely on proxy workflows and use external SSDs for active projects to keep the timeline responsive.
When it’s time to replace vs. when to upgrade
Replace the system when multiple core components (CPU, motherboard, and RAM standard) are outdated and limit all reasonable upgrades. Upgrade when a single component (like RAM or storage) is the main bottleneck. A pragmatic test: if adding RAM and a fast NVMe brings your workflow into acceptable performance, you’ve extended the system affordably. If not, a new purchase will likely save time and frustration, and time saved by faster hardware often offsets the upfront cost.
A concise buying checklist – shop with confidence
- Decide your primary workflow and typical project resolution (1080p/4K/8K).
- Prioritize NVMe scratch drive and at least 32 GB RAM for regular 4K work.
- Choose a CPU with enough cores for your export needs; prefer 8+ cores for heavy 4K work.
- Match GPU VRAM to your footage: 6–8 GB minimum for 4K, 12+ GB for advanced color and VFX.
- Invest in a calibrated IPS monitor (27″ 1440p or 32″ 4K recommended for pro work).
- Plan backups: at least one external drive and one offsite copy (cloud or physical).
- Consider ergonomics: good chair, surface, and peripherals speed up daily editing.
- Check upgradeability: spare M.2 slots, RAM sockets, PCIe lanes, and PSU capacity.
- Include a UPS and quality surge protection to protect work and hardware.
This checklist keeps purchases practical and tied to workflow goals rather than marketing hype.
Fast Answers for Editors
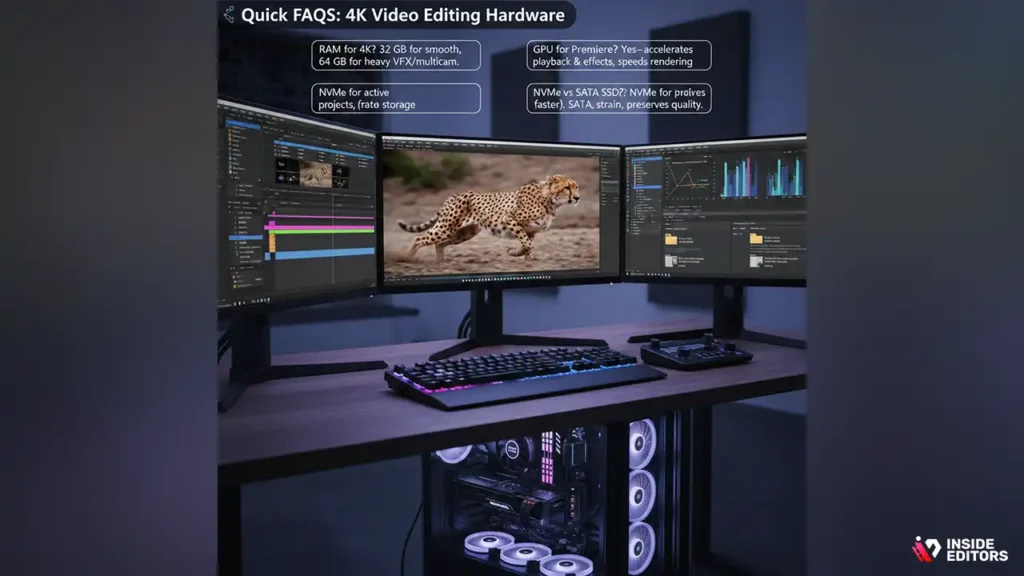
How much RAM do I need for 4K editing? Aim for at least 32 GB for smooth 4K editing; 64 GB is safer for heavy multicam or VFX work.
Does GPU matter for Premiere Pro? Yes-Premiere uses GPU acceleration for playback and some effects; a stronger GPU speeds rendering and improves real-time playback.
Is NVMe necessary or is SATA SSD enough? NVMe is significantly faster and improves scrubbing and cache performance; for active projects NVMe is recommended, while SATA SSDs are fine for longer-term media storage.
Should I use proxies for 4K editing? Proxies are a practical workaround when hardware is limited-they reduce strain on playback and allow editing on lighter machines while preserving final output quality.
Final Thoughts on Creative Tools

The best video editing hardware for you depends on the stories you want to tell and the pace you want to keep. Balanced systems that prioritize fast scratch storage, adequate RAM, sensible CPU cores, and a GPU suited to your NLE provide the most dependable improvements to daily editing. Small, well-chosen upgrades often outpace complete rebuilds-address the bottleneck, secure backups, and choose a monitor you can trust. Those steps keep the creative part as the focus, not the technical friction.
If you’d rather spend less time configuring and more time creating, Inside Editors can help. Our professional editing services free you from technical setup, letting you focus on story and performance while we handle edits, color, and delivery with industry-standard workflows. Explore Inside Editors’ Video Editing Services
FAQs
How do you ensure quality, revisions, and trust when working with Inside Editors?
We follow a transparent revision policy: initial draft → up to two rounds of revision included in standard packages, with extra revisions available a la carte. Quality is guaranteed through experienced editors, versioned project files, and a reviewer step that checks color, audio levels, and export specs before delivery. You retain final ownership of delivered files and we provide clear handoff and backup instructions to protect your assets.
Who owns the footage and final edits – what about privacy?
You keep ownership of your original footage and final exported masters; Inside Editors works under a standard client agreement that transfers deliverable rights to you on final payment. We treat client files as private: projects are stored on secure servers with limited access, and we can sign NDAs on request. For confidential work, ask about isolated storage or secure transfer workflows.
Should I edit myself (DIY) or hire a pro – how do they compare?
DIY editing saves money and is fine for simple cuts, but pros bring efficiency, storytelling experience, and color/technical know-how that often improves engagement and saves revision cycles. If your project needs brand polish, consistent pacing, or complex effects, a professional editor will likely produce stronger results faster; for quick social cuts, a hybrid approach (DIY + pro polish) is cost-effective.
What are typical pricing ranges and what’s usually included or excluded?
Basic packages for short-form edits often start around $50–$200 per video, mid-tier edits (branded, 3–8 min) commonly run $200–$800, and complex or long-form projects start higher depending on revisions, VFX, and audio work. Most packages include cuts, basic color correction, and one revision; extras-motion graphics, detailed color grading, or rush delivery-are charged separately. Always confirm deliverables, source-file ownership, and backup terms up front.
How long does a typical edit take and are rush options available?
Turnaround depends on scope: simple social edits can take 24–72 hours, standard branded videos 3–7 business days, and complex documentaries or VFX work several weeks. Rush delivery is usually available for an added fee and depends on editor availability and media readiness. To speed delivery, provide organized footage, script/notes, and reference examples at the start.
Quick how-to: choosing the right video editing hardware for my needs?
Start by matching hardware to your most common tasks: if you edit 1080p vlogs, prioritize a fast NVMe scratch drive and 16–32 GB RAM; for 4K grading, choose 32–64 GB RAM, a multi-core CPU, and a GPU with 8–12+ GB VRAM. Consider upgrade paths (extra M.2 slots, spare RAM sockets) and budget for a calibrated monitor and reliable backups-these choices directly improve speed and output quality.
What guarantees, backups, and support do you offer after delivery?
Inside Editors keeps completed projects archived for a defined period (typically 30–90 days) and offers paid extended storage options; we recommend you download final masters and source project files immediately for your archive. Support includes minor export fixes within a short window (check package terms), and we provide clear instructions for long-term storage and versioning to prevent accidental loss.


