

Video editing can feel like a maze when you’re just starting out. Hours of footage, multiple software options, and endless features can make even the simplest projects feel overwhelming. But here’s the good news: with the right guidance, beginners can start editing confidently, creating polished, professional-looking videos without frustration. In this guide, Inside Editors shares video editing tips for beginners that will help you streamline your workflow, choose the right tools, and avoid common mistakes.
Whether you’re creating YouTube videos, social media content, or personal projects, these insights will make your editing process smoother, faster, and more enjoyable. Let’s dive in.
Understanding the Basics: Why Learning Video Editing Matters

The Role of Editing in Storytelling
Editing is more than arranging clips on a timeline – it’s how you tell your story. Beginners often think that shooting great footage is enough, but raw clips alone rarely captivate viewers. The right cuts, transitions, and pacing turn ordinary footage into engaging narratives. For example, a simple 60-second vlog can feel dull without thoughtful trimming and sequencing, while well-edited highlights can hold attention and convey your message effectively.
Think of editing as the bridge between your content and your audience. It allows you to control rhythm, emphasize key moments, and maintain viewer interest. By understanding these fundamentals early, you’ll avoid the common beginner mistake of overloading footage without direction.
Key Software Options for Beginners
Before you start, choosing the right software is crucial. Free options like DaVinci Resolve, HitFilm Express, and iMovie offer beginner-friendly interfaces and essential features, while paid software like Adobe Premiere Pro or Final Cut Pro provides more advanced tools for growth. When selecting software, consider your goals:
| Software | Beginner-Friendly | Features | Cost |
| iMovie | Excellent | Basic trimming, transitions, text overlays | Free on Mac |
| DaVinci Resolve | Good | Advanced color grading, effects, multi-track editing | Free/Pro $295 |
| HitFilm Express | Good | Visual effects, compositing, audio tools | Free/Pro $349 |
| Adobe Premiere Pro | Moderate | Professional-level editing, plugins, multi-format export | $20.99/mo |
| Final Cut Pro | Moderate | Optimized Mac workflow, magnetic timeline, multicam editing | $299 one-time |
Begin with software that matches your comfort level. Many beginners jump straight into complex platforms and get discouraged. Starting simple allows you to master the basics before exploring advanced features.
Organizing Your Workflow: How to Edit Videos Efficiently
Preparing Footage Before You Edit
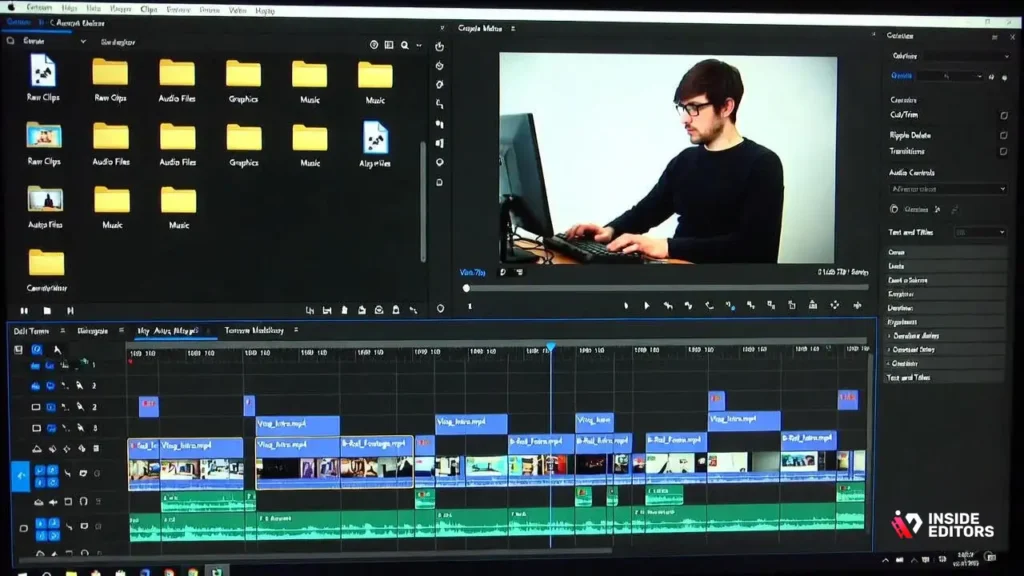
One of the most overlooked tips for beginners is organizing your footage before you start editing. Create dedicated folders for raw clips, audio files, graphics, and music. Rename files clearly – “Vlog_Intro.mp4” is far easier to navigate than “clip001.mp4.” A structured workflow saves time, reduces frustration, and prevents lost files.
Many new editors waste hours searching for clips they forgot to label. By spending 10-15 minutes on preparation, you streamline your entire editing process. Additionally, consider using proxy files if you’re working with high-resolution footage. Proxy files are smaller versions of your clips that make editing faster on less powerful computers. Once you finalize your edit, the software replaces them with full-resolution files.
Understanding the Timeline and Key Tools
Your editing timeline is your control center. It shows the sequence of clips, audio tracks, and transitions. Beginners often overcrowd the timeline, adding unnecessary layers or effects. Keep it simple: place clips in chronological order first, then trim, adjust, and add effects as needed. Key tools you’ll frequently use include:
- Cut/Trim: Remove unwanted sections.
- Ripple Delete: Adjust timeline automatically when cutting clips.
- Transitions: Smooth visual changes between clips. Use sparingly; overuse can distract viewers.
- Audio Controls: Adjust volume, fade in/out, balance music with dialogue.
- Text and Titles: Highlight key points or introduce segments.
Understanding these tools early lets you edit efficiently, even if you don’t yet know advanced techniques like color grading or multi-cam synchronization.
Mastering Basic Techniques: Editing That Looks Professional
Cutting and Trimming Like a Pro
The most fundamental skill in video editing is knowing what to cut. Beginners often leave dead space at the beginning or end of clips or hesitate to remove unnecessary content. The goal is smooth pacing. Imagine watching a tutorial or vlog – if each moment drags, viewers lose interest. Cutting efficiently keeps the story flowing and maintains engagement.
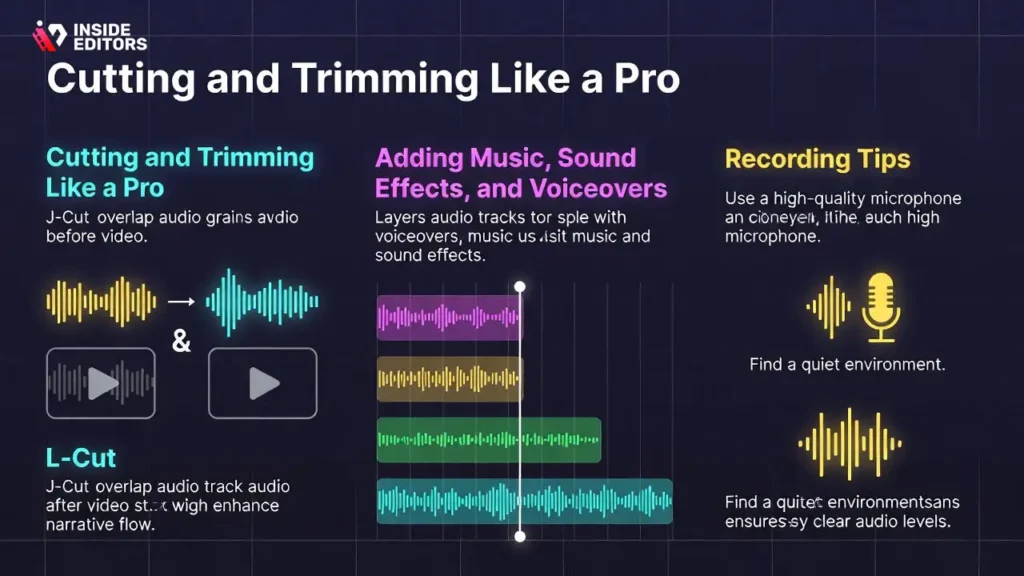
Use the J-cut and L-cut techniques to enhance audio continuity. For instance, letting dialogue from the next scene start before the visual transition (J-cut) keeps viewers immersed. Conversely, ending audio slightly after the scene changes (L-cut) avoids abrupt silence. These simple methods can make beginner edits feel more polished.
Adding Music, Sound Effects, and Voiceovers
Sound is often underestimated by beginners. Background music sets tone, sound effects punctuate action, and voiceovers clarify information. Start by selecting music that matches the mood of your video, ensuring it’s royalty-free or properly licensed. Adjust the volume to ensure dialogue is clear. Beginners often make the mistake of overpowering speech with music – keep it balanced.
Voiceovers can elevate content, particularly tutorials, reviews, or storytelling videos. Record in a quiet space with a quality microphone. Then, align the narration with the video’s visuals to reinforce your message. Many editing programs allow minor noise reduction and EQ adjustments, making recordings sound more professional with minimal effort.
Avoiding Common Beginner Mistakes
Overusing Effects and Transitions
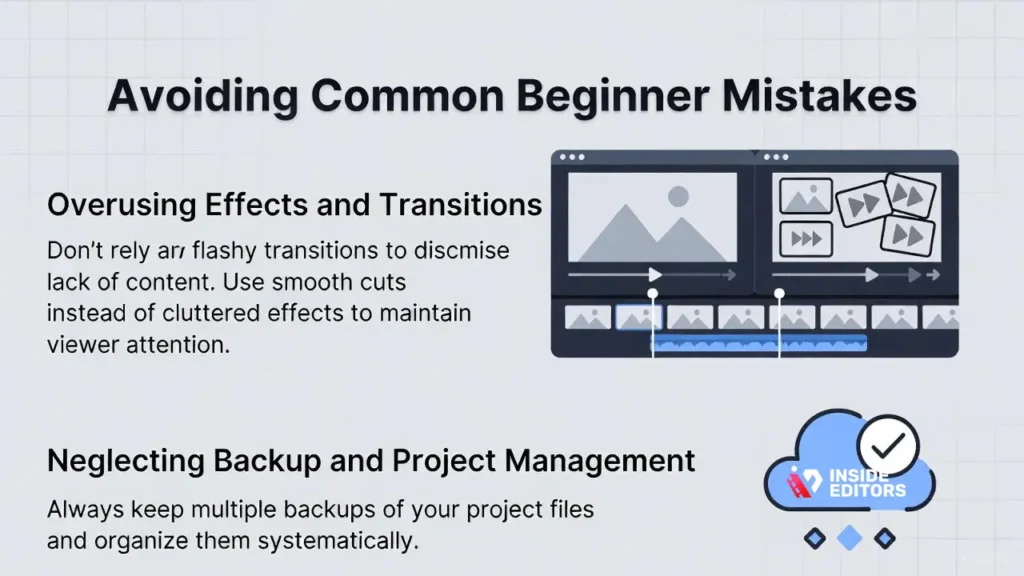
A flashy effect does not automatically make a video better. Many beginners are tempted to layer transitions, filters, or speed effects excessively. This can overwhelm viewers and obscure your story. Instead, use effects purposefully – only where they enhance clarity or emphasize an important moment.
Think of your video like a conversation: too many visual distractions can dilute your message. Focus first on smooth cuts, pacing, and clear storytelling. Effects should support your narrative, not dominate it.
Neglecting Backup and Project Management
Another common trap is poor file management. Losing projects due to system crashes or accidental deletion can be devastating. Always back up projects locally and, if possible, to cloud storage. Use descriptive project names and maintain version control – for example, “Vlog_Edit_v1,” “Vlog_Edit_v2,” etc. This habit saves hours of frustration and prevents beginner burnout.
Why Professional Guidance Makes a Difference
Even with strong beginner skills, there’s a gap between “good enough” and polished, professional-quality videos. That’s where Inside Editors comes in. Professional editors understand pacing, color grading, audio balancing, and story structure – all tailored to your vision.
Imagine spending hours trying to perfect a vlog, only to realize your cuts feel choppy or your audio levels fluctuate. A skilled editor can streamline this process, making your content look seamless and engaging without adding extra stress to your schedule. Inside Editors’ services empower beginners to focus on content creation while leaving the technical polish to experts.
Elevating Your Videos: Color, Pacing, and Visual Storytelling

The Power of Color Correction for Beginners
Color is more than aesthetics – it communicates mood and sets tone. Beginners often overlook color correction, sticking with raw footage that may appear dull or inconsistent. Even small adjustments, like increasing brightness slightly, correcting white balance, or enhancing contrast, can make a video feel professionally finished.
Start simple: most beginner-friendly editors like DaVinci Resolve or iMovie offer one-click presets or basic sliders. Focus on consistency between shots to avoid jarring visual jumps. For example, in a travel vlog, ensure each scene has similar exposure and color warmth. As you gain confidence, experiment with subtle color grading to give your videos a unique style. Remember, the goal isn’t flashy filters – it’s cohesive and natural visuals that support your story.
Pacing: Keeping Viewers Engaged
Pacing determines how your audience experiences your video. Too slow, and viewers lose interest; too fast, and information may be missed. Beginners often struggle with timing, leaving long pauses or cutting abruptly.
A practical tip is to watch your video with sound off first. Does the visual flow feel natural? Are key actions or reactions given enough time to register? You can also use rhythmic cuts aligned with background music to subtly guide attention. For example, in a tutorial, slightly faster cuts during step demonstrations keep energy high, while slower cuts during explanations improve comprehension. Balancing pacing keeps viewers immersed from start to finish.
Visual Storytelling: Beyond Technical Skills
Editing isn’t just about clips and transitions; it’s about storytelling. Beginners often focus on technical execution but neglect narrative structure. Consider your video like a story with a clear beginning, middle, and end. Hook your viewers in the first 5-10 seconds with an engaging shot, question, or teaser. Then, structure the body to deliver information or entertainment efficiently, and close with a satisfying conclusion that reinforces your message.
Using B-roll effectively enhances storytelling. Overlaying supplementary footage, like hands-on demonstrations, scenic shots, or reaction clips, adds context and keeps visuals dynamic. For instance, a beginner cooking video can combine close-ups of ingredients with wide shots of the overall process to create clarity and engagement.
Platform-Specific Editing: Tailoring Videos for Your Audience
YouTube and Long-Form Content
YouTube rewards watch time and viewer retention. Beginners often upload raw footage without trimming filler, which reduces engagement. Edit to keep the most compelling content upfront and structure videos with chapters or timestamps for easier navigation. Integrate subtle branding like intro/outro sequences, but avoid lengthy graphics that delay the main content.
YouTube also favors consistent audio and clear visuals, so prioritize clean sound levels, smooth cuts, and readable text overlays. Beginners can test content performance using analytics to refine pacing and style – adjusting future videos based on what keeps viewers watching.
Short-Form Content: TikTok, Instagram Reels, and Shorts
Short-form platforms require immediate engagement. Beginners should start with a hook in the first 1-3 seconds, such as a surprising fact, question, or visual punch. Keep clips concise, emphasize movement, and use captions to ensure clarity without sound. Transitions and effects should be fast but purposeful – excessive use can distract from the message.
Editing software like CapCut or InShot is beginner-friendly for mobile-first short-form videos. Focus on vertical framing, prominent text overlays, and pacing that aligns with trending audio. Even beginners can create scroll-stopping content by prioritizing story and timing over flashy effects.
Social Media Consistency
Consistency matters across platforms. Beginners often reuse the same video without tailoring it, which can reduce engagement. Adjust aspect ratios, text placement, and clip length based on each platform’s audience behavior. For instance, Instagram Stories might require faster cuts and bold captions, whereas YouTube content can sustain slightly slower pacing with more in-depth explanations.
By customizing your edits, even beginners can maximize impact, reach, and engagement across diverse channels without producing entirely separate content from scratch.
Intermediate Techniques: Transitions, Effects, and Layering
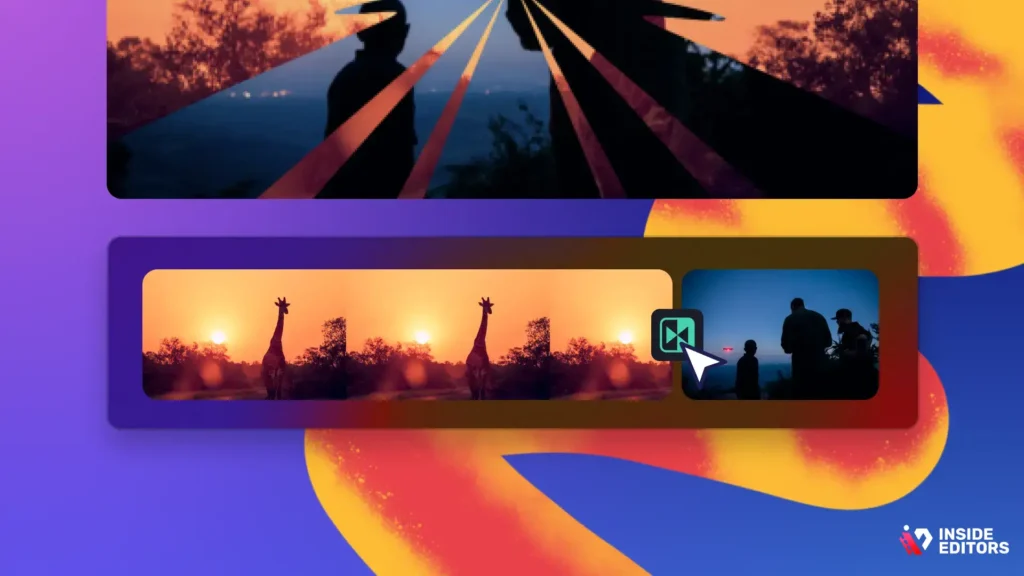
Using Transitions Wisely
Transitions are meant to enhance flow, not distract. Beginners frequently overuse fancy wipes, spins, or fades, creating visual chaos. The rule of thumb: use only when necessary, typically to indicate scene changes or highlight a passage of time. For example, a simple crossfade between two scenes maintains continuity without drawing attention away from the content.
Layering Clips and Audio
Layering allows multiple visual or audio elements to coexist smoothly. Beginners can experiment with picture-in-picture effects, overlay text, or background music tracks. Start small: overlay a short B-roll clip over your main footage to emphasize a point, or add light ambient music to improve atmosphere. Balance is key – avoid letting multiple layers compete for attention.
Audio layering is equally important. Combine dialogue, sound effects, and music thoughtfully. Lower background music when someone speaks, and fade audio in/out for smooth transitions. This attention to detail separates beginner-quality videos from those that feel polished.
Subtitles and Accessibility
Adding subtitles not only improves accessibility but also increases engagement. Many viewers watch videos without sound. Beginner-friendly editors allow auto-generated captions that can be quickly adjusted for accuracy. Subtitles also reinforce key messages, enhancing comprehension and retention. Incorporate clear fonts and contrasting colors to ensure readability.
Common Pitfalls and How to Avoid Them

Overcomplicating Your First Edits
Beginners often think that more effects, layers, or fancy transitions equal better quality. In reality, simplicity is often more effective. Focus on story clarity, smooth cuts, and clean audio. Once these fundamentals are mastered, you can gradually explore creative enhancements. Remember, the audience’s experience matters more than your personal experimentation.
Ignoring Feedback and Revisions
It’s tempting for beginners to assume their first draft is final. Peer reviews or client feedback are invaluable. Show your video to a friend or mentor before publishing. They may notice pacing issues, unclear visuals, or inconsistent audio that you missed. Learning to embrace constructive feedback accelerates skill development and improves final output.
Not Backing Up Projects
Never underestimate the importance of saving and backing up your work. A crashed program or accidental deletion can undo hours of effort. Maintain a structured system with cloud backups and versioning. This habit prevents stress and keeps projects manageable as your editing experience grows.
How Inside Editors Helps Beginners Level Up
Even after learning all these tips, achieving consistently polished videos can be challenging. That’s where professional editing services make a difference. Inside Editors works with creators of all levels, transforming raw footage into cohesive, engaging, and visually appealing content.
For beginners, professional editing is not just about saving time – it’s about learning by example. Seeing how experts handle pacing, audio, transitions, and color can inform your own workflow and elevate your skills. Whether you’re producing YouTube tutorials, social media shorts, or business presentations, Inside Editors ensures your videos stand out without the frustration of trial-and-error editing.
By focusing on storytelling, visual consistency, and platform-specific formatting, professional editors help beginners bridge the gap between amateur footage and audience-ready content. This partnership allows creators to focus on creativity and vision while leaving the technical polish to experts.
FAQs – Video Editing Tips for Beginners
1. How do I know if a video editor is trustworthy?
Check reviews, portfolio examples, and client testimonials. A reputable editor or service clearly outlines revision policies, ownership rights, and privacy measures. Ask about file security, cloud storage practices, and nondisclosure agreements if handling sensitive footage. Using a verified platform or professional service like Inside Editors ensures accountability and consistent quality.
2. Can I edit my own videos or should I hire a professional?
DIY editing works for simple projects or learning, but professionals save time, ensure consistency, and add polish. Beginners may struggle with pacing, transitions, and color correction. Hiring a service like Inside Editors provides experience-backed expertise while still allowing you to review and guide the creative direction.
3. What are typical costs for beginner video editing services?
Entry-level services can range from $50-$200 per short video (2-5 minutes), depending on complexity and turnaround. This often includes basic trimming, audio sync, and simple color correction. Advanced packages with effects, motion graphics, or revisions may cost $250-$500. Always confirm what’s included, such as revisions, source files, or licensing fees.
4. How long does it take to get a video edited?
Standard turnaround is usually 3-7 business days for a 5-10 minute video. Rush options may reduce this to 24-48 hours, often at a higher cost. Complex projects with multiple revisions or detailed effects take longer. Planning ahead and providing organized footage speeds up the process and ensures timely delivery.
5. How do I start editing a video as a beginner?
Begin by organizing your clips, labeling files, and deciding on the story structure. Import footage into beginner-friendly software like iMovie, CapCut, or DaVinci Resolve. Trim unnecessary sections, arrange clips chronologically, and add simple transitions. Include music or voiceovers carefully, keeping audio levels balanced. Review and revise until the video flows naturally.
6. Who owns the final edited video?
Ownership depends on your agreement with the editor or service. Most professional services, including Inside Editors, transfer full ownership upon delivery and payment. Confirm this before starting. Clarifying rights ensures you can use the video commercially or modify it without restrictions.
7. Are my files and footage secure when using a professional editor?
Reliable services implement encrypted file transfers, cloud storage, and strict privacy policies. Sensitive footage, client projects, or proprietary material should always be handled with secure protocols. Before hiring, ask for NDAs or privacy assurances to maintain confidentiality.
8. What basic tools should beginners use for video editing?
For beginners, free or low-cost software like iMovie, Shotcut, CapCut, or DaVinci Resolve is ideal. These offer timeline-based editing, basic transitions, color correction, and audio adjustments. Start simple and upgrade tools as your skills grow to handle more advanced effects and efficiency workflows.
9. How can I improve my video editing skills quickly?
Practice consistently, follow tutorials, and analyze professional edits. Start with short projects, experiment with pacing and transitions, and seek feedback. Studying trends and using templates accelerates learning. Reviewing edited projects from services like Inside Editors can provide real-world examples of polished, beginner-to-intermediate workflows.
10. What’s the difference between basic and advanced editing packages?
Basic packages usually include trimming, simple transitions, and audio balance. Advanced packages add effects, motion graphics, color grading, subtitles, and multiple revisions. The choice depends on your project goals, audience expectations, and budget. Professionals guide beginners in selecting a package that aligns with both quality and cost.


