


Why transitions matter more than you think (and when to skip them)
Great transitions do two things: they guide the viewer’s attention and communicate a change in time, place, or tone. When used well, a well-timed dissolve or whip-pan slips past the viewer’s notice while improving rhythm and storytelling; when overused, transitions become noisy decorations that distract from the message. Think of transitions as punctuation: a subtle cut or cross-dissolve is a period, a whip-pan is an emphatic em-dash, and a hard jump cut is an exclamation. Understanding this helps you pick the right effect for the story you want to tell -not just the flashiest one on trend.
Another practical reason to be deliberate: transition choices affect pacing. Fast-paced channels (gaming highlights, TikTok shorts) benefit from crisp cuts and quick zooms to keep energy high, while cinematic or documentary-style pieces gain from soft dissolves and fades that let the audience breathe. Finally, accessibility matters: rapid movement and heavy motion effects can trigger motion sensitivity for some viewers. Major accessibility guidance (WCAG and platform docs) recommend avoiding unnecessary motion and providing controls or alternatives for users who prefer reduced motion. If you publish widely, include a simple “reduce-motion” version or use subtler transitions for longer-form pieces.
The essential transition types every editor should know

Below are the core transition buckets you’ll use across most projects. Each is described with when it helps -and when it hurts.
Cuts and jump cuts: the invisible workhorses
A straight cut is the default editing tool and usually the strongest choice because it respects the viewer’s attention. Cuts preserve momentum and are ideal for maintaining continuity in dialog or action. Jump cuts (an intentional cut inside the same shot or subject) create urgency or a sense of time passing -they work well in vlogs or “speeded-up” sequences but can feel jarring if misused. Use cuts whenever continuity or story clarity is the priority.
Dissolves and crossfades: emotional bridges
Dissolves (crossfades between clips) are classic for indicating a soft passage of time or a mood shift. They’re subtle, cinematic, and forgiving when clips aren’t perfectly matched. On the flip side, overusing dissolves can make pacing feel sluggish. Reserve them for moments when you want to gently blend scenes: montages, memory sequences, or transitional beats between acts.
Whip pans and speed transitions: energetic connectors
Whip pans and zoom transitions give a sense of momentum and are extremely popular in short-form content. They work by matching motion vectors across the cut and often add a directional blur to sell the movement. When executed cleanly, they feel dynamic and professional; when slapped on without timing or matched motion, they look amateurish. Whip pans are a great tool for jump cuts between locations or to hide cuts during a rapid montage. Tutorials and modern editors show simple techniques (directional blur + keyframed motion) to build convincing whip-pan transitions.
Wipes, slides, and graphic transitions: stylistic emphasis
Wipes and slides are overt visual devices that announce a change. They’re valuable when you want a stylistic or branded feel (for example, a themed series where each section “slides in” with a branded wipe). Use them sparingly: they call attention to themselves and should match the project’s aesthetic. Graphic transitions -animated shapes, overlays, or L-cuts with motion graphics -are commonly used in corporate and social videos to create consistent visual identity.
Glitch, strobe, and trending FX: use with care
Glitch and strobe effects are attention-grabbing and trendy. They’re great for music videos, trailers, or promotional clips where intensity is the goal. However, they risk causing visual discomfort and can feel dated quickly; use these for short moments rather than entire scene changes. Also note that flashing effects can trigger photosensitive viewers; consider content warnings or alternatives when appropriate.
How to pick the right transition for the platform and mood
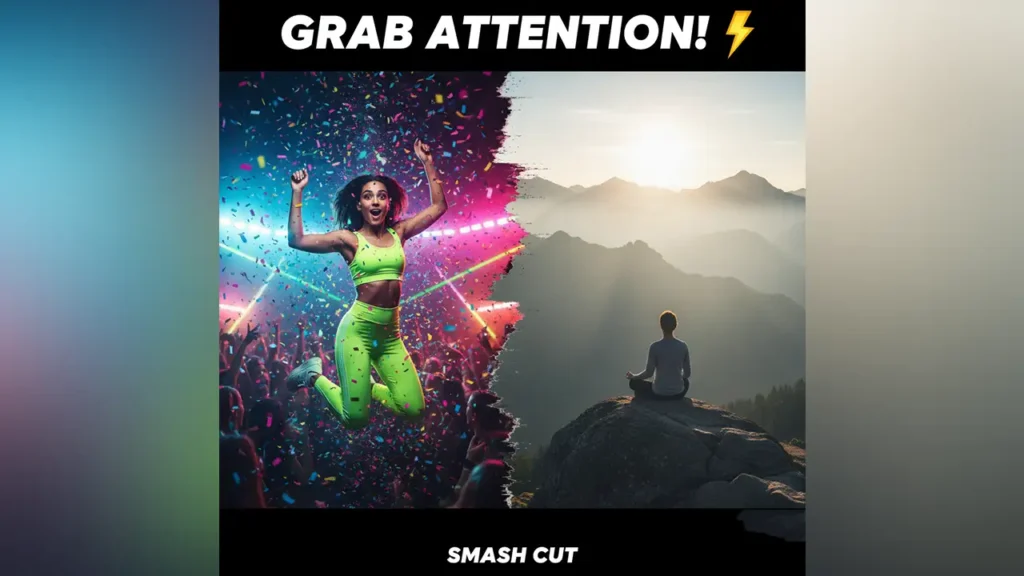
Choosing a transition isn’t only about aesthetics -platform and audience expectations matter. Short-form platforms (TikTok, Instagram Reels, YouTube Shorts) reward snappy, bold transitions like speed-zooms and smash cuts because they hold attention within seconds. For long-form YouTube videos or documentaries, viewers expect smoother pacing; cinematic dissolves, clean cuts, and subtle motion work best. Advertising and product videos often use branded graphic transitions to reinforce identity, while educational content benefits from simple cuts and occasional slides that help segment information.
Audience context helps too: if your viewers watch on phones, small-screen subtleties like tiny dissolves may be less noticeable than dramatic, high-contrast moves. Conversely, viewers on larger screens (smart TVs, desktop) pick up more detail -so subtlety and craftsmanship pay off. When repurposing footage between formats, consider creating platform-specific sequences rather than stretching one edit across multiple formats; auto-reframe and AI tools help but manual artistic tweaks usually perform better. Adobe and other editors increasingly include AI reframe tools to adapt aspect ratios, but these are best used as helpers rather than replacements for thoughtful edits.
Quick pro tips: making transitions feel seamless (without overdoing it)

If there’s one thing that separates pro edits from amateur ones, it’s timing and matching. A transition feels natural when motion, color, and audio line up across the cut. That means matching camera direction for whip pans, aligning action beats for cuts, and using audio bridges (a music swell or SFX) to mask or accent a visual transition. Subtle overlays -a light flare or vignette -can also hide mismatched frames without distracting.
Render performance and export considerations matter too. Heavy transitions with complicated effects (3D, particle sims, high-resolution overlays) increase render times and may force higher bitrates to keep motion clean. For platforms that compress aggressively -think mobile social feeds -simpler, cleaner transitions often survive compression better and look sharper on final playback. If you rely on downloadable presets or plugins, keep versions and compatibility in mind; editors update frequently, and some AI-assisted plugins require the latest releases to function correctly.
Quick comparison table: when to use common transitions
| Transition | Best use | Strength | Risk |
| Cut | Dialogue, continuity | Fast, invisible | Can feel abrupt |
| Cross-dissolve | Montage, time passage | Emotional, smooth | Slows pacing if overused |
| Whip pan / Speed zoom | Action, short-form energy | Dynamic, trendy | Looks sloppy if motion not matched |
| Wipe / Slide | Branded segments | Distinctive, stylistic | Draws attention away from content |
| Glitch / Strobe | Music, trailers | High-impact | May trigger discomfort; dated quickly |
Common mistakes editors make with transitions -and how to avoid them

A surprisingly common error is treating transitions as a layer of decoration rather than storytelling. Editors sometimes apply trendy transitions across an entire video because they want a “look” -but that uniformity can flatten emotional range. Instead, use transitions to mark structural shifts: act breaks, time jumps, or changes in tone. Another mistake is ignoring audio; sound bridges and SFX can sell a transition far more convincingly than visual trickery alone. If you hear nothing across a loud visual whip, it feels fake.
Technical mistakes also crop up: mismatched motion vectors in whip pans, inconsistent frame rates across assets, or failing to consider recompression for each platform. Always preview transitions at the final export settings to ensure banding, aliasing, or moiré patterns don’t appear. And remember accessibility: rapid scaling or spinning effects can produce motion sickness for some viewers -follow WCAG guidance and offer non-animated alternatives where possible. In short: prioritize story and viewer comfort over novelty.
Where AI fits in -practical uses (not hype)
AI is no longer a hype bubble -it’s become a practical assistant for routine tasks. Modern editors (including major apps like Premiere) incorporate AI features such as Auto Reframe, scene detection, and smart smoothing that speed up common transitions or prepare footage for reformatting. These tools are excellent for initial passes -automatically identifying edit points, suggesting framing, or cleaning shaky footage -but they do not replace the artistic choices that make transitions feel intentional. Use AI to remove grunt work (auto-detect a whip-clip and add directional blur), then apply human timing and audio touches to finalize the effect. That hybrid approach saves time and preserves creativity.
How to build professional transitions step-by-step (mini-tutorials you can use today)
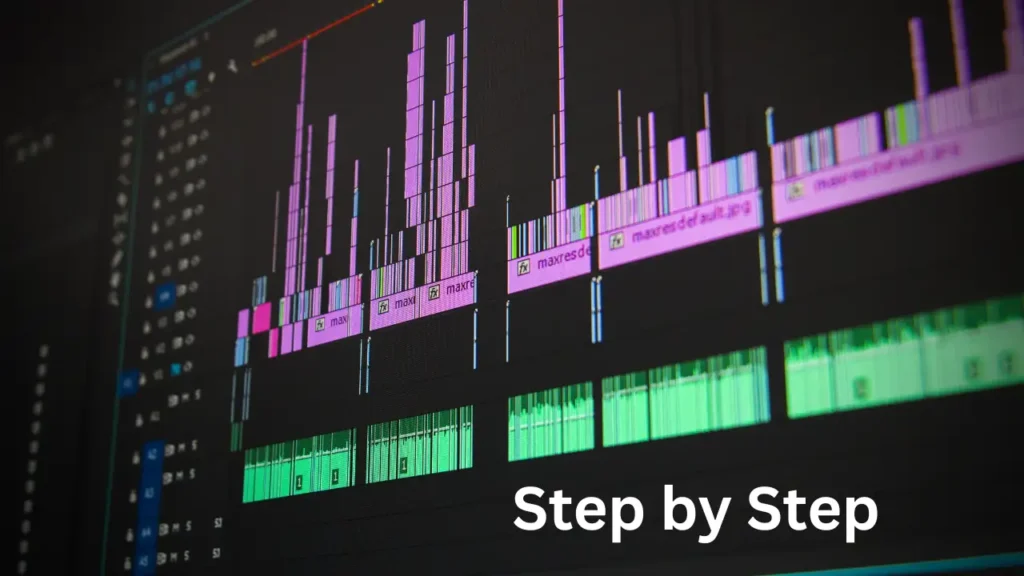
Creating a clean whip-pan transition that feels natural
A whip-pan transition works only when the movement feels motivated. Start by choosing two clips with directional motion -ideally both panning in the same direction. If your footage doesn’t naturally contain this movement, create it by keyframing a fast push or slide near the end of the first clip and the beginning of the second. The idea is to make motion blur the “bridge” that hides the cut. Once the motion is aligned, add a directional blur filter timed precisely to the peak of movement. The blur should last only a few frames; extend it too long and it becomes mushy rather than energetic.
What elevates the effect from amateur to polished is matching exposure and contrast. When brightness shifts drastically between clips, a whip pan exposes the difference because the blur exaggerates highlights. If needed, color-correct each shot so the motion feels continuous. Add a subtle whoosh sound effect synced to the blur’s midpoint to complete the illusion; audio is the glue that makes even imperfect transitions feel intentional. With practice, you’ll complete this technique in under a minute and use it across travel videos, vlogs, and dynamic B-roll.
Making a smooth cross-dissolve that enhances emotion
Cross-dissolves are simple, but the nuance lies in timing and context. Begin with clips that share a tonal relationship -similar lighting, subject matter, or emotional continuity. If you dissolve between contrasting scenes without preparing the viewer, the effect feels like a mistake rather than a storytelling choice. Place the dissolve on a beat in your music track or at a natural breathing moment in dialogue. The length matters, too: quick dissolves feel transitional and efficient, while longer dissolves feel nostalgic or dreamy.
A trick many editors forget is to use audio to strengthen the transition. Let the audio of the next clip start slightly before the video changes; this overlap, known as an L-cut, blends the scenes more organically. You can also use a faint texture overlay such as film grain to unify the clips visually. When done well, the viewer barely notices the dissolve -they simply feel the intended mood shift.
Designing a graphic wipe for branded or educational videos
Graphic transitions work beautifully in tutorials, explainer videos, and branded content because they provide structure. To make one, design a simple shape (rectangle, circle, diagonal bar) that animates across the screen. As it moves, let the incoming clip appear behind the shape. The key is consistency: stick to your brand colors, keep timing uniform across transitions, and use the same animation curve. Ease-in and ease-out settings create smooth acceleration and deceleration rather than mechanical movement.
Graphic transitions also help reinforce style. Imagine a tech brand using bold, angular wipes in electric blue, or a wedding filmmaker using soft, pastel swirls to match romantic footage. The transition becomes a recognizable part of your visual signature, not just a connector. If you create multiple videos in a series, make these transitions your hallmark -viewers appreciate consistency, and it builds recognition over time.
How to match transitions to story beats and audience expectations

Using transitions to shape narrative rhythm
Every story has a natural rhythm -moments of energy, reflection, tension, and release. Transitions help communicate those shifts. Fast transitions (whips, glitches, speed ramps) signal urgency or acceleration. Slow transitions (dissolves, fades, long L-cuts) create breathing space or emotional depth. Think of transitions as musical beats inside your timeline. A sequence full of rapid cuts feels like a fast drum pattern, while soft dissolves feel like a melodic bridge.
A practical way to use this is to map transitions to story beats before editing. If your video begins with high energy, transitions should match that tempo; as the story slows or becomes emotional, reduce visual intensity. This reinforces your narrative while reducing cognitive load for the viewer. When done right, transitions disappear into the larger experience -viewers feel the shift without consciously noticing it.
Aligning style with the audience’s expectations
Your audience’s familiarity with certain editing styles matters. Fans of YouTube travel channels expect whip pans, rapid cuts, and zoom transitions. Documentary audiences expect subtlety and clarity. Corporate viewers expect clean slides or dissolves. Understanding these norms allows you to meet expectations while still adding your personal edge.
It’s also important to consider the device your audience uses. Mobile viewers scroll quickly and expect attention-grabbing pacing. TV and desktop viewers appreciate detail and calmer transitions. If analytics show your audience watches mostly on mobile, prioritize bold, clean motion. For TV viewers, you can incorporate more nuanced transitions and longer beats that benefit from a larger canvas.
Transition workflows that save time (and keep quality consistent)
Building a personal transition library
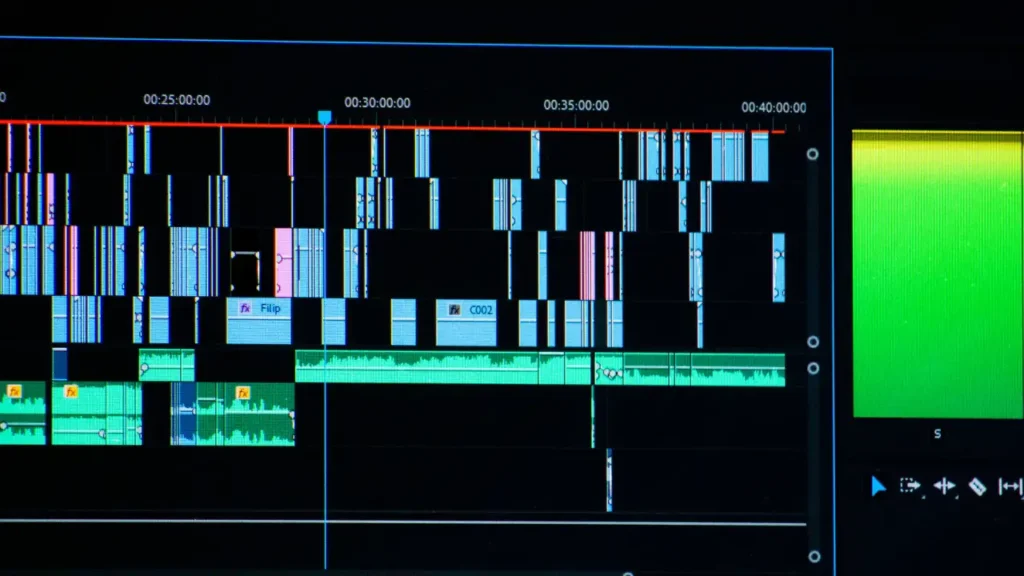
One of the biggest time-savers for editors is creating a custom transition library. Store your favorite whip pans, zooms, cross-dissolves, color-matched wipes, and audio cues in a dedicated folder inside your editing software. Label presets with clear names and tags so you can find them quickly. Over time, you’ll assemble a toolkit that gives your videos a consistent style and dramatically speeds your workflow.
This kind of library also helps when working with clients or growing your brand. Once you define the look and feel of your transitions, you can apply them across multiple projects while maintaining a cohesive identity. If your channel grows, assistants or co-editors can use your library to match your style -especially helpful for gaming, fitness, tech, or tutorial creators who post frequently.
Using AI and automation without losing creativity
AI tools are increasingly helpful for routine tasks. Auto Reframe quickly adapts wide footage to vertical without manually adjusting focus points. Scene detection splits footage automatically, making it easier to plan transitions. Some plugins analyze motion and apply directional blur intelligently. These tools cut the time needed to prepare clips for transitions.
However, creativity still comes from you. AI can’t decide where a transition belongs in the emotional rhythm of your story. Treat AI as a tireless assistant -one that handles repetitive tasks so you can focus on storytelling, pacing, and viewer engagement. The strongest videos in 2025 combine human choices with AI efficiency.
The biggest problems creators face when using transitions and how to fix them

Overusing transitions and reducing clarity
A common beginner mistake is adding a transition between every clip. This creates visual fatigue and distracts from content. Think of transitions as seasoning -too much overwhelms the dish. The fix is simple: return to basics. Use clean cuts as your default and apply transitions only when the story benefits. If a transition doesn’t help guide the viewer, remove it.
Mismatched speed, color, or motion
Many transitions fail because the clips don’t match visually. A whip-pan looks awkward if one clip moves left and the next moves right. A dissolve feels off if one clip is warm-toned and the next is overly cool. Before adding transitions, check motion direction, color balance, and lighting. A few seconds of color correction or motion alignment often saves minutes of troubleshooting later.
Poor timing with music or speech
Transitions that aren’t tied to audio cues feel disconnected. If you’re working with music, place transitions on beats or downbeats. If the voiceover has emotional pauses, time your transitions to those natural gaps. Audio is the invisible guide that makes transitions feel cohesive. Even professional editors admit that timing transitions with sound is half of what makes a sequence feel polished.
Advanced creative transitions that add cinematic style

Mask reveals and invisible cuts
Mask transitions involve revealing the next scene behind an object moving across the frame. When done well, they feel magical because the viewer doesn’t immediately understand how the transition worked. The technique is simple: track an object (like someone walking past the camera or a car passing by), use it as a mask, and place the next clip behind it. Invisible cuts are similar but rely on matching shapes or motions to hide the cut.
Match-cut transitions for storytelling
Match cuts join two clips with similar shapes, motions, or themes. A spinning coin transitions to a spinning bicycle wheel. A person closing a door transitions to someone opening a locker. These transitions deepen storytelling and feel satisfying because the viewer connects the visuals subconsciously. They take planning, but the payoff is worth it -especially in travel films, commercials, and narrative YouTube videos.
Light leaks and lens-flare transitions
Light-based transitions mimic the look of real camera flares. They add warmth and a sense of authenticity. When used subtly, they make cuts feel smoother and more cinematic. Many editors stack flare overlays, lower opacity, and keyframe brightness to create custom looks. Use them sparingly, though -too much glow can wash out footage.
Transition pitfalls to avoid across platforms (TikTok, YouTube, Reels)
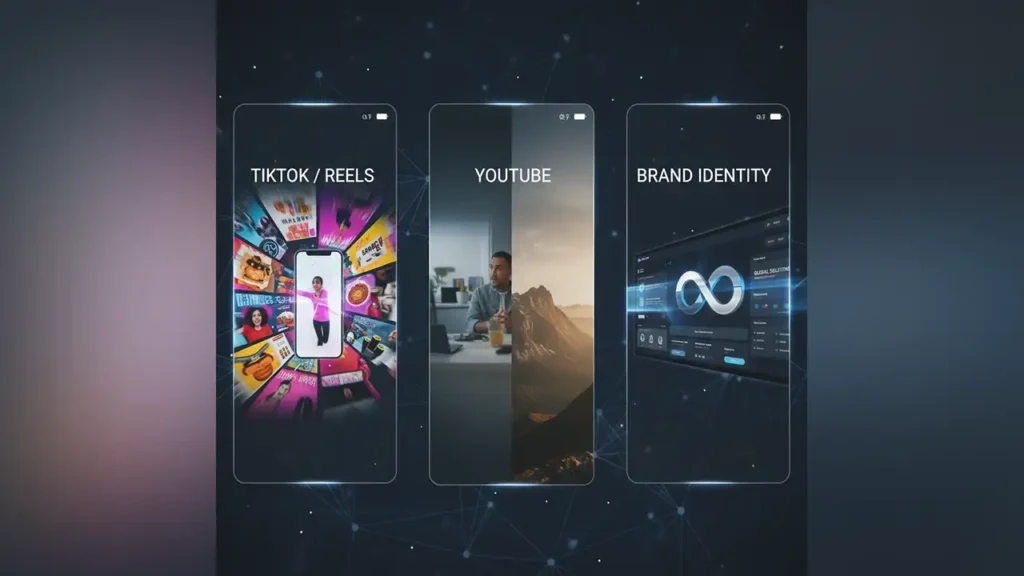
Why short-form platforms require tighter pacing
On TikTok and Reels, attention spans are measured in milliseconds. Transitions must be fast, clean, and purposeful. Slow dissolves rarely work; quick zooms and whip pans perform better because they maintain energy. But even on fast platforms, avoid transitions that feel gimmicky or cheap. A well-executed speed ramp is more valuable than five trendy presets.
Why YouTube rewards subtlety and narrative structure
Long-form creators succeed with transitions that support story pacing. Viewers expect clarity, emotional beats, and space to breathe. Clean cuts, L-cuts, and gentle dissolves work better than rapid-fire effects. Educational and commentary channels especially benefit from minimal transitions so the content stays front and center.
Why brand identity matters most for businesses
For brands and businesses, consistency wins over trendiness. Graphic wipes, branded slides, and logo-led transitions create recognition and trust. Viewers begin to associate the transition style with the brand itself -which is why companies and agencies invest heavily in custom motion graphics packages.
How Inside Editors helps creators polish their transitions

Even the most skilled editors sometimes need support -especially when working on high-stakes projects like brand campaigns, wedding films, or YouTube channels with tight deadlines. Inside Editors offers professional video editing services that blend creativity with precision. Instead of spending hours troubleshooting mismatched transitions or tweaking timing, you can hand the technical challenges to experienced editors who know how to craft cinematic flow.
If you want transitions that feel smooth, intentional, and polished -without drowning in timeline adjustments -Inside Editors can take your footage and shape it into a cohesive, professional story. You stay focused on shooting and storytelling, while experts handle the fine-tuning that elevates the final result.
Explore Inside Editors’ Video Editing Services
Final thoughts: mastering transitions is mastering storytelling
Transitions aren’t just visual tricks -they’re storytelling tools. When used with intention, they guide viewers emotionally, reinforce pacing, and elevate the overall experience. Whether you’re creating short-form content, long-form videos, or branded series, the right transitions make your work feel purposeful and polished.
By understanding motion, timing, platform expectations, and narrative rhythm, you’re already ahead of most creators. Practice consistently, experiment thoughtfully, and build your own transition style. And when you want an expert touch, Inside Editors is here to help you turn great ideas into stunning, professional videos.
FAQs
How do you guarantee quality and trust when you edit my footage?
We use a three-step quality workflow: an editor builds the first cut, a senior editor reviews technical issues (color, audio, transitions), and you get a revision pass. You keep copyright to your footage; we deliver final masters and provide source/preview files on request. For sensitive projects we sign NDAs and follow secure file-transfer procedures to protect privacy.
What if I don’t like the first draft -how do revisions work?
Most packages include 1-3 revision rounds depending on the tier you choose; each round focuses on creative notes, timing, and polish. Revisions are consolidated into a single set of clear instructions (timecodes + notes) to speed turnaround. If you need extra rounds, we offer pay-as-you-go or bulk revision credits billed transparently.
Who owns the final video and project files after editing?
You retain ownership of the raw footage and the final deliverables -we grant you full commercial usage rights on delivery. If we supply licensed music, graphics, or stock assets, we’ll document usage limits; upgrading to extended licenses is available if you need broader rights. We always clarify asset ownership in the project scope before starting.
Should I edit transitions myself or hire a pro -what are the trade-offs?
DIY editing saves money and is ideal for learning or low-stakes content, but pros add speed, consistency, and higher storytelling value -especially for channel branding or paid campaigns. A professional editor streamlines timing, color, audio, and transition choices so your videos look cohesive across episodes. If you publish frequently, outsourcing typically returns value in saved time and better viewer retention.
How much do professional edits cost and what’s usually included?
Typical rates vary: simple trims and basic edits range from $50-$200 per video, mid-level edits (graphics, color, transitions) $200-$800, and full-service edits or episodic packages $800+. Prices depend on runtime, complexity, and deliverables (masters, social cuts, subtitles). Quotes should itemize included services -revisions, source file delivery, licensed assets, and rush fees.
What is a realistic timeline for an edit and are rush options available?
Standard turnaround is 3-7 business days for a single video depending on length and complexity; short edits can be 24-48 hours and full episodic projects may take 1-3 weeks. Rush delivery is commonly available for an extra fee (25-75% surcharge) and depends on current queue and asset readiness. Faster delivery usually requires consolidated, clear notes and finalized source files.
What simple steps should I follow to prepare footage for smooth transitions?
Shoot with consistent frame rates and exposure when possible, capture extra lead-in and lead-out on each shot (1-3 seconds), and keep motion direction predictable for whip/zoom transitions. Label and sort footage, supply an edit brief with desired beats, and share reference clips or timing notes to reduce back-and-forth. These steps cut editing time and improve the quality of video editing transitions in the final cut.
How does Inside Editors protect privacy and secure my files?
Inside Editors uses encrypted transfer (SFTP/secure cloud links), restricted access to project folders, and optional NDAs for sensitive work. We keep backups for the agreed retention period and delete files on request once final delivery and approvals are complete. If you require additional security measures (on-premise review, private share links), we’ll include those in the project scope and quote.


