

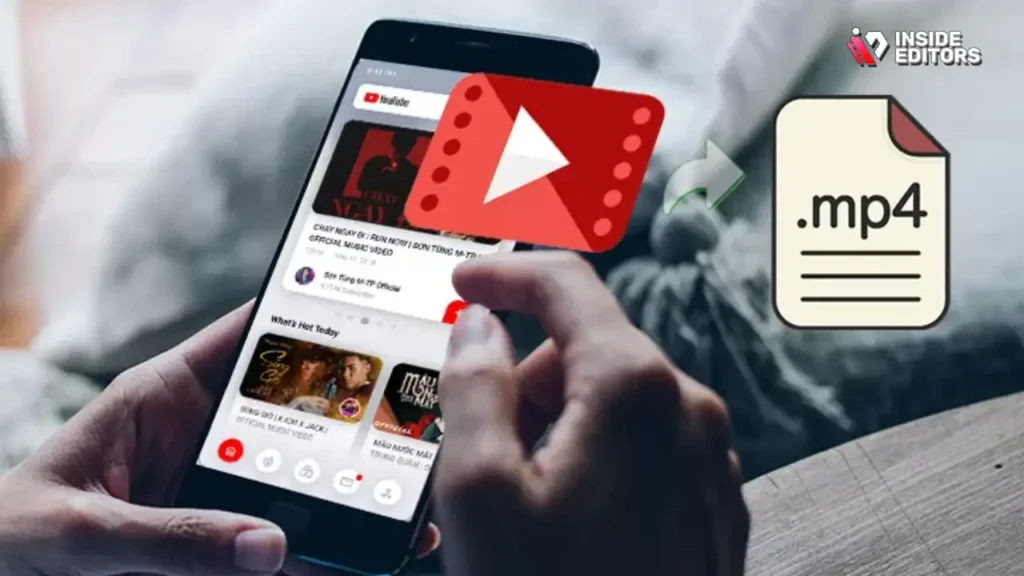
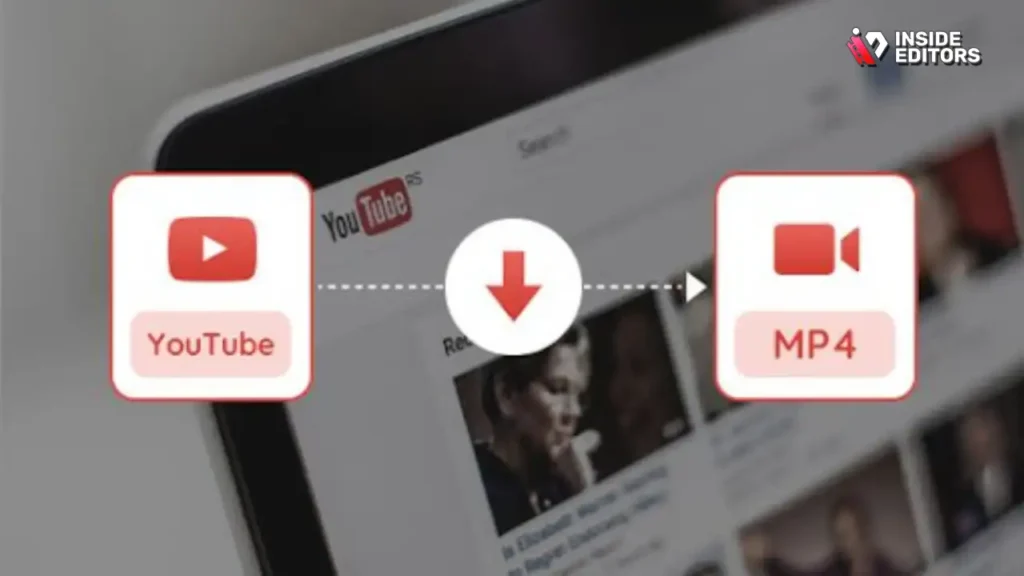
The digital landscape runs on video, and YouTube is the undisputed king of that content. Whether you are a content creator archiving your work, a marketer repurposing clips, or a student needing to analyze a lecture offline, the need to convert a YouTube Video to MP4 format is constant. MP4 is the universal standard for video files, offering high compression without significant quality loss, making it ideal for storage, editing, and playback across almost any device.
This comprehensive guide breaks down the essential knowledge and the quick, reliable 3-step process you need to master this conversion. We will explore the legal and technical nuances, compare the best tools available, and ensure you can confidently transform any YouTube Video to MP4 file efficiently and safely.
Why Convert YouTube Video to MP4?

Before diving into the steps, it’s crucial to understand why MP4 remains the preferred format. YouTube streams videos using various codecs, but when you download or convert a file, MP4 (MPEG-4 Part 14) is the gold standard for compatibility and quality.
The Universal Appeal of the MP4 Format
MP4 files are containers that hold video, audio, subtitles, and metadata. Their primary advantage lies in their efficiency. They use the highly effective H.264 video compression standard, which delivers excellent video quality even at smaller file sizes.
Think about the last time you tried to open a niche video format on your phone or tablet-it probably failed. MP4 eliminates this frustration. It is universally recognized by operating systems (Windows, macOS, Linux), mobile devices (iOS, Android), and professional editing software like Adobe Premiere Pro and Final Cut Pro.
“The ubiquity of MP4 is not accidental; it’s the result of superior compression technology meeting the demand for cross-platform compatibility. It is the lingua franca of digital video.” – Dr. Evelyn Reed, Digital Media Analyst
Legal and Ethical Considerations
It is essential to address the legal framework surrounding converting a YouTube Video to MP4. YouTube’s Terms of Service generally prohibit unauthorized downloading or copying of content. Therefore, any conversion process should only be applied to videos you own, videos that are explicitly licensed for reuse (like Creative Commons), or videos where you have received explicit permission from the copyright holder. Always respect intellectual property rights.
Step 1: Selecting the Right Tool for YouTube Video to MP4 Conversion
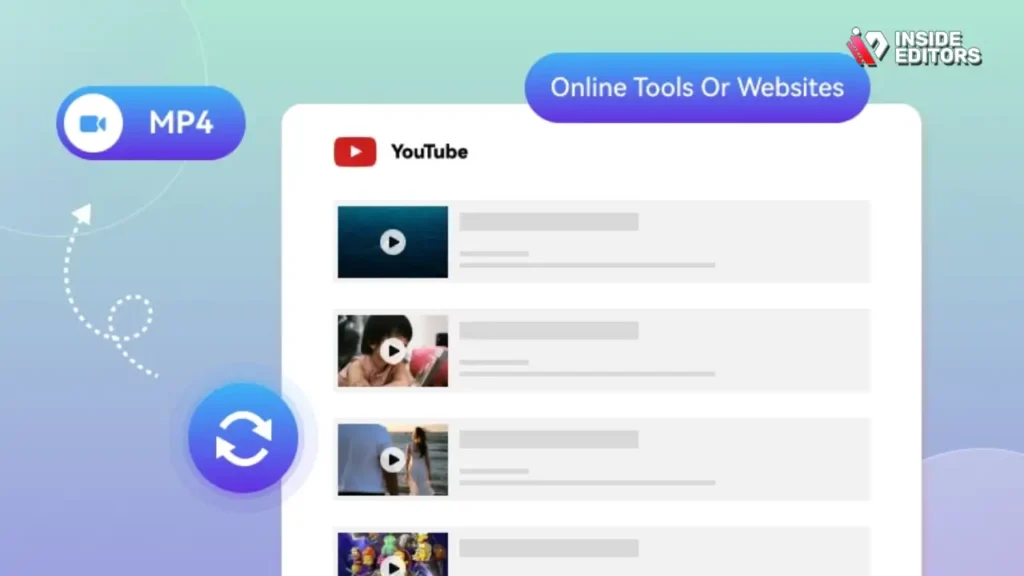
The market is saturated with tools promising to convert a YouTube Video to MP4. However, quality, safety, and reliability vary significantly. Choosing the right tool is the most critical step in ensuring a smooth, high-quality conversion.
Online Converters vs. Desktop Software
You essentially have two categories of tools: browser-based online converters and dedicated desktop software. Each has distinct advantages and drawbacks.
| Feature | Online Converters (Web-Based) | Desktop Software (Installed) |
| Speed | Dependent on internet speed and server load. Often slower. | Faster processing using local CPU resources. |
| Security | Higher risk of malware, intrusive ads, and data leaks. | Generally safer, provided the software is reputable. |
| Quality/Features | Limited resolution options; often capped at 720p. | Full resolution support (1080p, 4K); advanced batch processing. |
| Accessibility | Works on any device with a browser. No installation needed. | Requires installation; uses local storage. |
| Cost | Usually free, monetized through ads. | Often paid, or free with limitations. |
For high-volume, high-quality, and secure conversions, desktop software is usually the superior choice. However, for a quick, one-off conversion, a reputable online tool can suffice.
Essential Features of a Reliable Converter
When evaluating tools, look for these non-negotiable features:
- High-Resolution Support: The ability to convert the original video quality (1080p, 4K).
- Batch Processing: Efficiency is key. The tool should allow you to queue multiple conversions.
- Clean Interface: A tool free of excessive, misleading advertisements or hidden downloads.
- Fast Processing: Optimized code that leverages your computer’s hardware for quick results.
If you are a professional content creator or a business handling large volumes of video content, utilizing professional editing services can streamline this process significantly. Inside Editors offers professional video editing services for businesses, content creators, and marketers, ensuring your files are handled by experts. Our team ensures fast turnaround (24-72 hours) and professional quality that builds trust.
Step 2: The Quick 3-Step Process (Link, Configure, Convert)
Once you have selected your tool, the actual conversion process is remarkably straightforward. This universal three-step workflow applies whether you are using a web-based service or robust desktop software.
Step 2A: Retrieve the YouTube Video Link
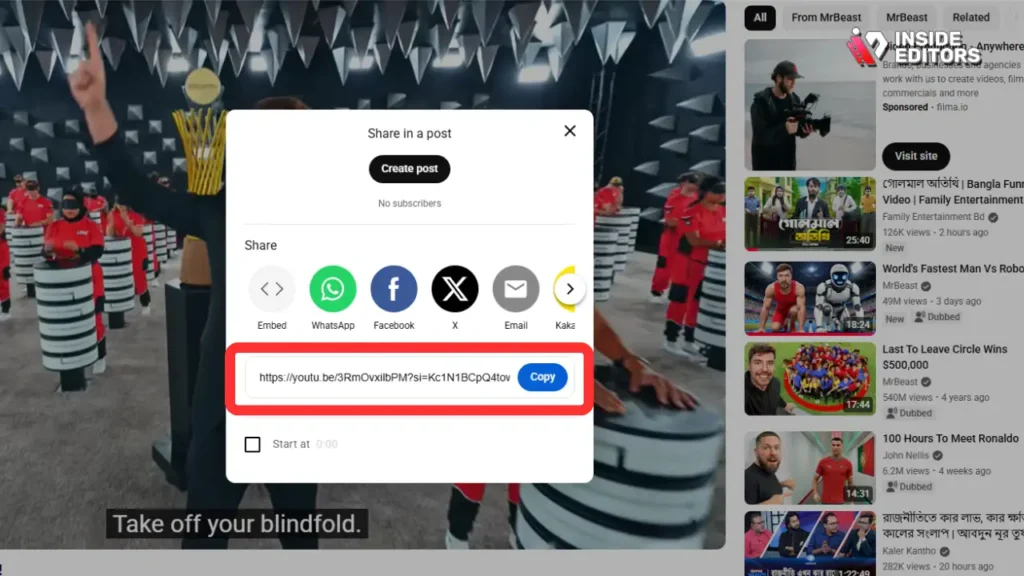
The first step is locating the specific video you wish to convert and obtaining its unique URL.
- Navigate to YouTube: Open the video in your web browser.
- Copy the URL: Look at the address bar at the top of your browser. Select the entire URL and copy it (Ctrl+C or Cmd+C).
- Alternative Method: Click the “Share” button beneath the video player. A shortened link will appear; copy this link instead.
This link is the input the converter tool needs to locate and retrieve the source data for the YouTube Video to MP4 conversion.
Step 2B: Configure the Output Settings
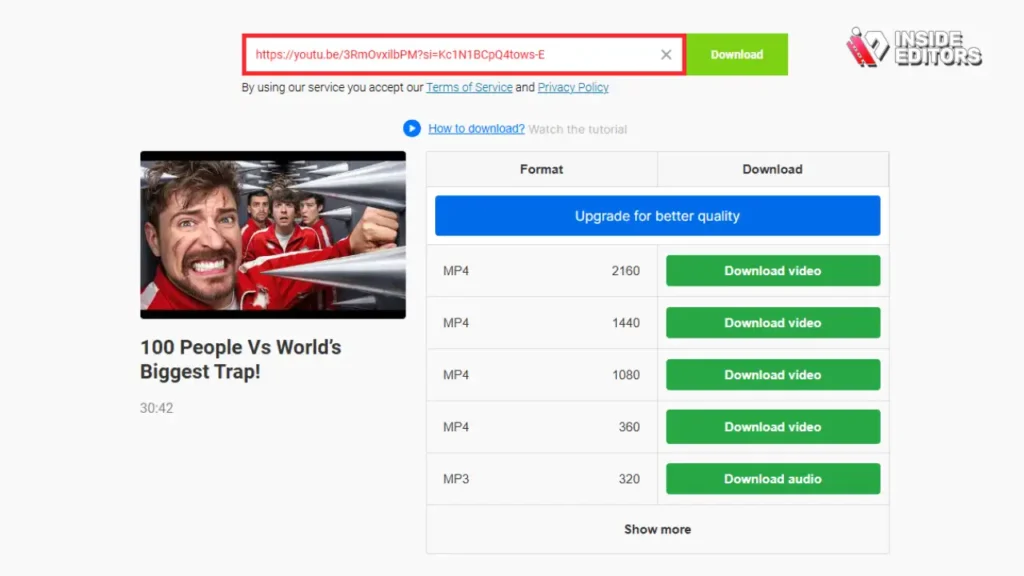
Paste the copied URL into your chosen converter tool. The tool will analyze the link and present options for the output file. This is where you define the quality and format.
- Select MP4 Format: Ensure the output format dropdown is explicitly set to “MP4.”
- Choose Resolution: Select the desired resolution (e.g., 1080p, 720p). Remember, you cannot improve the quality beyond the source video’s original resolution. If the source is 720p, selecting 1080p will only increase the file size, not the visual quality.
- Define Bitrate (Optional): Advanced tools may allow you to adjust the video bitrate. A higher bitrate means better quality but a larger file size. For most users, leaving this on the default “High Quality” setting is sufficient.
Step 2C: Execute the Conversion and Download
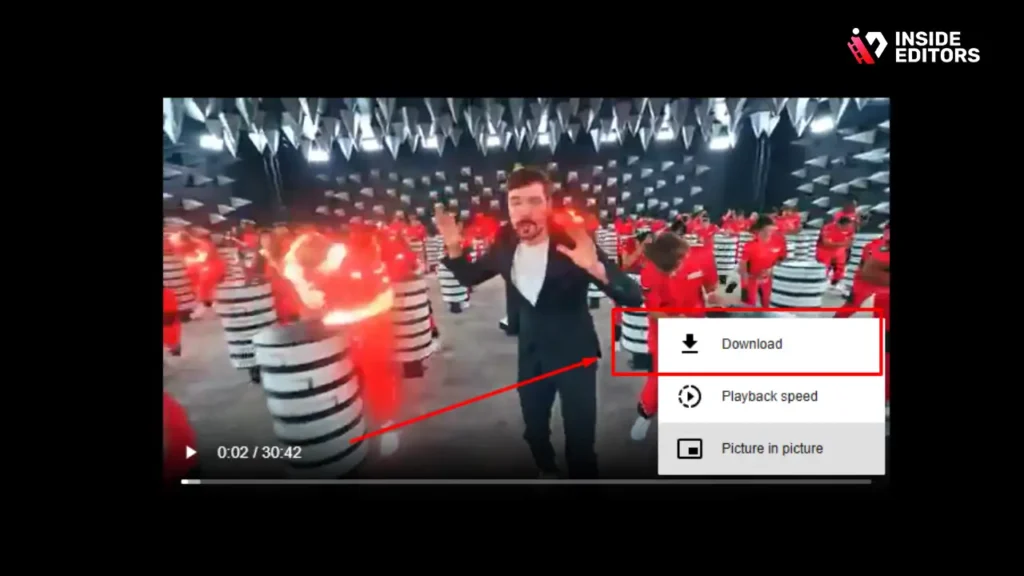
With the settings configured, initiate the process.
- Start Conversion: Click the “Convert” or “Download” button. The tool will first download the video data from YouTube’s servers and then process it into the MP4 container format.
- Monitor Progress: Wait for the progress bar to complete. Depending on the video length and resolution, this could take a few seconds to several minutes.
- Save the File: Once complete, the tool will prompt you to save the newly created YouTube Video to MP4 file to a location on your computer. Always check the file location immediately to ensure the download was successful.
Step 3: Post-Conversion Quality Check and Archiving
The conversion is complete, but the job isn’t finished. A professional workflow always includes a quality assurance check and proper archiving.
Verifying File Integrity
Open the newly downloaded MP4 file using your preferred media player (VLC, QuickTime, etc.).
- Check Visual Quality: Scan through the video. Are there any artifacts, dropped frames, or pixelation? If the quality is poor, try converting again using a lower resolution or a different tool.
- Check Audio Sync: Ensure the audio track is perfectly synchronized with the video. Desync often occurs with lower-quality online converters.
- File Size Comparison: Compare the file size to the expected size for that resolution. A 10-minute 1080p MP4 should typically be between 100MB and 500MB, depending on the bitrate.
Pros and Cons of DIY Conversion
While converting a YouTube Video to MP4 yourself offers immediate control, it also carries inherent risks and limitations.
Pros of DIY Conversion:
- Instant access to the file.
- No cost if using free tools.
- Full control over output settings (if using advanced software).
Cons of DIY Conversion:
- Risk of downloading malware or adware from unreliable sites.
- Time commitment for lengthy downloads and processing.
- Lack of quality assurance; results can be inconsistent.
- Requires technical knowledge to optimize settings like bitrate and codecs.
For creators and businesses, time is money. If you are converting videos for professional use-marketing, course creation, or client work-you need consistency and reliability. This is where professional services become invaluable.
Leveraging Professional Video Editing Services
Converting a YouTube Video to MP4 is often just the first step in a larger workflow. The file might need trimming, color correction, audio enhancement, or graphics integration. Attempting complex edits without expertise can lead to inconsistent brand quality.
The Inside Editors Advantage
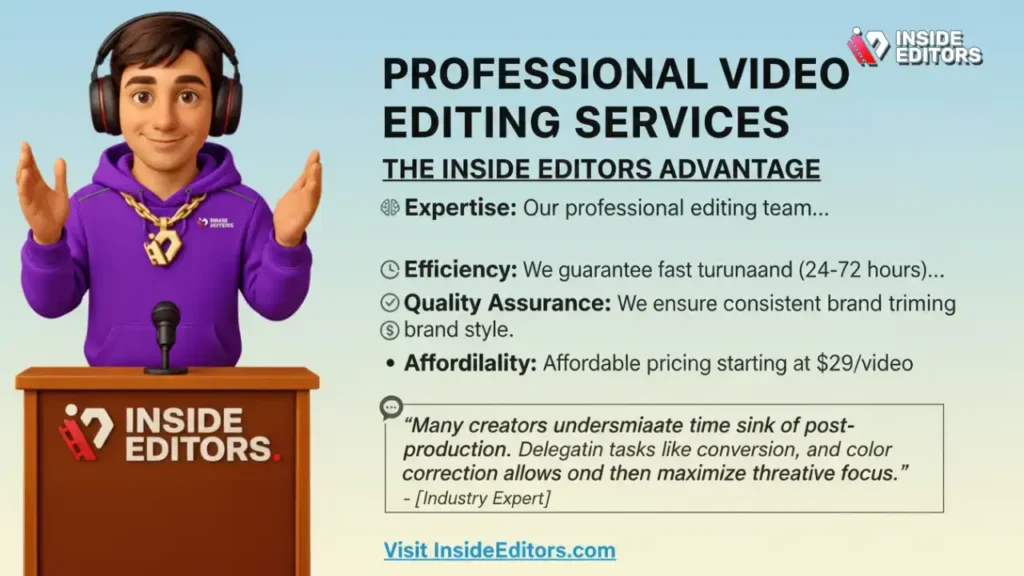
Inside Editors specializes in professional video editing services. We handle the entire post-production process, starting from the source file (whether it’s a YouTube download or raw footage).
Our service is designed for YouTube creators, businesses, marketing teams, and course creators who need professional quality that builds trust. We offer:
- Expertise: Our professional editing team has 10+ years of experience handling complex video formats and ensuring optimal MP4 output.
- Efficiency: We guarantee fast turnaround (24-72 hours), allowing you to save time and focus on content creation.
- Quality Assurance: We ensure consistent brand style across all videos, including color grading and audio enhancement.
- Affordability: Affordable pricing starting at $29/video and unlimited revisions until you are satisfied.
If your goal is to take a YouTube Video to MP4 and transform it into polished, professional content ready for distribution, outsourcing the editing to experts is the scalable solution for growing channels.
“Many creators underestimate the time sink of post-production. Delegating tasks like conversion, trimming, and color correction allows them to maximize their creative output, which is the real driver of channel growth.” – Sarah Jenkins, Content Strategy Consultant
Advanced Considerations for High-Quality MP4 Files
For users who require the highest fidelity, simply converting the YouTube Video to MP4 might not be enough. You need to understand the nuances of codecs and containers.
Codecs vs. Containers: The Technical Difference
The MP4 file is the container. Think of it as the box. Inside that box are the codecs-the actual compression algorithms used for the video and audio streams.
- Video Codec: H.264 (AVC) is standard for MP4. H.265 (HEVC) offers even better compression but requires more processing power.
- Audio Codec: AAC (Advanced Audio Coding) is the standard audio codec for MP4, providing excellent quality at low bitrates.
A high-quality converter allows you to select the codec. If you are archiving a 4K video, choosing H.265 will result in a smaller file size than H.264 while maintaining visual fidelity.
Avoiding Common Conversion Pitfalls
When converting a YouTube Video to MP4, watch out for these common errors:
- Using the Wrong Source URL: Ensure the link is to the watch page of the video, not a playlist or a channel page.
- Ignoring Resolution Limits: Do not select a resolution higher than the source video. It wastes time and disk space.
- Downloading Adware: Be extremely cautious with free online tools. If a site bombards you with pop-ups or asks you to install a browser extension, close it immediately. This is a major security risk.
- Copyright Infringement: Never convert copyrighted material for public use or distribution without explicit permission.
According to a 2023 report on digital piracy trends, unauthorized conversion and distribution of copyrighted material remain a significant legal risk for individuals and businesses. Adhering to fair use principles or securing necessary licenses is paramount.
Optimizing YouTube to MP4 Conversion for Your Needs
The optimal settings for your MP4 file depend entirely on its intended use. A file meant for a large TV screen requires different settings than one intended for social media sharing.
Scenario 1: Archiving High-Resolution Content

If you are a creator backing up your original 4K uploads, prioritize quality and detail.
- Resolution: Native 4K (2160p) or 1440p.
- Codec: H.265 (HEVC) for maximum compression efficiency.
- Bitrate: High (25-50 Mbps) to retain detail.
Scenario 2: Social Media Sharing
For quick sharing on platforms like Instagram or LinkedIn, file size and compatibility are more important than raw resolution.
- Resolution: 1080p or 720p.
- Codec: H.264, universally compatible.
- Bitrate: Medium (5-10 Mbps).
Scenario 3: Offline Presentation or Course Material
If the video is for a presentation where bandwidth might be limited, balance quality and size.
- Resolution: 1080p is usually sufficient.
- Bitrate: Medium-High (10-15 Mbps).
Converting a YouTube Video to MP4 is a fundamental skill, but optimizing that file for its final destination is the mark of a true professional.
Final Thoughts Mastering YouTube Video to MP4
Converting a YouTube Video to MP4 is a necessary task in the modern digital workflow. By following the quick 3-step process-selecting a reliable tool, configuring the settings correctly, and performing a quality check-you ensure your resulting MP4 file is high-quality, compatible, and ready for use.
Remember, while DIY tools are great for personal use, professional projects demand professional standards. If your converted video requires editing, optimization, or integration into a larger project, consider leveraging the expertise of a dedicated team. Inside Editors provides professional video editing services, taking the technical burden off your shoulders. Our team of professional editors, with 10+ years of experience, ensures that every video, whether sourced from YouTube or raw footage, meets the highest quality standards, complete with color grading and audio enhancement. We offer fast turnaround times and affordable pricing, making us the best choice for scalable, professional video content creation.
Inside Editors Service Offerings
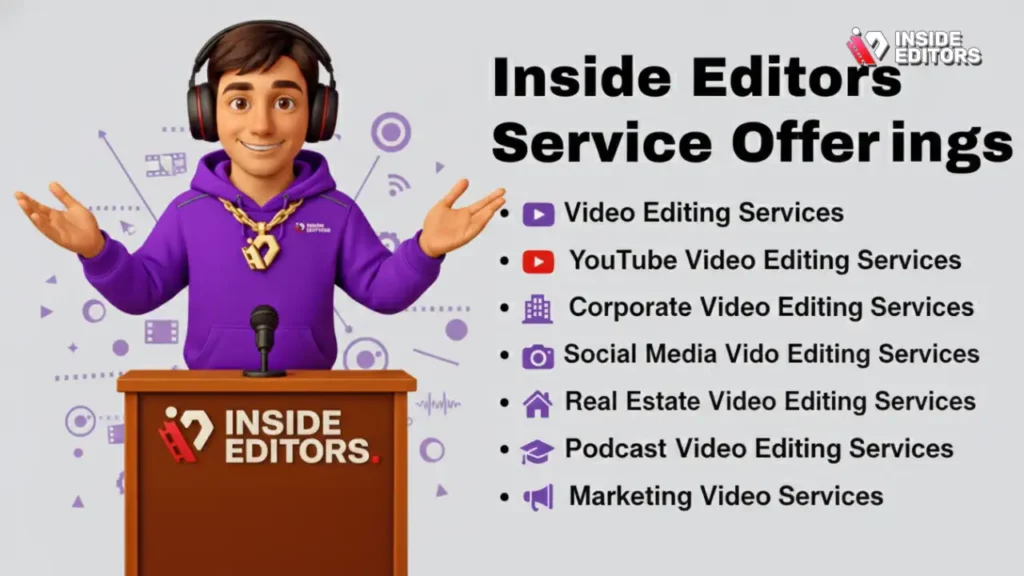
If you need more than just a simple YouTube Video to MP4 conversion, explore our specialized services designed to elevate your content:
- Video Editing Services: Professional editing for businesses, creators, and marketers.
- YouTube Video Editing Services: Tailored services to maximize YouTube channel growth.
- Corporate Video Editing Services: High-quality editing for internal and external business communications.
- Social Media Video Editing Services: Optimized edits for platforms like Instagram, TikTok, and LinkedIn.
- Real Estate Video Editing Services: Polished property tours and listing videos.
- Course Video Editing Services: Engaging and structured edits for online educational content.
- Podcast Video Editing Services: Converting audio podcasts into engaging video formats.
- Marketing Video Editing Services: High-impact video creation for campaigns and advertisements.
Frequently Asked Questions
Is converting YouTube videos legal?
Converting a YouTube Video to MP4 is generally against YouTube’s Terms of Service for copyrighted content. It is legal only if you own the video or have explicit permission/license for reuse. Always respect intellectual property rights.
What is the best resolution for MP4?
The best resolution for your YouTube Video to MP4 conversion depends on the intended use. For professional archiving, use 4K (2160p) if available. For general web use, 1080p offers the best balance of quality and file size.
How long does conversion take?
The time required to convert a YouTube Video to MP4 depends on the video length, resolution, and your internet speed. A 10-minute 1080p video usually takes 1-5 minutes using reliable desktop software.
Can I convert 4K YouTube videos?
Yes, you can convert 4K YouTube videos to MP4, provided the conversion tool supports 4K resolution and your computer has the processing power. Look for tools that utilize the H.265 codec for efficient 4K MP4 files.
Why use desktop software over online converters?
Desktop software is generally safer, faster, and offers higher quality output when converting a YouTube Video to MP4. Online converters often cap resolution and pose higher security risks due to intrusive ads.
What is the difference between H.264 and H.265?
H.264 is the older, more compatible video codec. H.265 (HEVC) is newer and offers superior compression, meaning you get the same quality in a smaller file size, which is ideal for high-resolution YouTube Video to MP4 conversions.
How can Inside Editors help with converted files?
Once you have your YouTube Video to MP4 file, Inside Editors can provide professional editing services, including trimming, color grading, audio enhancement, and graphics integration, ensuring your content is polished and ready for professional use.


