

If you’re searching for a YouTube Video Editing Course that actually helps you grow as a creator – without confusing jargon or overwhelming lessons – you’re in the right place. Think of this as a friendly, expert walkthrough from someone who has helped thousands of new creators make better videos, even on tight budgets. Whether you’re using a $500 laptop or a mid-range PC, this guide will help you understand your options, choose the right tools, and take your editing skills where they need to go.
Before we dive into laptop specs, workflow tips, and course recommendations, let’s start with a simple truth: you don’t need expensive gear to edit good YouTube videos. What you need is clarity – about courses, about hardware, and about your creative goals. That clarity is exactly what this guide is designed to give you.
Why the Right YouTube Video Editing Course Matters More Than Expensive Gear
Every creator reaches a point when raw footage isn’t enough. Maybe your transitions feel rough, your pacing feels slow, or your color doesn’t match across clips. A good editing course fixes all of that. But more importantly, it teaches you how to tell stories people actually want to watch – and watch until the end.
Most new creators think editing is about effects or filters. In reality, it’s about rhythm. A well-edited 60-second short can feel like a 10-second rush of energy. A tight 8-minute talking-head video can feel like a conversation with a close friend. Courses that focus on real storytelling offer long-term value, because they teach skills that stay relevant even when tools change.
As platforms introduce new features – AI-enhanced editing, automated captions, color-matching tools – your ability to understand the fundamentals becomes even more important. That’s why the best YouTube Video Editing Course doesn’t just teach software; it teaches craft.
Why Beginners Often Lose Motivation – and How Courses Solve It
If you’ve ever opened an editing app and stared at the timeline feeling lost, you’re not alone. Most beginners quit because they don’t have a structure to follow. Good courses provide step-by-step roadmaps, small wins, and clear milestones so editing becomes a habit instead of a frustration. The right course gives you confidence, direction, and that “aha” moment when everything clicks at once.
This is especially true if you’re editing on a tight budget or using entry-level hardware. Strong editing skills make even a basic laptop feel powerful – because you know exactly how to work efficiently.
Is YouTube Video Editing Possible on a $500 Budget? The Honest Truth
Here’s the good news: yes, you can absolutely edit YouTube videos on a $500 laptop. In fact, thousands of creators do exactly that every day. What matters more than price is knowing how to use your machine the right way. Many $500 laptops today come with fast SSDs, efficient processors, and decent integrated graphics – all good enough for YouTube-friendly formats like 1080p and even light 4K edits.
Creators often underestimate how optimized modern editing software has become. Tools like CapCut, DaVinci Resolve, Filmora, and even Adobe Premiere have become significantly more efficient in the last few years. AI-powered background rendering, proxy workflows, and auto-optimization do most of the heavy lifting for you now.
The result? A $500 laptop today performs like a $1,000 machine from just a few years ago – especially for YouTube content.
The Key Limitations to Know Before You Start Editing on a $500 System
Of course, it’s not perfect. Editing long 4K timelines, working with heavy LUTs, or applying complex motion graphics will push entry-level systems to their limit. But for most YouTube workflows – talking-head videos, vlogs, educational content, travel montages, and gameplay edits – a lower-budget laptop is more than enough.
If you understand your limitations and follow a smart workflow, your budget becomes a strength rather than a limitation. You’ll work cleaner, faster, and more efficiently because you won’t rely on brute-force hardware. Many creators discover that these habits make them better editors in the long run.
What Specifications Should You Choose for Smooth YouTube Editing?

The biggest mistake new editors make is looking only at processor names: i3, i5, Ryzen 3, Ryzen 5. While the CPU is important, it’s not the only thing that determines your editing experience.
What really matters is balance.
If your laptop has 16GB RAM and a fast NVMe SSD, it will feel significantly smoother than a machine with a stronger CPU but only 8GB RAM or a slow SATA drive. Editing software constantly reads and writes data while you work – so the faster your storage, the better your timeline playback and preview speed.
A balanced machine gives you a comfortable experience, especially when handling multiple tracks, effects, or color corrections.
How Integrated Graphics Have Become Surprisingly Good
Integrated graphics used to be the weak point in budget systems. Not anymore. Modern integrated GPUs – like Intel Iris Xe or AMD Radeon Vega – are powerful enough to handle real-time playback, light color grading, and fast export speeds for YouTube formats.
AI-based optimizations inside editing software also reduce GPU load, making integrated systems more usable than ever. For beginner to intermediate YouTubers, an integrated GPU is not a dealbreaker – it’s a perfectly fine starting point.
Ideal Specifications for a $500 YouTube Editing Laptop
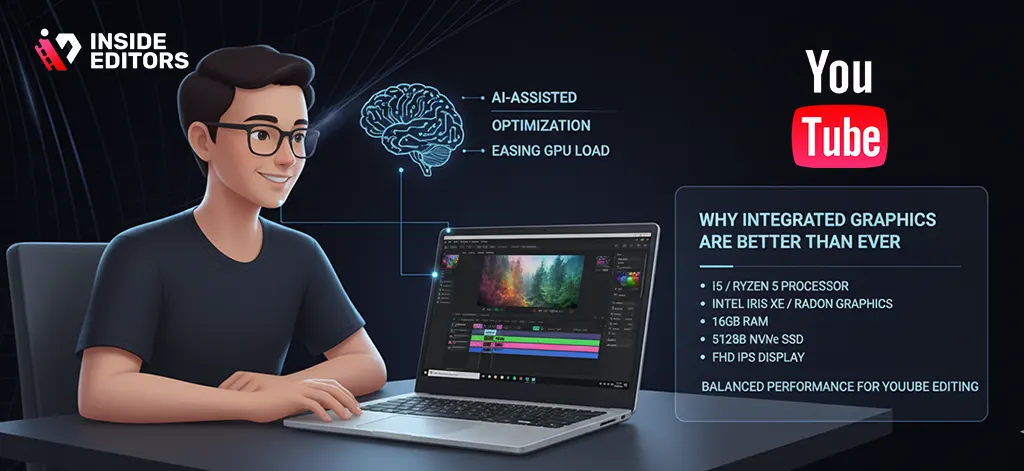
Here’s what typically gives the best value at this price:
- Processor: Intel i5 11th/12th gen or Ryzen 5 5500U
- RAM: 16GB (12GB minimum if the budget is very tight)
- Storage: 512GB NVMe SSD
- Graphics: Integrated Iris Xe or Radeon GPU
- Screen: Full HD, IPS (for color accuracy)
These specs make the system feel responsive while editing, even under moderate workloads, and ensure you don’t get stuck waiting for renders.
Which Laptop or PC Offers the Best Value for YouTube Editing?
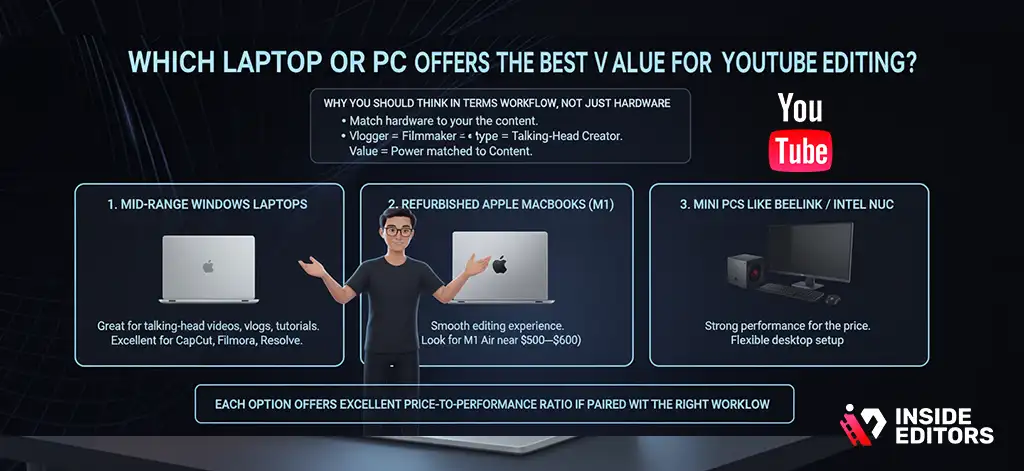
Why You Should Think in Terms of Workflow, Not Just Hardware
Instead of hunting for “the best laptop,” it’s smarter to ask: “What kind of editing do I actually do?”
A vlogger doesn’t need the same machine as a gaming editor. A talking-head creator doesn’t need the same specs as a travel filmmaker. When your hardware matches your workflow, everything feels easier. Timeline performance improves, exporting becomes faster, and the editing process simply becomes more fun.
That’s why value isn’t just about price – it’s about matching power to your type of content.
Best Value Options for Budget-Focused Creators
Here are some categories that consistently deliver the strongest value under $500:
1. Mid-range Windows Laptops
Great for talking-head videos, vlogs, tutorials, and education-style content. Balanced performance and excellent for CapCut, Filmora, or Light Resolve work.
2. Refurbished Apple MacBooks (M1 series)
A refurbished M1 MacBook Air sometimes drops near the $500–$600 mark. If you find one close to your budget, it’s one of the smoothest editing experiences available.
3. Mini PCs like Beelink or Intel NUC
These small desktops offer strong performance for the price. Add a cheap monitor and keyboard, and you get a flexible editing setup.
Each option has its own strengths, but they all share one thing: excellent price-to-performance ratio if paired with the right workflow.
How to Select the Right Machine Yourself – Even If You’re Not a Tech Expert
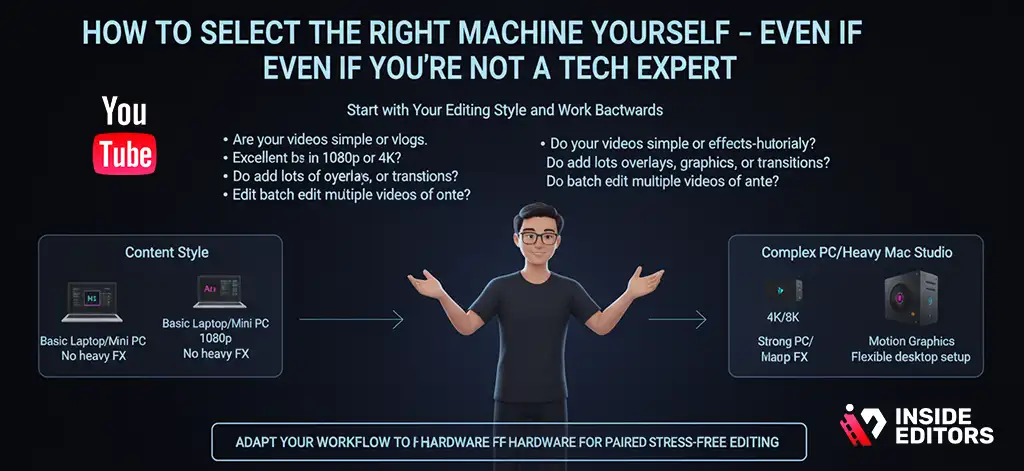
Start with Your Editing Style and Work Backwards
Most buyers start by comparing specs, but it’s actually easier to begin with your content style. Ask yourself:
- Are your videos simple or effects-heavy?
- Do you shoot in 1080p or 4K?
- Do you add lots of overlays, graphics, or transitions?
- Do you edit long videos or short ones?
- Do you batch edit multiple videos at once?
Once you understand your style, choosing hardware becomes almost automatic. If your workflow is light and clean, you don’t need expensive gear. If you work with motion graphics or heavy color grading, you’ll want stronger hardware or a desktop.
Why a Smooth Workflow Beats High-End Specs
Ask any editor with years of experience – they’ll tell you the same thing. Good workflow habits matter far more than raw horsepower. Proxy editing, proper organization, smart caching, and optimized export settings can dramatically improve your performance on any machine.
Once you learn how to adapt your workflow to your hardware, editing becomes smooth, predictable, and stress-free.
What Inside Editors Recommends for Budget Creators Who Want Results
At Inside Editors, we’ve worked with thousands of creators who started with extremely modest hardware. Some edited entire channels on old, refurbished business laptops. Others used mid-range Windows machines that cost less than a weekend trip. And yet, their videos still performed – because performance is a mix of storytelling, workflow, and consistency, not just specs.
When a viewer watches your content, they aren’t thinking about your processor or GPU. They’re reacting to your pacing, your clarity, your message, and the feeling your edits create. A strong YouTube Video Editing Course helps you master those creative choices long before hardware becomes the limit.
That’s why our recommendation is simple: buy the most balanced machine your budget allows, then invest your time into learning editing fundamentals. Learn how to cut faster, color smarter, and structure your timeline like a story – not a series of clips. Programs and tools will evolve, but the habits you build stay with you forever.
The Best Value Options We’ve Seen in 2026 for Editing YouTube Videos
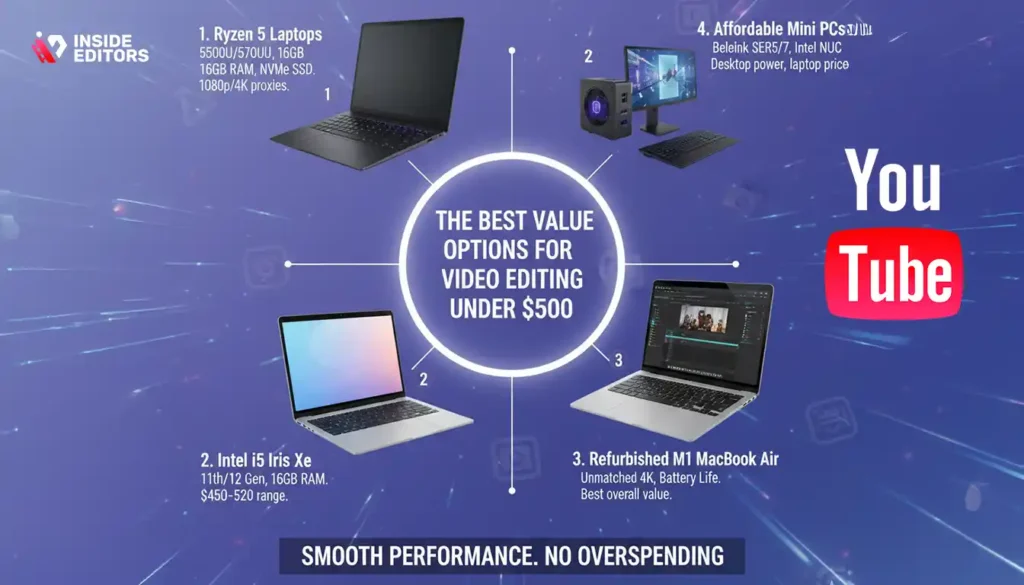
If you’re working within or near a $500 budget, these categories consistently deliver strong performance without compromise. While exact model numbers vary based on your region, these are the most cost-efficient types of machines:
1. Ryzen 5 5500U or 5700U Windows Laptops
These chips outperform Intel i3s and older i5s in real-world editing tasks. Combined with 16GB RAM and an NVMe SSD, you get smooth playback for 1080p and usable performance for 4K with proxies. They’re excellent for creators editing with CapCut, Premiere Rush, Filmora, or DaVinci Resolve (light work).
2. Intel i5 11th/12th Gen with Iris Xe Graphics
Iris Xe is surprisingly strong for timeline performance, especially when paired with 16GB RAM. This is one of the best “value-to-smoothness” combos available in the $450–$520 range.
3. Refurbished M1 MacBook Air
This is the best overall value if you find it refurbished near your budget. The M1 handles 4K like a dream, DaVinci Resolve runs beautifully, and battery efficiency is unmatched. We’ve seen creators grow entire channels using just this machine.
4. Affordable Mini PCs (Beelink SER5, SER7, or Intel NUC)
If portability isn’t your priority, mini PCs give you desktop-level value at laptop-level prices. Add a monitor, and you get a studio-like editing setup with surprisingly strong performance.
Because prices change constantly, checking updated listings every week helps you find the best deals. But whichever route you choose, the goal remains the same: smooth performance for your editing style, without overspending.
Choosing the Right YouTube Video Editing Course for Your Skill Level
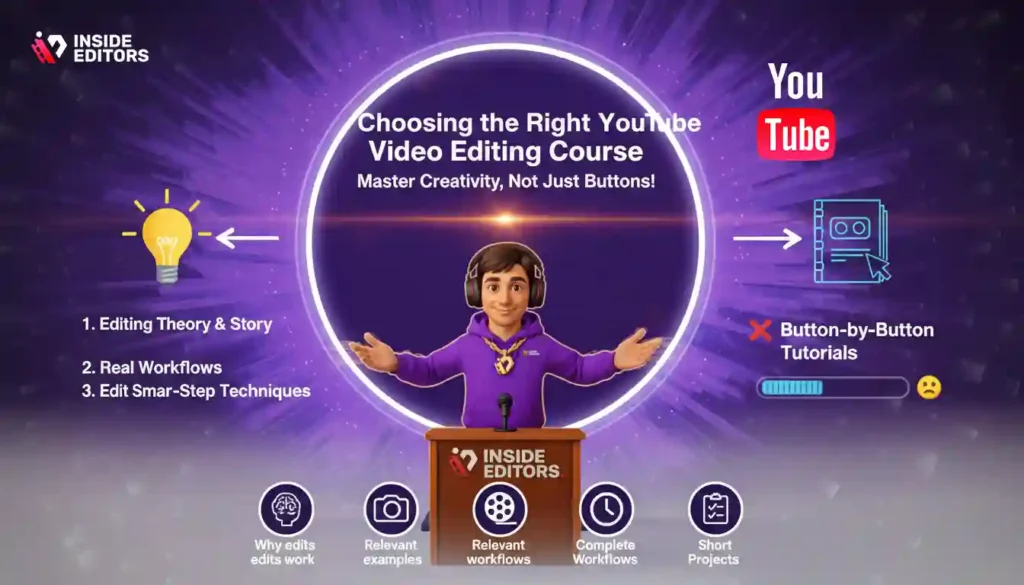
Why a Course Should Match Your Creativity – Not Just Teach Buttons
A common mistake many beginners make is buying a course that feels like a software manual. Button-by-button tutorials get boring fast, and they don’t teach you how to make videos people actually want to watch. A great course focuses on your creative decisions – your pacing, your scenes, your storytelling voice – while using tools as support.
The best courses do three things at once:
- Teach editing theory in simple, friendly language.
- Show real-world workflow examples you can copy.
- Demonstrate step-by-step techniques on relevant software.
When you learn both theory and technique at the same time, your editing instantly becomes more intentional and polished. This is why Inside Editors emphasizes storytelling fundamentals before advanced effects.
How to Know If a Course Is Right for You
Before purchasing a course, ask yourself:
- Does it teach you why edits work – not just how?
- Are the examples relevant to your niche (vlogs, gaming, talking-head, travel, tutorials)?
- Does the instructor actually show complete video workflows?
- Are lessons short enough to maintain consistency?
- Does it include projects or assignments you can recreate?
A good course feels motivating. It makes you want to open your editor and immediately try something new. If a course feels like homework, it’s the wrong one.
Why Learning to Edit Properly Saves You Hours Every Week
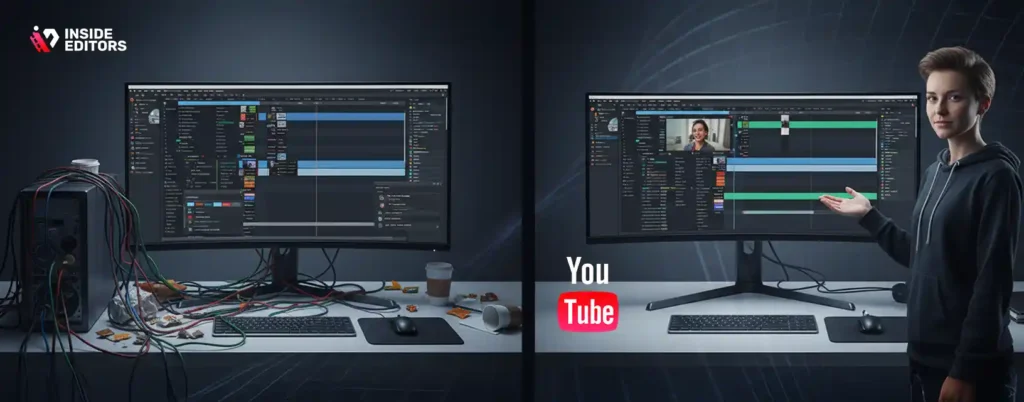
Many beginners think slow editing is caused by slow laptops. In reality, slow editing is often caused by slow workflow. If you spend too much time looking for files, adjusting audio levels, or syncing clips manually, you’ll always feel slowed down – no matter how powerful your computer is.
Courses that focus on workflow teach you techniques that save enormous amounts of time:
- How to build a clean timeline structure from the start
- How to use markers, labels, and bins
- How to cut using rhythm instead of repeatedly rewatching clips
- How to make color grading templates for consistency
- How to use keyboard shortcuts effectively
A smooth workflow can reduce a 6-hour edit into 2 hours. And that time saved is time you can spend scripting, shooting, brainstorming, or resting – things that directly impact your creative output.
The Secret Skill Most Editing Courses Don’t Teach
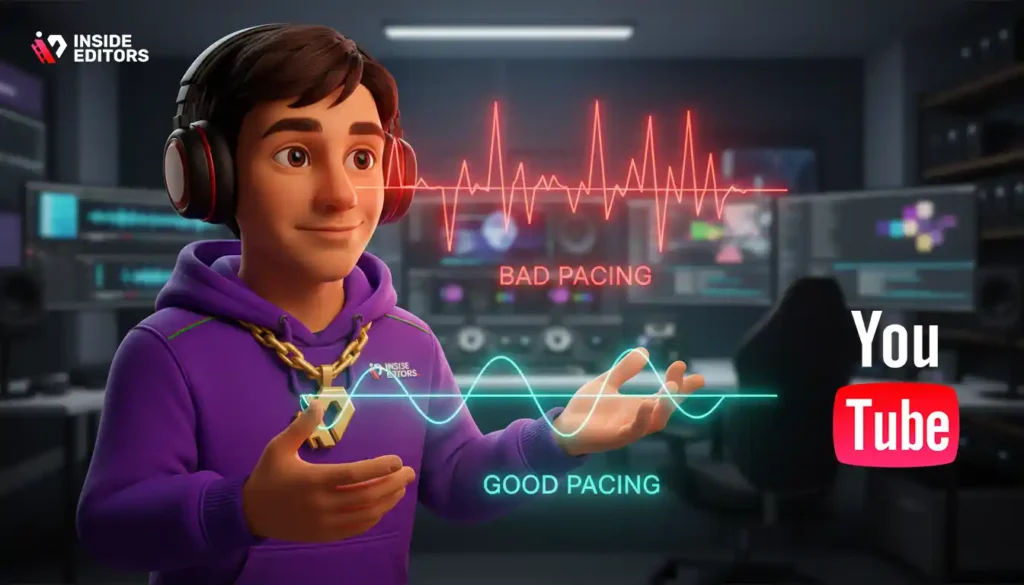
Good pacing keeps viewers from clicking away. It’s the invisible force that makes your edits feel satisfying. Whether you create calm educational content or fast-paced gaming videos, understanding pacing helps you shape the emotional flow of your story.
Courses that teach pacing – through examples, exercises, and comparison breakdowns – tend to produce better editors in a shorter period. It’s the difference between “okay” edits and “this feels like a real YouTube video.”
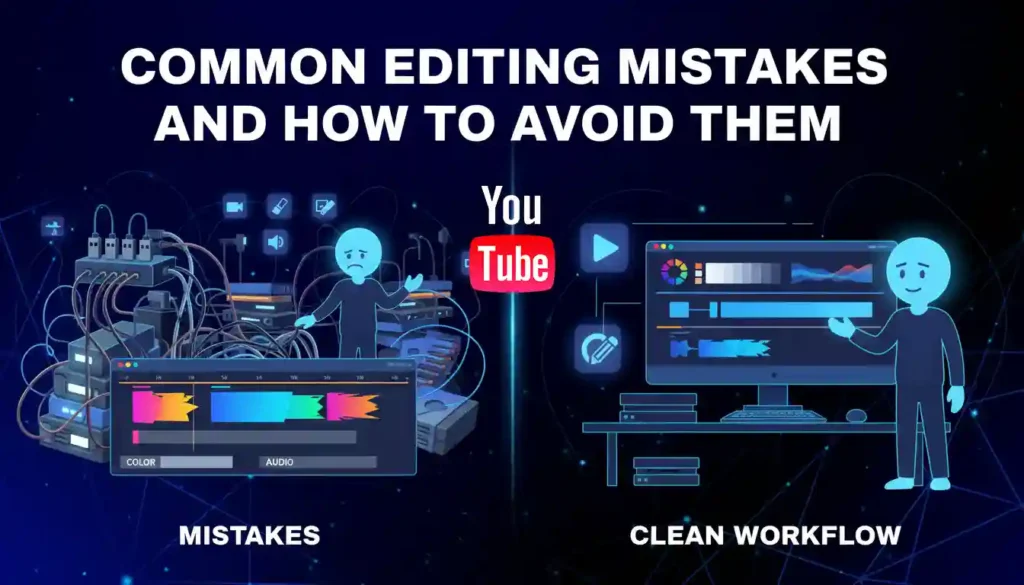
Common Mistakes New Editors Make – and How to Avoid Them
Mistake 1: Choosing Hardware Before Understanding Your Editing Needs
Many beginners rush to buy laptops and end up paying for unused power or, worse, underpowered machines. Instead, start with your content goals. What you shoot, how long your videos are, and which software you use matter far more than model names.
Mistake 2: Jumping Between Too Many Software Tools
Switching tools too often keeps you from building muscle memory. Try one editor for at least 30 days before deciding whether it fits your workflow. Most professional editors stick to one primary tool for years.
Mistake 3: Overusing Transitions and Effects
New creators often over-edit. Too many effects make videos feel amateur, not professional. Strong edits are usually invisible – they enhance the story instead of distracting from it.
Mistake 4: Ignoring Color and Audio Until the End
Color and sound are emotional tools. Fixing them early saves time, and doing them well makes your content look instantly more polished.
Avoiding these mistakes sets you up for smoother editing sessions and cleaner results – even on entry-level hardware.
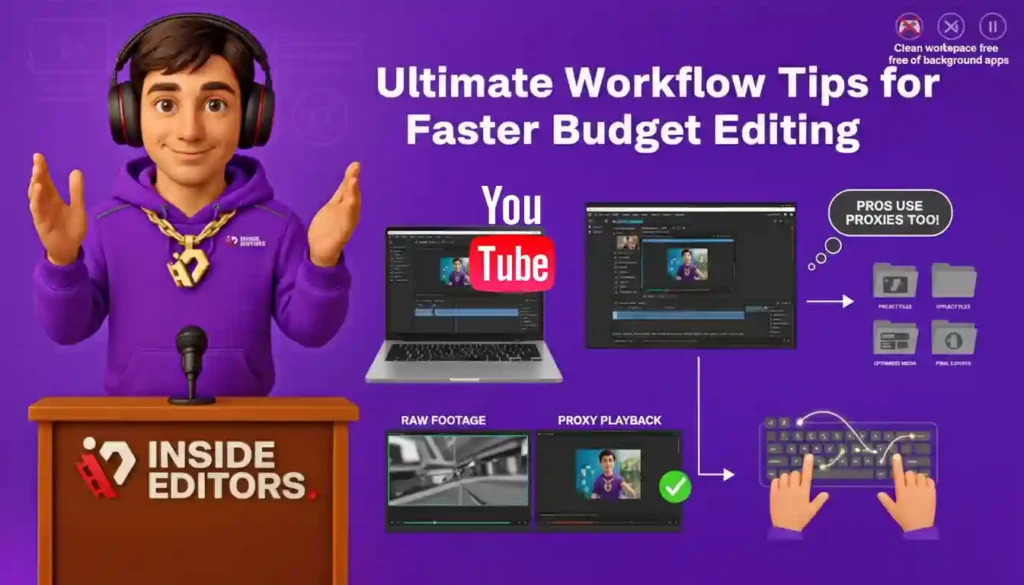
Inside Editors’ Ultimate Workflow Tips for Budget Editing Setups
How Smart Settings Can Make Any Laptop Feel Faster
Working with a $500 system requires thoughtfulness rather than guesswork. Here are simple techniques used by real editors to get smooth, stress-free performance:
- Edit in proxy mode to reduce lag.
- Keep your project files in one structured folder.
- Use optimized media instead of raw heavy files.
- Close unnecessary background apps.
- Use keyboard shortcuts to stay in flow.
These habits feel small, but when combined, they make your editing experience dramatically better. A machine that once felt slow can suddenly feel fast simply because your workflow became cleaner.
Why Even Pros Use Proxies (and You Should Too)
Many creators think proxies are a beginner workaround. In reality, even editors working on Hollywood films use proxy files to keep their timelines smooth. This is not a compromise – it’s a smart optimization.
When you learn how proxies work, you upgrade your editing forever, no matter what computer you use in the future.
Final Thoughts: You Don’t Need the Best Gear – You Need the Right Path
How Knowledge and Workflow Unlock Your Creative Potential
If you take one idea away from this guide, let it be this: great editing doesn’t start with hardware; it starts with understanding. Whether you take a YouTube Video Editing Course or learn through hands-on practice, your success comes from clarity, practice, and the right habits – not from expensive laptops.
The more you understand your workflow, the easier every edit becomes. The more you practice pacing, color, and storytelling, the more your content stands out. Courses, budget hardware, and smart tools all support your journey – but your creativity drives it.
When Professional Editors Can Help You Level Up Faster
Sometimes you want to move faster, save time, or polish your videos for a specific goal – brand deals, ads, long-form storytelling, or channel growth. In those situations, a professional touch can make a huge difference.
Inside Editors offers a full range of editing services – from product videos and travel edits to gaming, fitness, comparison videos, and more. If you ever want expert-level results without spending hours editing, our team can help you transform raw clips into polished stories that grab attention and keep people watching.
Explore Inside Editors’ Professional Video Editing Services
FAQs – Top YouTube Video Editing Course for You
1: How do you know if an editing course is trustworthy and high quality?
A trustworthy course shows transparent instructor experience, clear lesson previews, and student work examples you can review. Look for recent publication dates, short sample lessons, and community feedback (comments or reviews). If the course includes a simple project and revision guidance, that’s a good sign – it proves the instructor expects you to practice, not just watch.
2: What guarantees or revisions should I expect when hiring pro editors?
Professional services usually include 1–3 rounds of revisions in the base price; check the policy before you commit. Clear deliverables (file formats, resolution, and revision windows) are essential. If privacy, ownership, or source-file delivery matters, request explicit terms – most reputable teams will confirm ownership transfer and optional NDA agreements.
3: How does DIY editing compare to hiring a pro for YouTube videos?
DIY editing gives you full creative control and lower ongoing cost, but it requires time to learn workflow and pacing. Hiring a pro saves time, gives polish, and often improves retention and monetization potential, though it costs more per video. Consider a hybrid path: start learning fundamentals via a YouTube Video Editing Course and outsource complex projects as your channel grows.
4: Which software is best for beginners vs. professionals?
Beginners benefit from CapCut, Filmora, or Premiere Rush because they simplify trimming, effects, and captions. Intermediate and pro users often prefer DaVinci Resolve or Adobe Premiere Pro for advanced color grading, multicam, and plugin ecosystems. The best choice matches your editing needs: choose ease-of-use for fast uploads and pro tools when you need control and long-term scalability.
5: What should I expect to pay for editing services and courses?
Course prices range from free tutorials to $50–$300 for structured, instructor-led courses; premium masterclasses may cost $300–$1,000+. Editing services typically charge $30–$200+ per video depending on length, complexity, and revisions. Always confirm what’s included – raw file handling, motion graphics, subtitles, and source exports often increase the price.
6: What’s a normal turnaround time for professional edits, and are rush options available?
Standard turnaround is commonly 3–7 business days for a single short-form or talking-head edit; longer or complex projects can take 1–3 weeks. Rush delivery (24–72 hours) is usually available for an extra fee; confirm capacity and revision limits beforehand. Factors that affect timelines include footage organization, revision speed, and added services like color grade or VFX.
7: How do I check ownership and privacy when I order editing services?
Request written terms that specify transfer of final-video ownership and whether raw footage is retained or returned. Good providers will offer an NDA or privacy clause and confirm they will not reuse your footage without consent. Always clarify whether high-resolution masters and project files are included or sold separately before you hand over source material.
8: What are the simple steps to hire an editor or buy a course?
For hiring: gather footage, create a short brief (style, length, deliverables), set a budget and deadline, and request samples. For courses: preview sample lessons, confirm software used, check refund or trial policies, and choose one with hands-on projects. Clear briefs and small test jobs reduce risk and speed up successful collaborations.
9: How do I choose the right machine if I want to learn with a YouTube Video Editing Course?
Match the machine to your workflow: 1080p editing needs less power than heavy 4K or VFX work. Aim for 16GB RAM, an NVMe SSD, and a modern CPU (e.g., Ryzen 5 or Intel i5 / Apple M1) to run most course projects smoothly. If the budget is tight, prioritize RAM and SSD speed over the very latest CPU model – those two items improve daily editing responsiveness most.
10: What common mistakes should I avoid when learning or outsourcing editing?
Don’t switch tools every week – stick with one editor for a month to build muscle memory. When outsourcing, avoid vague briefs; unclear direction leads to extra revisions and cost. Finally, ignore no tutorials: focus on pacing, audio, and color basics first; flashy effects are secondary to clear storytelling and viewer retention.


