

Starting a YouTube channel can feel overwhelming. You need great ideas, a compelling personality, and-most importantly-high-quality video production. The good news is that you don’t need a massive studio budget to record YouTube video content that looks professional. Success comes down to mastering a few fundamental steps and using the right tools effectively.
This comprehensive guide breaks down the entire process. We will move from pre-production planning to final recording techniques. By the end, you will have a clear blueprint to consistently record YouTube video content that engages your audience and meets modern quality standards.
1. Mastering Pre-Production: The Foundation of Quality
The biggest mistake new creators make is hitting the record button without a plan. Professional video quality starts long before the camera turns on. Strong pre-production ensures your message is clear, your setup is efficient, and your final edit is manageable.
Defining Your Content and Audience
Before you even think about gear, you must define what you are making and who it is for. Your content strategy dictates your technical needs. Are you creating tutorials, vlogs, interviews, or product reviews? Each format requires a slightly different approach to lighting and framing.
“If you fail to plan, you are planning to fail. Pre-production is the invisible 90% of video success.” – Casey Neistat, Filmmaker and YouTuber
Understanding your target audience is equally crucial. What questions are they asking? What problems can you solve? When you tailor your content to specific viewer needs, you create immediate relevance. This focused approach makes it easier to record YouTube video content that resonates deeply.
Scripting, Outlining, and Storyboarding
Even if you prefer a conversational style, never rely solely on improvisation. A well-structured outline or script keeps your recording sessions focused and prevents rambling.
- Scripting: Best for tutorials, reviews, or highly technical content where exact wording matters.
- Outlining: Ideal for vlogs or discussions. This uses bullet points to ensure you hit all key topics in order.
- Storyboarding: Necessary for complex sequences, demonstrations, or cinematic shots. It visually maps out each scene.
A solid structure drastically reduces the time needed to record YouTube video segments. It also ensures smooth transitions during editing.
Choosing the Right Environment
Your recording location significantly impacts the final quality. Look for a space that is visually appealing, well-lit, and, most importantly, quiet. Background noise-like traffic, air conditioning, or construction-can ruin even the best visual content.
Acoustics matter too. Rooms with hard, parallel surfaces (like bare walls and tile floors) create echo and reverb. This makes your voice sound hollow. Adding soft furnishings, rugs, and curtains can help absorb sound waves and improve audio clarity instantly.
2. Essential Gear to Record YouTube Video
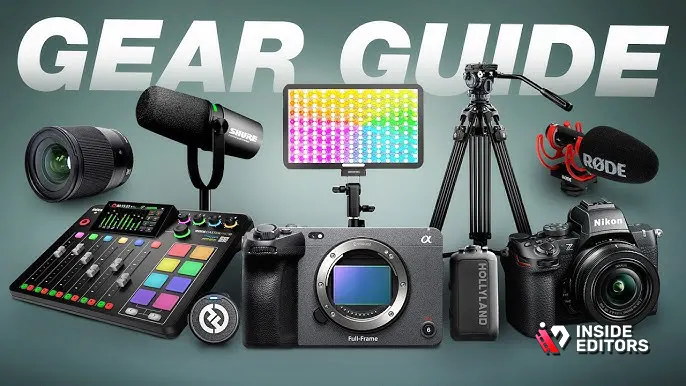
You don’t need the most expensive camera setup. Modern technology allows creators to record YouTube video content using surprisingly simple tools. However, investing in a few key items will elevate your production value immediately.
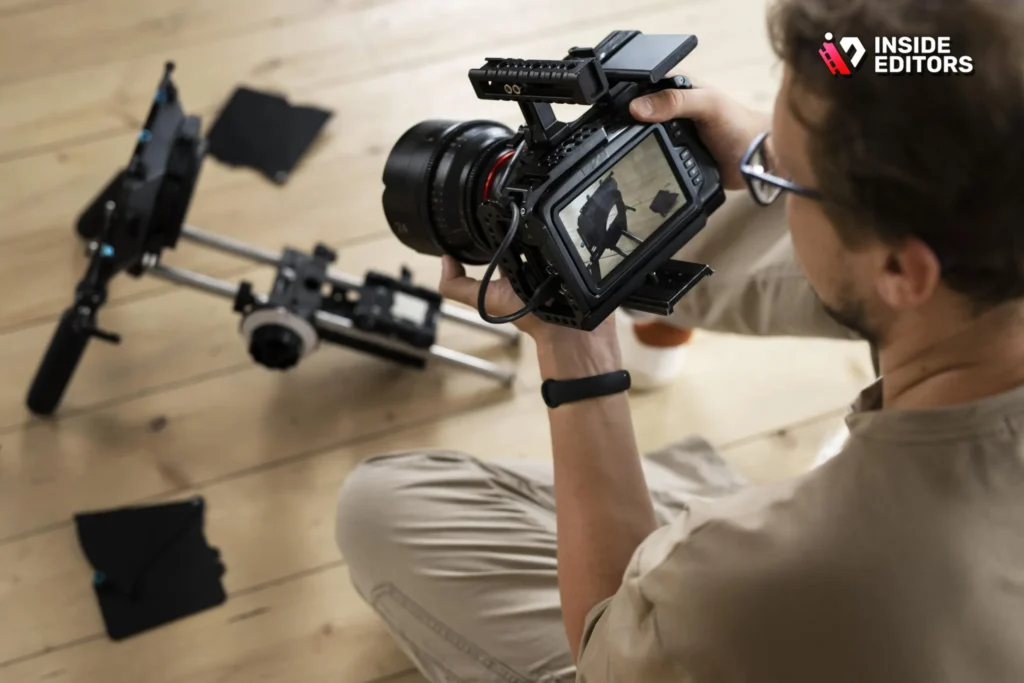
The Camera: Quality Over Cost
While a high-end DSLR or mirrorless camera offers the best quality, many successful channels start with a modern smartphone. Today’s flagship phones shoot in 4K resolution and offer excellent low-light performance.
| Camera Type | Pros | Cons | Ideal Use Case |
|---|---|---|---|
| Smartphone | Portable, high resolution, easy to use, always available. | Limited manual control, fixed lenses, poor battery life for long shoots. | Vlogging, quick tutorials, on-the-go content. |
| Webcam | Affordable, plug-and-play, excellent for desktop recording. | Fixed focus, lower resolution (usually 1080p), poor low-light performance. | Live streaming, screen recording, desktop interviews. |
| Mirrorless/DSLR | Interchangeable lenses, superior low-light, full manual control, high dynamic range. | Expensive, complex settings, requires additional accessories (mics, lights). | Cinematic content, professional reviews, high-production studio shoots. |
Audio is Non-Negotiable
Viewers will tolerate slightly imperfect video, but they will immediately click away from poor audio. Prioritizing sound is the single most important step to record YouTube video professionally.
Types of Microphones:
- Lavalier (Lapel) Mics: Small, clip onto clothing, excellent for isolating your voice. They are affordable and great for solo presenters.
- Shotgun Mics: Directional, mounted on the camera or a boom pole. They capture sound directly in front of them while minimizing background noise.
- USB Condenser Mics: Best for desktop use, voiceovers, or podcasts. They offer studio-quality sound when placed close to the speaker.
Always monitor your audio using headphones during recording. This catches hums, clicks, or unexpected background noises before they ruin a take.
Lighting: Shaping the Scene
Good lighting doesn’t just make you visible; it adds depth, mood, and professionalism. The classic and most effective setup is the Three-Point Lighting system.
- Key Light: The main, brightest light source. It illuminates the subject’s face. Place it slightly off to the side (45 degrees) and above the subject.
- Fill Light: Softer than the key light, placed on the opposite side. It reduces harsh shadows created by the key light.
- Back Light (Hair Light): Placed behind the subject. It separates the subject from the background, adding dimension and preventing a flat look.
LED panel lights are affordable and versatile, offering adjustable color temperature and brightness.
3. Technical Setup and Recording Best Practices

Once your gear is ready, setting up correctly ensures technical consistency across all your videos. This is crucial for maintaining a professional look when you record YouTube video content regularly.
Camera Settings for High Quality
Most cameras offer various settings. For YouTube, aim for these standards:
- Resolution: 1080p (Full HD) is the minimum standard. 4K is better for future-proofing and cropping flexibility, but requires more storage and processing power.
- Frame Rate: 24 frames per second (fps) or 30 fps are standard for a natural, cinematic look. Use 60 fps only if you plan to use slow-motion effects.
- White Balance: Set this manually based on your lighting conditions (e.g., Daylight, Tungsten, or Kelvin). Automatic white balance can shift during a shoot, causing distracting color changes.
- Focus: Use manual focus if possible, or ensure your camera’s autofocus is locked onto your eyes. Nothing looks more amateur than a blurry subject.
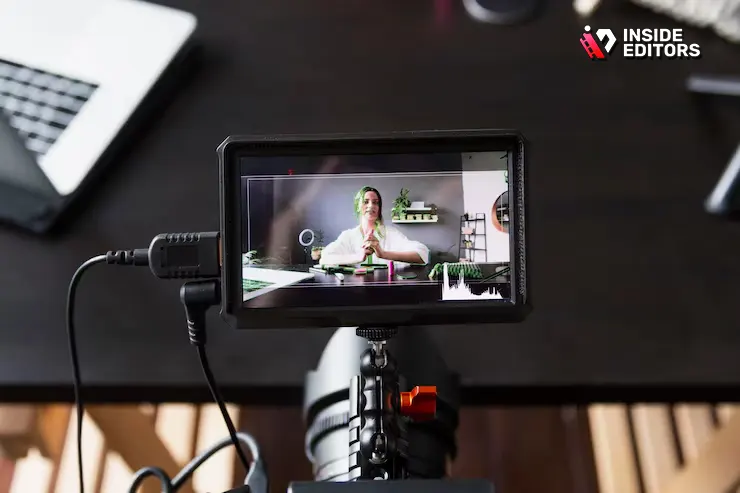
Utilizing Screen Recording Tools
If your content involves software tutorials, gaming, or presentations, you need reliable screen recording software. Tools like OBS Studio (free), Camtasia, or the built-in screen recorder on macOS/Windows are essential.
When you record YouTube video tutorials that involve a screen, always record the screen and your face (webcam overlay) simultaneously. This keeps the presentation engaging and personal. Ensure your screen resolution is set to 1920×1080 or higher for crisp playback.
The Power of the Teleprompter
Reading lines directly from a script can make you sound robotic. However, a teleprompter app (even on a tablet placed near the lens) allows you to maintain eye contact with the camera while delivering complex information fluently. This is a game-changer for professional presentation style.
“The camera doesn’t lie, but it also doesn’t forgive. Preparation and confidence are visible in every frame.” – Philip DeFranco, News Commentator
4. Common Recording Pitfalls and Solutions
Even experienced creators run into technical hiccups. Being aware of common mistakes helps you troubleshoot quickly and efficiently.
Avoiding Jumpy Footage
A shaky camera is distracting and unprofessional. Always use a tripod, even if you are using a smartphone. If you must move the camera, use a gimbal or stabilizer for smooth, cinematic motion. If you are recording yourself talking, lock the camera down completely.
Dealing with Background Clutter
A messy background distracts viewers from your message. Keep your background simple, clean, and relevant to your niche. If you are using a virtual background or green screen, ensure the lighting is even to prevent artifacts and poor keying quality.
Overcoming Camera Shyness
Many people feel awkward talking to a lens. To overcome this, imagine the camera is a friendly person you are explaining something to. Practice delivering your script multiple times until it feels natural. Don’t aim for perfection; aim for authenticity. If you mess up a line, pause, take a breath, and start the sentence again. You can easily cut out the mistake later.
Comparison: Green Screen vs. Natural Background

| Feature | Green Screen Setup | Natural Background Setup |
|---|---|---|
| Setup Difficulty | High (Requires even lighting, special software) | Low (Just clean the room) |
| Flexibility | Maximum (Can replace background with anything) | Limited (Stuck with the physical location) |
| Lighting Needs | Critical (Must be perfectly even) | Moderate (Focus on subject lighting) |
| Aesthetic | Highly stylized, often used for corporate or gaming. | Authentic, relatable, often used for vlogs or interviews. |
5. Post-Production Planning: Editing-Friendly Recording
A professional video editor knows that the best edits start in the recording phase. When you record YouTube video content, think about how the footage will be assembled later.
The Importance of B-Roll
B-roll is supplementary footage that covers up jump cuts, illustrates points, or adds visual interest. If you are talking about a product, record close-ups of the product. If you are discussing a concept, record relevant images or short clips.
- Rule of Thumb: For every minute of A-roll (your main presentation), aim to capture at least 30 seconds of relevant B-roll.
This secondary footage is essential for maintaining viewer engagement. It gives the editor material to work with, making the final video look polished and dynamic.
Slating and Marking Takes
If you are recording multiple takes or scenes, use a simple clap or hand gesture at the beginning of each take. This creates a sharp audio spike and visual cue. Editors use this cue to quickly synchronize audio and video tracks and identify the start of a good take. This simple habit saves hours in the editing room.
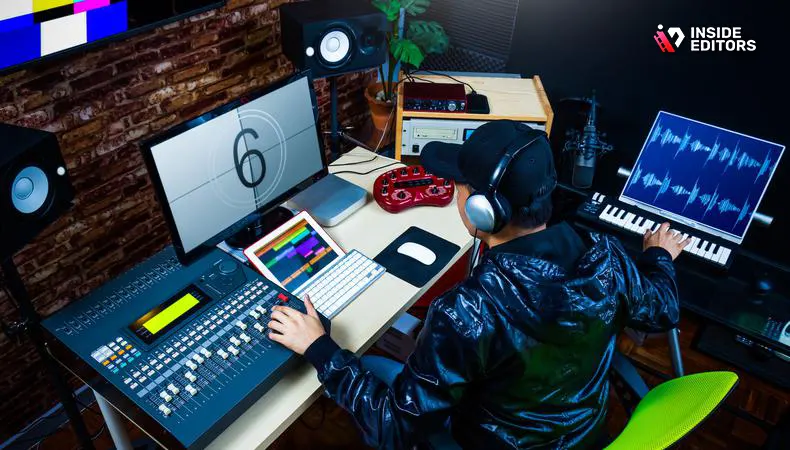
The Role of Professional Editing
Once you have successfully managed to record YouTube video footage, the next hurdle is editing. Editing involves cutting, color correction, audio mixing, adding graphics, and ensuring the pacing is perfect. This process is time-consuming and requires specialized skills.
This is where professional support becomes invaluable. Many successful creators choose to outsource their editing to maintain consistency and speed up their production cycle.
Inside Editors offers professional Youtube Video Editing services designed specifically for content creators, marketers, and businesses. Our team of expert editors has over 10 years of experience turning raw footage into polished, high-quality videos.
By partnering with us, you save time and focus entirely on creating more great content. We handle the complex tasks like color grading and audio enhancement. Our workflow is fast, typically offering a 24-72 hour turnaround, and we provide unlimited revisions until you are completely satisfied. This affordable and scalable solution ensures your brand maintains a consistent, professional style across all your videos.
6. Final Checks Before Hitting Stop
Before you wrap up your recording session, take a moment to review these final checks. These steps prevent the frustrating realization that you need to re-record everything due to a simple oversight.
The 10-Second Rule
After you finish a segment, keep the camera rolling for an extra 10 seconds. This provides “handles” or extra footage for the editor to use for transitions, fades, or stabilization. Cutting a clip right as you stop talking often results in awkward, abrupt edits.
Checking the Technical Details
- Audio Check: Did the microphone stay connected? Is the audio level consistent?
- Focus Check: Is the subject still sharp and in focus?
- Battery/Storage Check: Did you run out of battery or memory card space mid-take?
- Lighting Check: Did the sun move, changing the light quality?
The Importance of Redundancy
If possible, record your audio on two separate devices (e.g., a camera mic and a dedicated external recorder). If one fails, you have a backup. This redundancy is a hallmark of professional production and ensures you never lose critical sound.
7. Post-Recording Workflow and Next Steps

You’ve managed to successfully record YouTube video footage that looks and sounds great. Now, you need an efficient workflow to get it ready for How To Upload A Video To Youtube.
Organizing Your Files
Immediately upon finishing the shoot, transfer all footage and audio files to a dedicated hard drive. Use a consistent naming convention (e.g., [Date]_[ProjectName]_[TakeNumber]). This organization is essential, especially when working with an editing team.
The Editing Decision
You have two options after recording: edit it yourself or hire a professional.
Option A: Self-Editing (The Time Sink)
If you choose to edit the footage yourself, be prepared for a significant time investment. A good rule of thumb is that a 10-minute video can take 2-5 hours to edit, depending on complexity. You will need to master software like DaVinci Resolve (free), Premiere Pro, or Best Video Editing Software For Youtube.
Option B: Professional Editing (The Scalable Solution)
For serious creators and businesses, outsourcing editing is the most scalable choice. Inside Editors provides a streamlined service where you upload your raw footage, and our professional editors handle everything from initial cuts to final color and sound mixing. This allows you to spend 100% of your time on content creation, which is the engine of your channel’s growth.
We understand the pressure of keeping up with a demanding upload schedule. Our professional editing team ensures consistency, quality, and fast delivery, allowing you to focus on the next video.
“The best creators understand that their time is best spent creating, not correcting.” – VidIQ, YouTube Analytics Platform
Conclusion: Consistent Quality Wins
Learning to record YouTube video like a pro is a journey of continuous improvement. By focusing on strong pre-production, prioritizing high-quality audio, and maintaining consistent technical standards, you lay the groundwork for success. Remember, consistency in quality builds trust with your audience.
If you find that the post-production phase is slowing you down, consider leveraging professional expertise. We encourage you to explore how Inside Editors can take the burden of editing off your shoulders. Our professional video editing services are designed to deliver the high-quality, polished videos your channel deserves, quickly and affordably. Visit us to learn more about how we can help you scale your content production.
Frequently Asked Questions
What is the most important gear to record YouTube video?
The most critical investment when you record YouTube video content is a high-quality external microphone. Viewers will forgive imperfect video quality, but poor audio will cause immediate viewer drop-off. Prioritize clear sound over expensive cameras for the best results.
Should I record YouTube video in 4K or 1080p?
While 4K offers superior quality and flexibility for cropping in post-production, 1080p (Full HD) is perfectly acceptable for most YouTube content. If your computer and internet upload speeds can handle the larger files, 4K is recommended to future-proof your videos.
How do I make my video look more professional?
To make your videos look professional, focus on consistent lighting, especially using a three-point setup, and incorporate B-roll footage. B-roll covers jump cuts and illustrates your points, making the final edit dynamic and polished when you record YouTube video segments.
How long should I spend editing a video?
The time spent editing varies greatly, but a common ratio is 2-5 hours of editing for every 1 minute of finished video. Outsourcing to professional services, like those offered by Inside Editors, can significantly reduce this time commitment, allowing you to focus on creation.
What is B-roll and why is it important?
B-roll is supplementary footage used to overlay your main talking head shots (A-roll). It’s important because it adds visual interest, keeps the viewer engaged, and helps illustrate complex concepts, improving the overall quality of your recorded YouTube video.


