

Video content dominates the digital landscape. Whether you are a seasoned YouTuber, a marketing professional, or a burgeoning content creator, the quality of your final edit determines your success. Simply recording footage is not enough; true engagement comes from strategic post-production. Understanding the best Video Editing Tips and Tricks is essential for transforming raw clips into compelling narratives that capture and hold audience attention.
This comprehensive guide delves into the top ten techniques used by professional editors to maximize impact, boost watch time, and ensure your videos stand out in a crowded feed. We will explore everything from fundamental workflow optimization to advanced psychological editing techniques. If you want your content to resonate, mastering these Video Editing Tips and Tricks is your next step.
The Foundation: Essential Video Editing Workflow Tips

Before diving into creative flair, every great edit starts with a solid, efficient workflow. Poor organization leads to wasted hours and frustrating searches for missing assets. These foundational Video Editing Tips and Tricks ensure your project starts strong and stays manageable.
1. Optimize Your Organization: The Power of Proxies and Bins
The single greatest time-saver in video editing is organization. When you import footage, resist the urge to dump everything into one timeline. Create structured “bins” (folders) for different asset types: Footage (A-roll, B-roll), Audio (Music, SFX), Graphics (Titles, Lower Thirds), and Sequences.
Furthermore, if you shoot in high resolutions (4K or 8K), your computer might struggle. Use proxies-lower-resolution duplicates of your footage-for smooth editing playback. Once the edit is locked, your software automatically switches back to the high-resolution files for export. This simple technique prevents lag and keeps your creative flow uninterrupted.
“Efficiency is the foundation of creativity. When you spend less time fighting the software, you spend more time crafting the story.” – Walter Murch, Film Editor
2. Master the J-Cut and L-Cut for Seamless Transitions
The way audio and video start and end relative to each other profoundly affects how professional a transition feels. J-cuts and L-cuts are fundamental Video Editing Tips and Tricks that create a natural, overlapping flow between scenes or speakers.
- J-Cut: The audio from the next scene starts playing before the video cuts to that scene. This is named because the visual representation of the clips on the timeline resembles the letter ‘J’. It pulls the viewer into the upcoming content, making the transition feel smoother and more intentional.
- L-Cut: The video cuts to the next scene, but the audio from the previous scene continues playing briefly. This allows the audience to visually process new information while still hearing the context of the last thought.
Using these cuts sparingly, especially during interviews or dialogue-heavy segments, dramatically increases the perceived production value. It keeps the viewer engaged because their senses are constantly being fed new, yet connected, information.
Engagement Through Psychology & Pacing

Engagement is not just about having good content; it is about maintaining a rhythm that matches the audience’s attention span. Modern viewers demand fast, dynamic pacing. These Video Editing Tips For Beginners focus on the psychological impact of your cuts.
3. The Rule of Three: Pacing and Jump Cuts
In online video, especially for platforms like YouTube and TikTok, long, static shots are deadly. The “Rule of Three” suggests that if a shot lasts longer than three seconds without significant movement or a change in perspective, the viewer is likely to tune out.
This is where the strategic use of jump cuts comes in. While traditional filmmakers often avoid them, jump cuts are essential for tightening dialogue and maintaining energy in digital content. Cut out every “um,” “ah,” and unnecessary pause. Keep the energy high by cutting frequently, even if it is just a slight zoom or repositioning of the speaker.
4. Leverage B-Roll and Graphics to Illustrate the Narrative
B-roll-supplementary footage that covers the main subject (A-roll)-is the lifeblood of engaging video. It breaks up the monotony of watching a talking head and visually reinforces what the speaker is saying.
When implementing these Video Editing Tips and Tricks, think of B-roll as visual proof. If the speaker mentions a product, show the product. If they talk about a concept, use relevant stock footage or animated graphics. This technique serves two purposes: it maintains visual interest and aids comprehension, making complex ideas easier to digest.
| Asset Type | Purpose in Editing | Engagement Benefit |
|---|---|---|
| A-Roll | Primary footage (speaker/main action) | Provides core information |
| B-Roll | Supplementary footage, cutaways | Breaks visual monotony, illustrates points |
| Graphics | Lower thirds, titles, charts | Reinforces key data, professional branding |
| Sound Effects | Hits, whooshes, ambient noise | Adds dynamic energy, emphasizes actions |
5. Sound Design: The Unsung Hero of Professional Video
Many amateur editors focus 90% of their effort on visuals and 10% on sound. Professionals know the ratio should be closer to 50/50. Poor audio quality-hissing, echo, or uneven levels-is the fastest way to lose a viewer, even if the video looks stunning.
Key Sound Editing Tips and Tricks:
- Leveling: Normalize all audio tracks (dialogue, music, sound effects) to a consistent level. Dialogue should typically peak around -6dB to -12dB.
- EQ and Noise Reduction: Use equalization (EQ) to remove unwanted low-end rumble or high-end hiss. Tools like Adobe Audition or DaVinci Resolve’s Fairlight offer powerful noise reduction features.
- Layering: Do not rely solely on background music. Layer ambient sounds (room tone, nature sounds) to create a richer, more immersive environment.
“If the sound is bad, the video is bad. People will tolerate mediocre visuals if the audio is excellent, but they will never tolerate poor audio.” – Gary Vaynerchuk, Entrepreneur
The Polish: Color, Music, and Branding
Once the story is structured and the pacing is tight, the final polish elevates the video from good to exceptional. These advanced Video Editing Tips and Tricks involve refining the aesthetic and emotional impact.
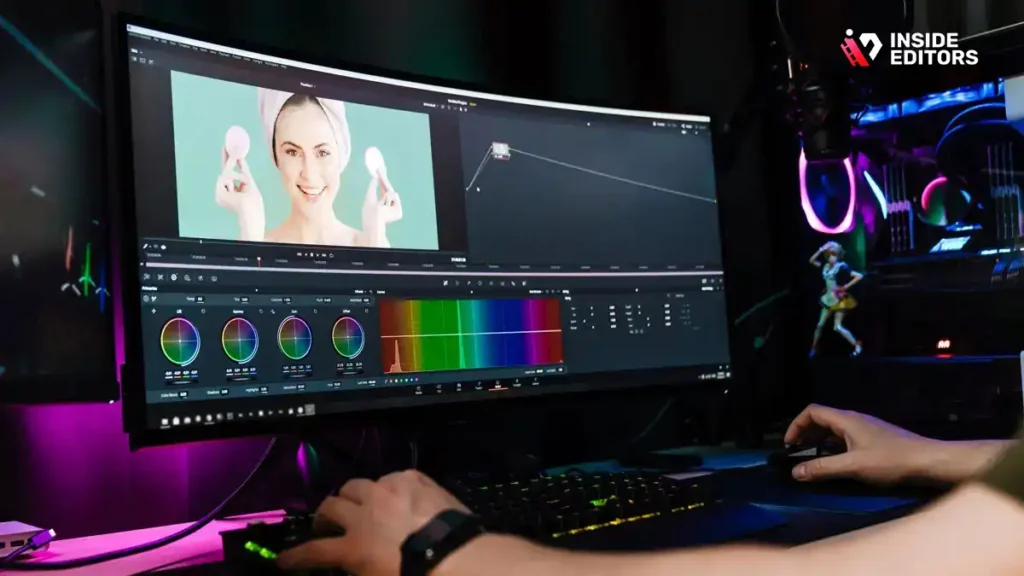
6. Strategic Color Grading for Emotional Impact
Color grading is more than just making the image look “nice”; it sets the mood and tone of the entire piece. Do you want the video to feel warm and nostalgic (yellow/orange tones) or cold and serious (blue/cyan tones)?
Start with Color Correction (fixing white balance and exposure) and then move to Color Grading (applying a stylistic look). Use LUTs (Look-Up Tables) as a starting point, but always tweak them manually to match your specific footage and brand aesthetic. Consistent color grading across all your videos reinforces your brand identity.
7. Music Selection: Driving the Emotional Arc
Music is arguably the most powerful tool an editor has to manipulate the viewer’s emotions. The music should not just be in the video; it should be part of the story.
Tips for Music Integration:
- Dynamic Volume: Lower the music volume significantly when dialogue is present, and raise it during B-roll montages or action sequences.
- Tempo Matching: Match the music’s tempo to the pace of your cuts. Fast, energetic cuts pair well with high-tempo music; slow, reflective scenes need softer, slower tracks.
- Licensing: Always use properly licensed, royalty-free music. Using copyrighted music can lead to strikes and demonetization.
8. The Power of Subtitles and Captions
In today’s mobile-first world, a significant portion of viewers watch videos with the sound off. Adding accurate, well-designed subtitles is no longer optional; it is a necessity for accessibility and engagement.
Beyond accessibility, captions help reinforce key points and improve viewer comprehension. Ensure your captions are easy to read-use high contrast colors and a legible font. Many platforms, including YouTube and social media sites, offer automatic captioning, but always manually review and correct them for 100% accuracy.
Professional Editing: Efficiency & Outsourcing
For creators and businesses focused on scaling content production, efficiency is paramount. Knowing when to delegate and how to streamline complex tasks is one of the most valuable Video Editing Tips and Tricks you can learn.
9. Create and Use Templates for Consistency
If you produce content regularly (e.g., weekly vlogs, monthly marketing updates), consistency is key to building audience trust. This means using the same intro/outro, lower third graphics, and title card styles every time.
Create and save templates within your editing software for these elements. This not only saves time but guarantees brand consistency. When a viewer sees your signature title sequence, they instantly recognize your brand, which builds loyalty and professionalism.
10. Knowing When to Outsource: Scaling Your Production
The final, and perhaps most crucial, tip for growing content creators and businesses is recognizing the limits of self-editing. As your channel or marketing needs grow, the time spent editing takes away from time spent creating new content, engaging with your audience, or running your business.
This is where professional services come into play. Outsourcing your post-production to experienced editors is a strategic move that guarantees high-quality output and frees up your valuable time.
| Benefit of Outsourcing Editing | Description |
|---|---|
| Expertise | Access to professional editors with 10+ years of experience in color grading, sound design, and pacing. |
| Speed | Guaranteed fast turnaround times (often 24-72 hours), crucial for timely content. |
| Consistency | Ensures a consistent brand style and quality across all videos, regardless of the original footage. |
| Scalability | Easily handle increased volume without hiring full-time staff or investing in expensive software. |
If you are looking to scale your video production without compromising quality, services like Inside Editors offer a powerful solution. We provide professional video editing services specifically designed for businesses, content creators, and marketers. Our professional editing team handles everything from complex color grading and audio enhancement to ensuring a consistent brand style across all your videos.
We understand the demands of modern content creation, offering fast turnaround times and unlimited revisions until you are completely satisfied. By leveraging our expertise, you save time and can focus entirely on generating compelling content, knowing that the post-production is handled by industry veterans. This is one of the most effective Video Editing Tips and Tricks for long-term success.
Comparison of Professional Editing vs. DIY
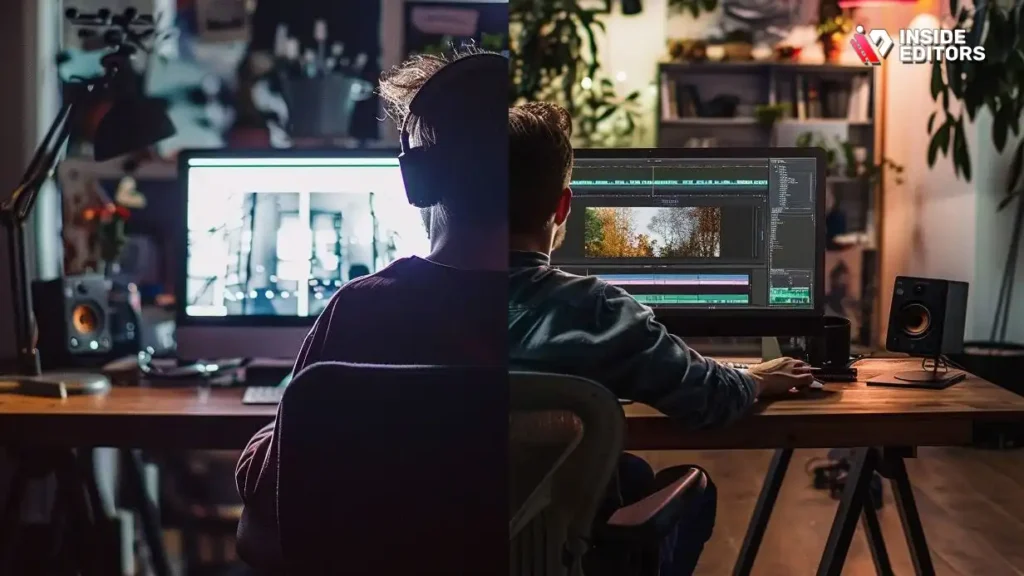
While DIY editing is great for beginners, scaling requires professional intervention. Here is a quick comparison of the strengths and limitations of each approach.
| Feature | DIY Editing (Amateur) | Professional Editing (Inside Editors) |
|---|---|---|
| Time Investment | High (Learning software, rendering, revisions) | Low (Focus on filming and content creation) |
| Quality Control | Variable, dependent on skill and equipment | High, consistent professional standards |
| Cost | Low initial cost, high opportunity cost (time) | Affordable pricing starting at $29/video |
| Expertise | Limited to personal knowledge | Access to 10+ years of experience in specialized areas (e.g., motion graphics) |
| Turnaround | Slow, often unpredictable | Fast and reliable (24-72 hours) |
Pros and Cons of Handling All Video Editing Yourself
While the freedom of self-editing is appealing, it comes with significant drawbacks as production scales.
Pros:
- Full Creative Control: You dictate every decision without external input.
- Immediate Feedback Loop: You can make instant changes based on your own viewing.
- Cost-Effective (Initially): No service fees required, only software costs.
Cons:
- Time Sink: Editing often takes 3-5 times the length of the final video, severely limiting content output.
- Skill Ceiling: Achieving truly professional color grading, sound mixing, and complex effects requires years of specialized practice.
- Burnout Risk: The constant cycle of filming, editing, and distribution leads to rapid creative fatigue.
For many creators, the decision to use professional video editing services becomes necessary when the demand for high-quality, consistent content outpaces their ability to deliver it themselves.
Advanced Techniques: Beyond the Basics
To truly master the craft, a few more advanced Video Editing Tips and Tricks can set your work apart.
The Power of Intentional Mistakes
Sometimes, breaking the rules creates impact. The deliberate use of “mistakes,” such as a quick flash frame, a sudden audio distortion, or a jarring jump cut in a serious moment, can heighten tension or draw attention. These techniques should be used sparingly and with clear intent, but they demonstrate a mastery of the medium.
Using Speed Ramping for Dynamic Action
Speed ramping involves smoothly changing the playback speed within a single clip, rather than cutting to a new clip. This is excellent for highlighting action-slowing down a critical moment for emphasis, then speeding up the transition to the next scene. This technique requires precision keyframing but adds incredible dynamism to action sequences or product demonstrations.
Turning Video Editing Tips into Results
The journey to becoming a master editor is continuous, but by applying these top 10 Video Editing Tips and Tricks, you will immediately see a boost in your video quality and audience engagement. Remember that editing is fundamentally about storytelling. Every cut, every sound effect, and every color choice must serve the narrative.
Start with organization, focus on pacing through J-cuts and L-cuts, and never underestimate the importance of excellent sound design. As you grow, consider how professional video editing services can help you maintain high standards while allowing you to focus on what you do best: creating great content.
If you are ready to elevate your content with professional polish and guaranteed quality, explore the benefits of outsourcing your post-production. Inside Editors provides expert editing, fast delivery, and scalable solutions tailored for modern content needs, ensuring your videos always look and sound their best. These professional Video Editing Tips and Tricks are the key to unlocking your full potential.
Frequently Asked Questions
What is the most important editing tip?
The most important tip is mastering sound design. Viewers tolerate poor visuals better than poor audio. Ensure dialogue is clear, background noise is minimized, and music is leveled appropriately. Excellent sound quality is one of the essential Video Editing Tips and Tricks for professional results.
How do I make my videos more engaging?
Increase engagement by using dynamic pacing. Implement jump cuts to remove dead air and use B-roll footage to visually illustrate your points. Apply the Rule of Three, ensuring no single shot is static for too long. These Video Editing Tips and Tricks keep the audience visually stimulated.
Should I use J-cuts or L-cuts?
You should use both strategically. J-cuts (audio before video) pull the viewer into the next scene, creating anticipation. L-cuts (video before audio) allow the viewer to process new visuals while maintaining context from the previous scene. They are vital for smooth dialogue transitions.
What is the benefit of outsourcing editing?
Outsourcing video editing saves significant time, allowing creators to focus on content creation and marketing. It also guarantees professional quality, consistent branding, and access to specialized expertise in color grading and sound mixing, which scales production efficiently.
How often should I use jump cuts?
Use jump cuts frequently in fast-paced online content to maintain energy and remove unnecessary pauses. While traditional film avoids them, they are crucial for tightening dialogue and keeping the viewer’s attention in modern digital video editing tips and tricks.


